Tipping Point Scarf
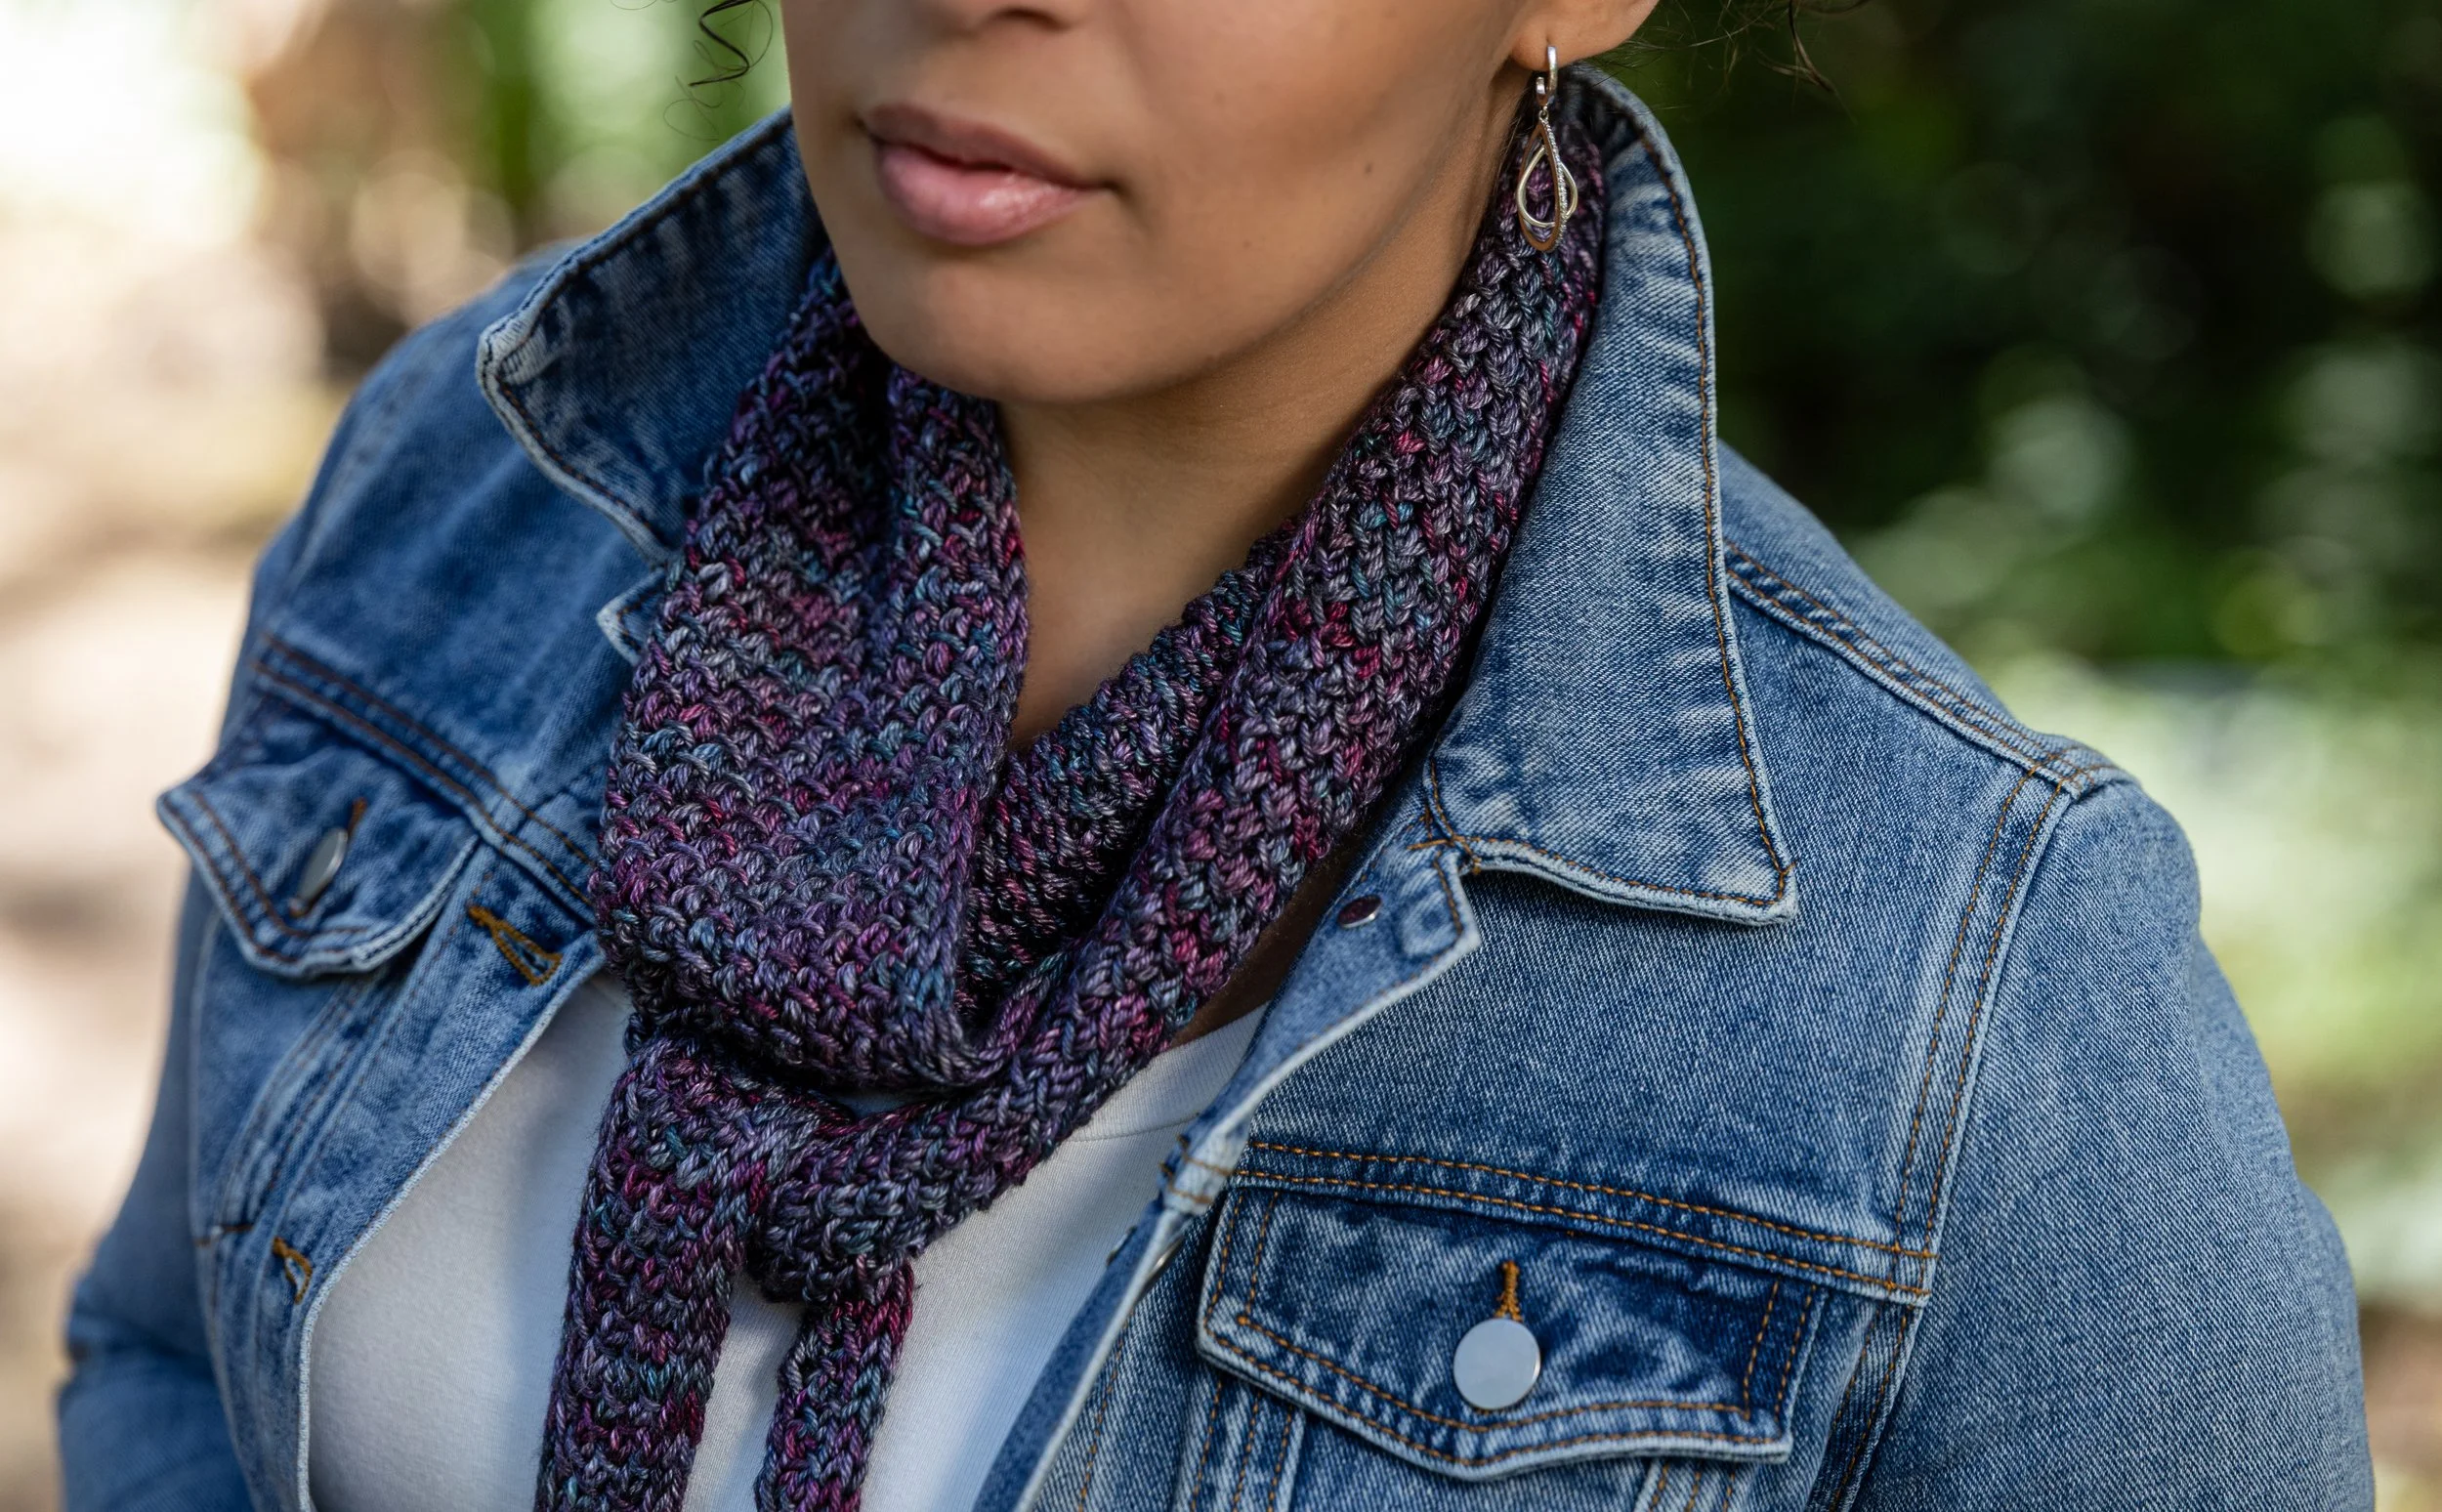
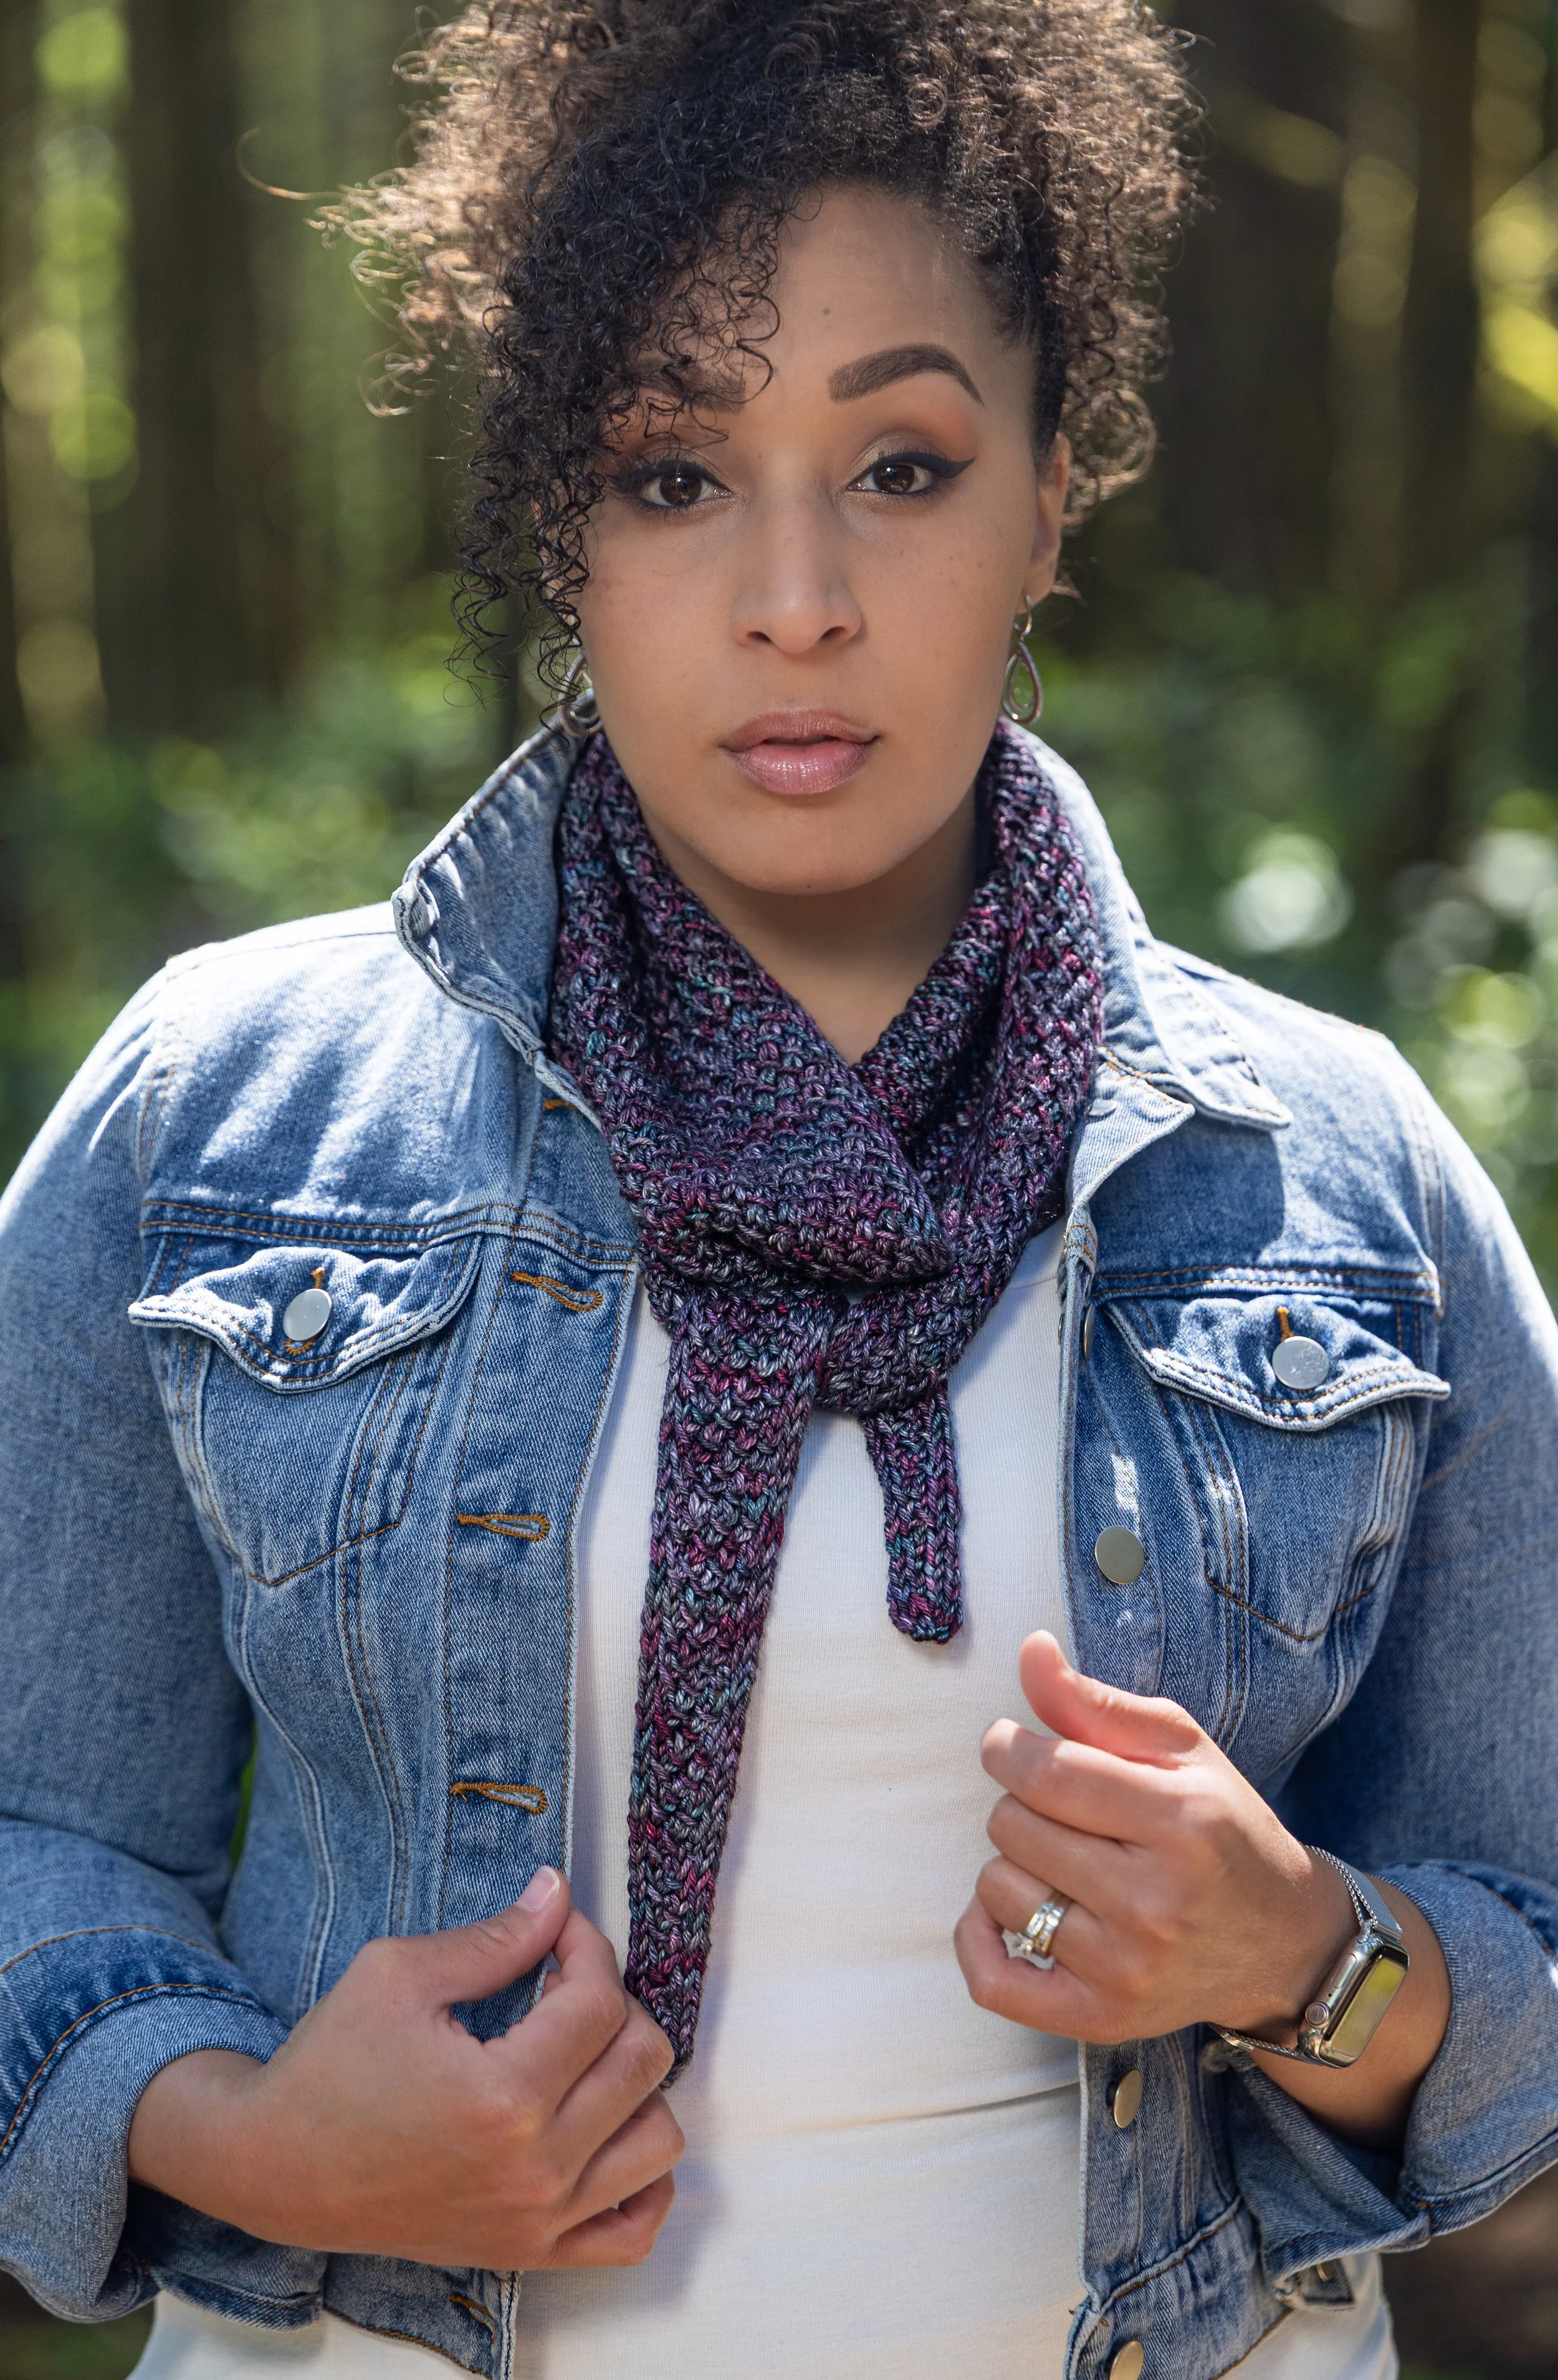
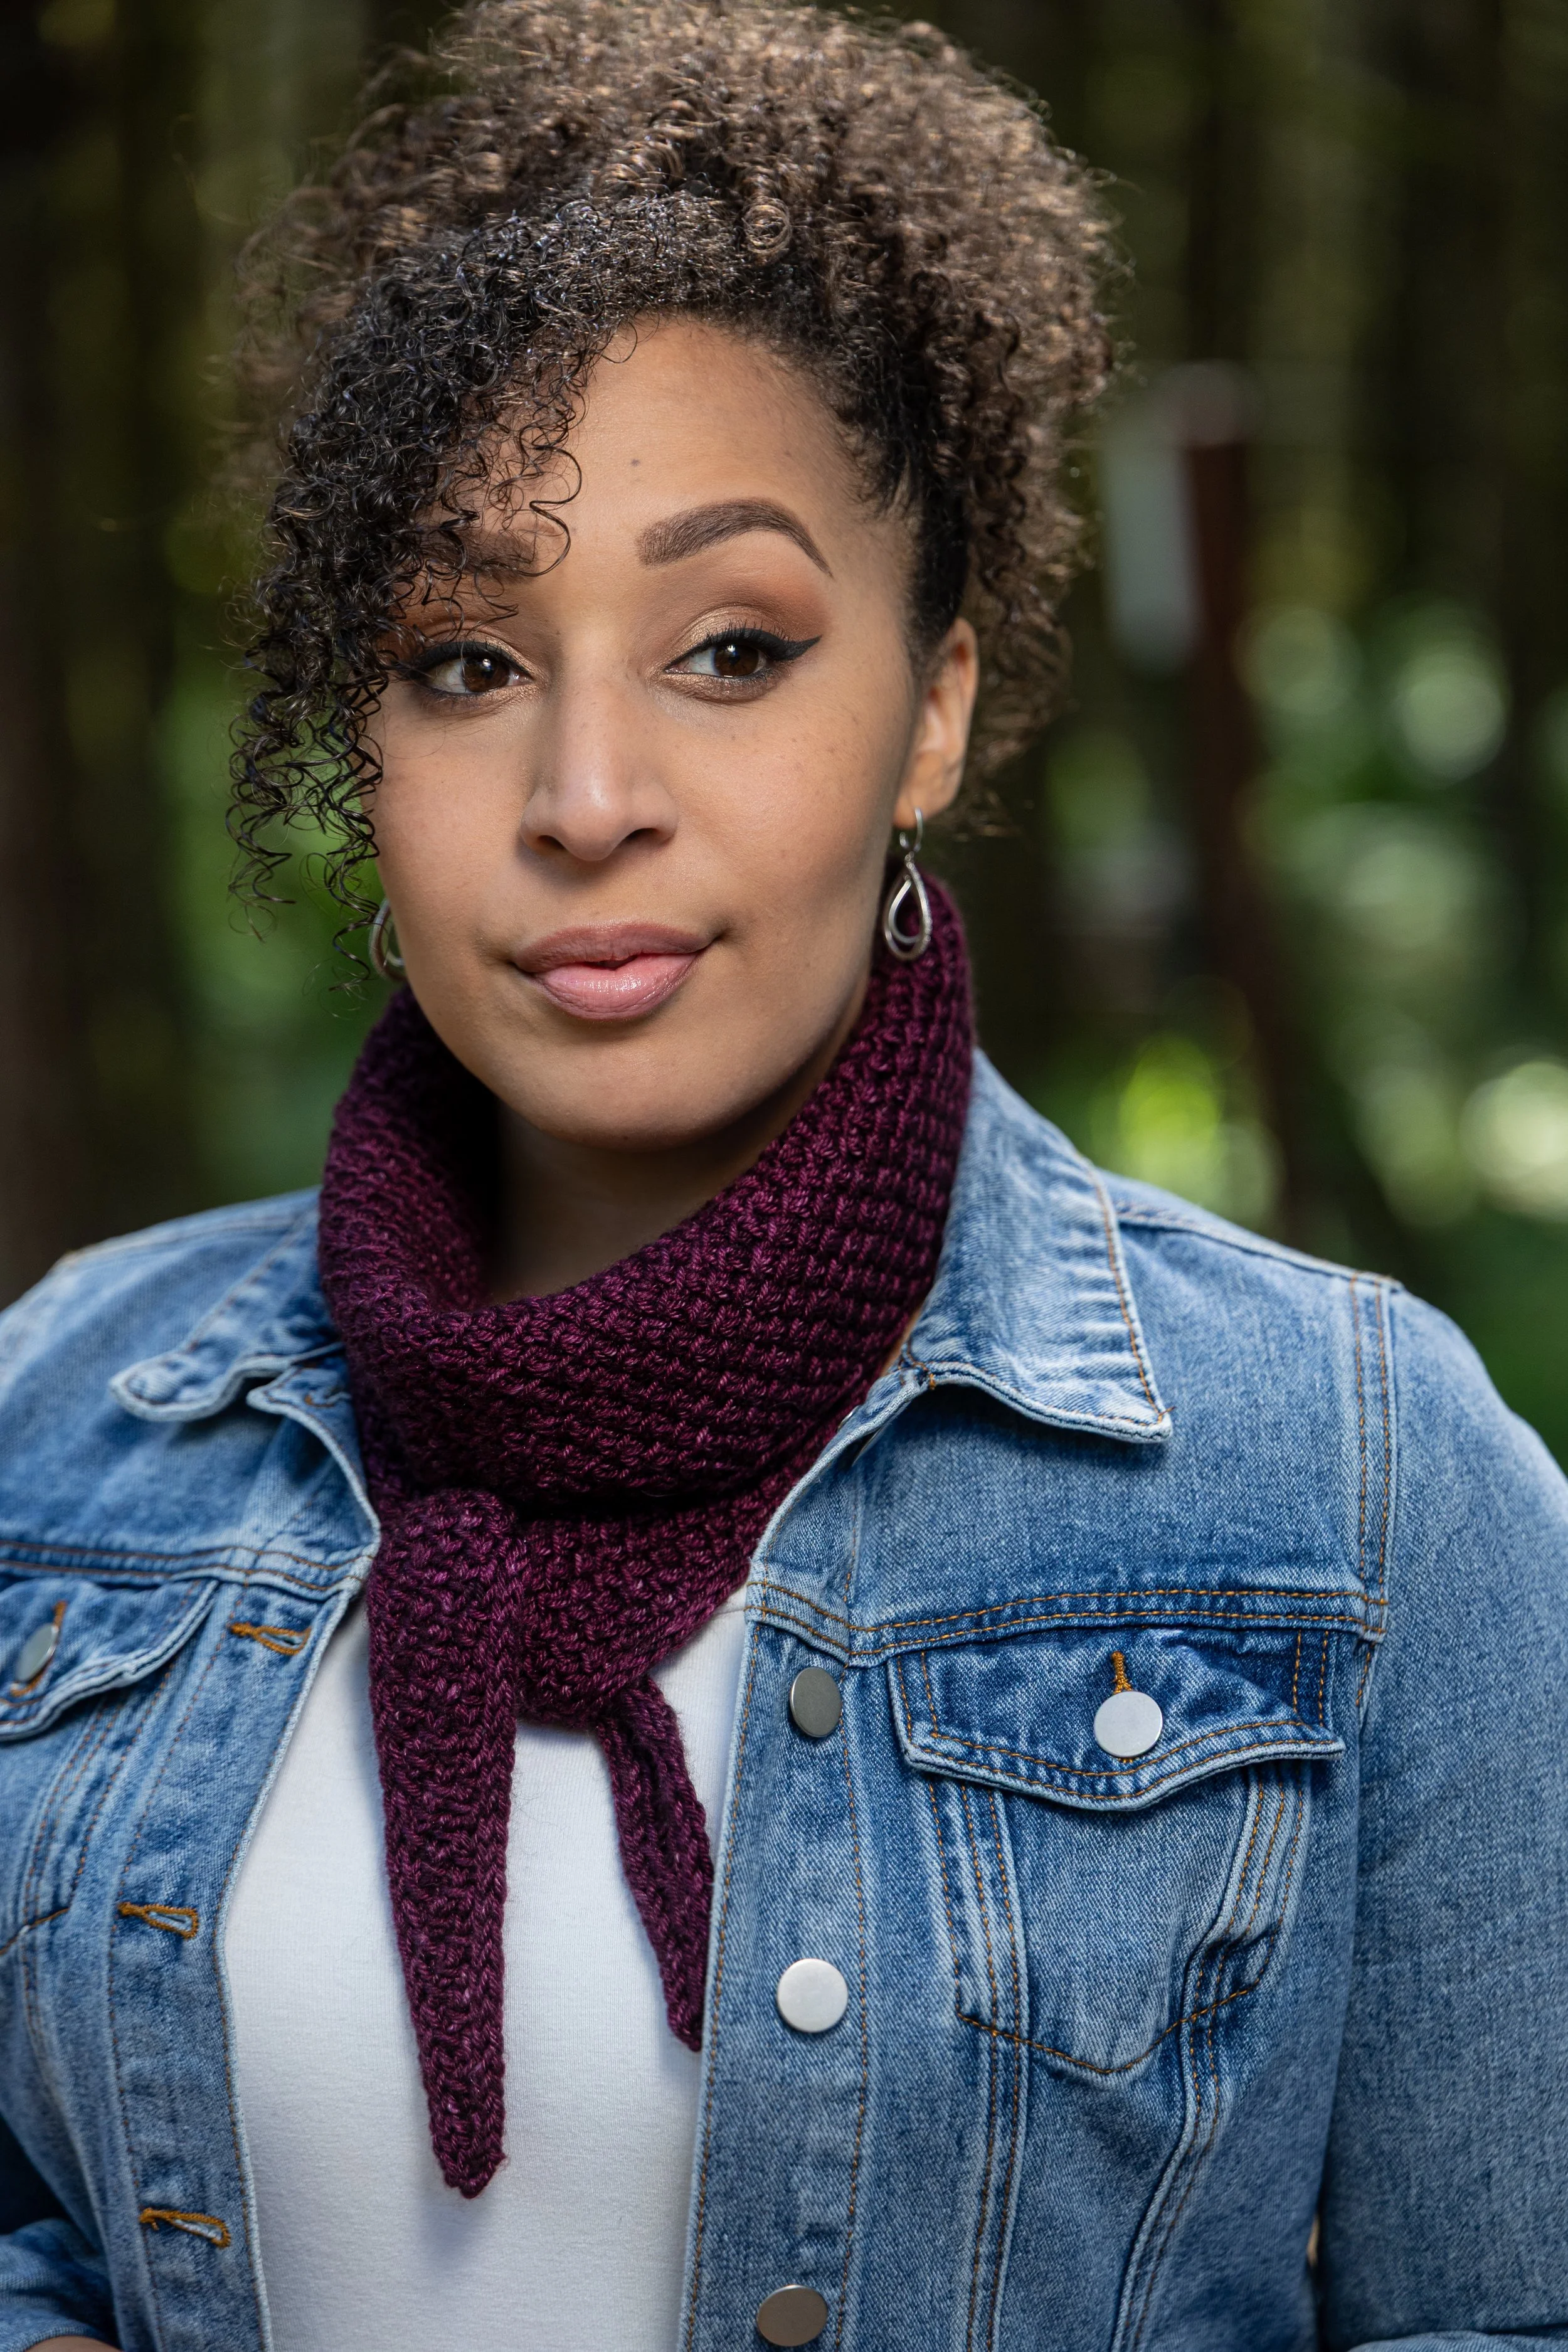
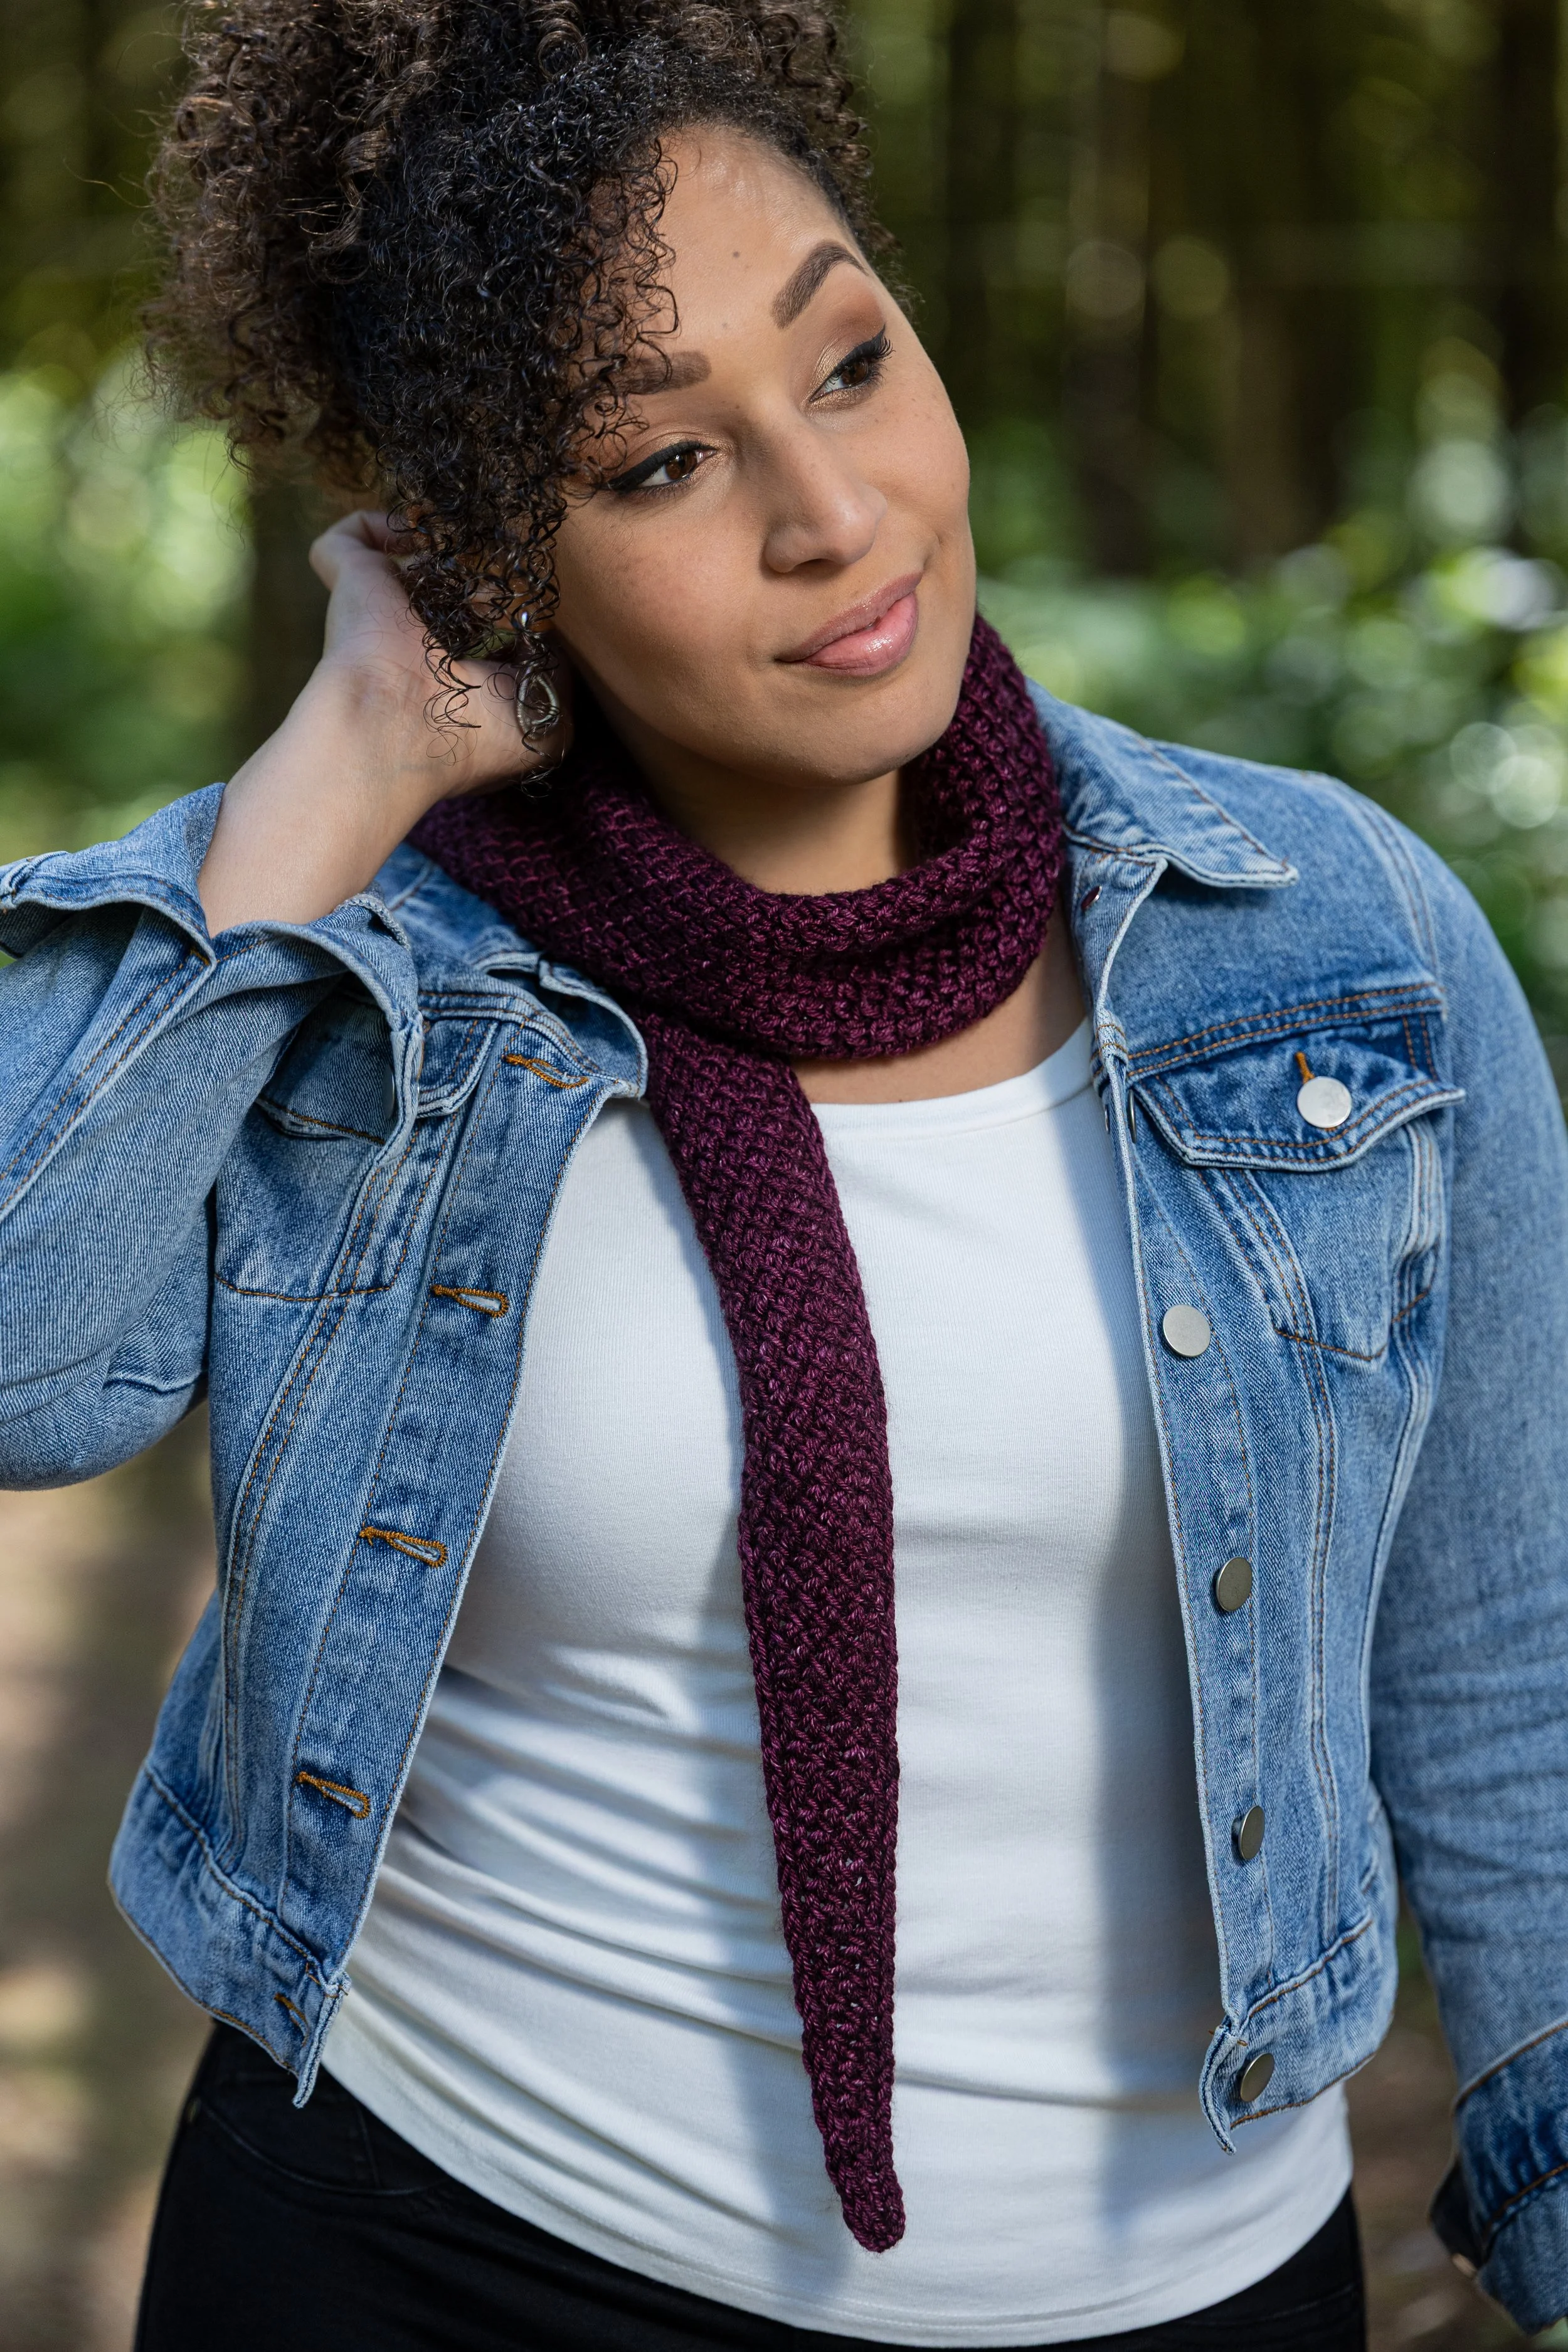
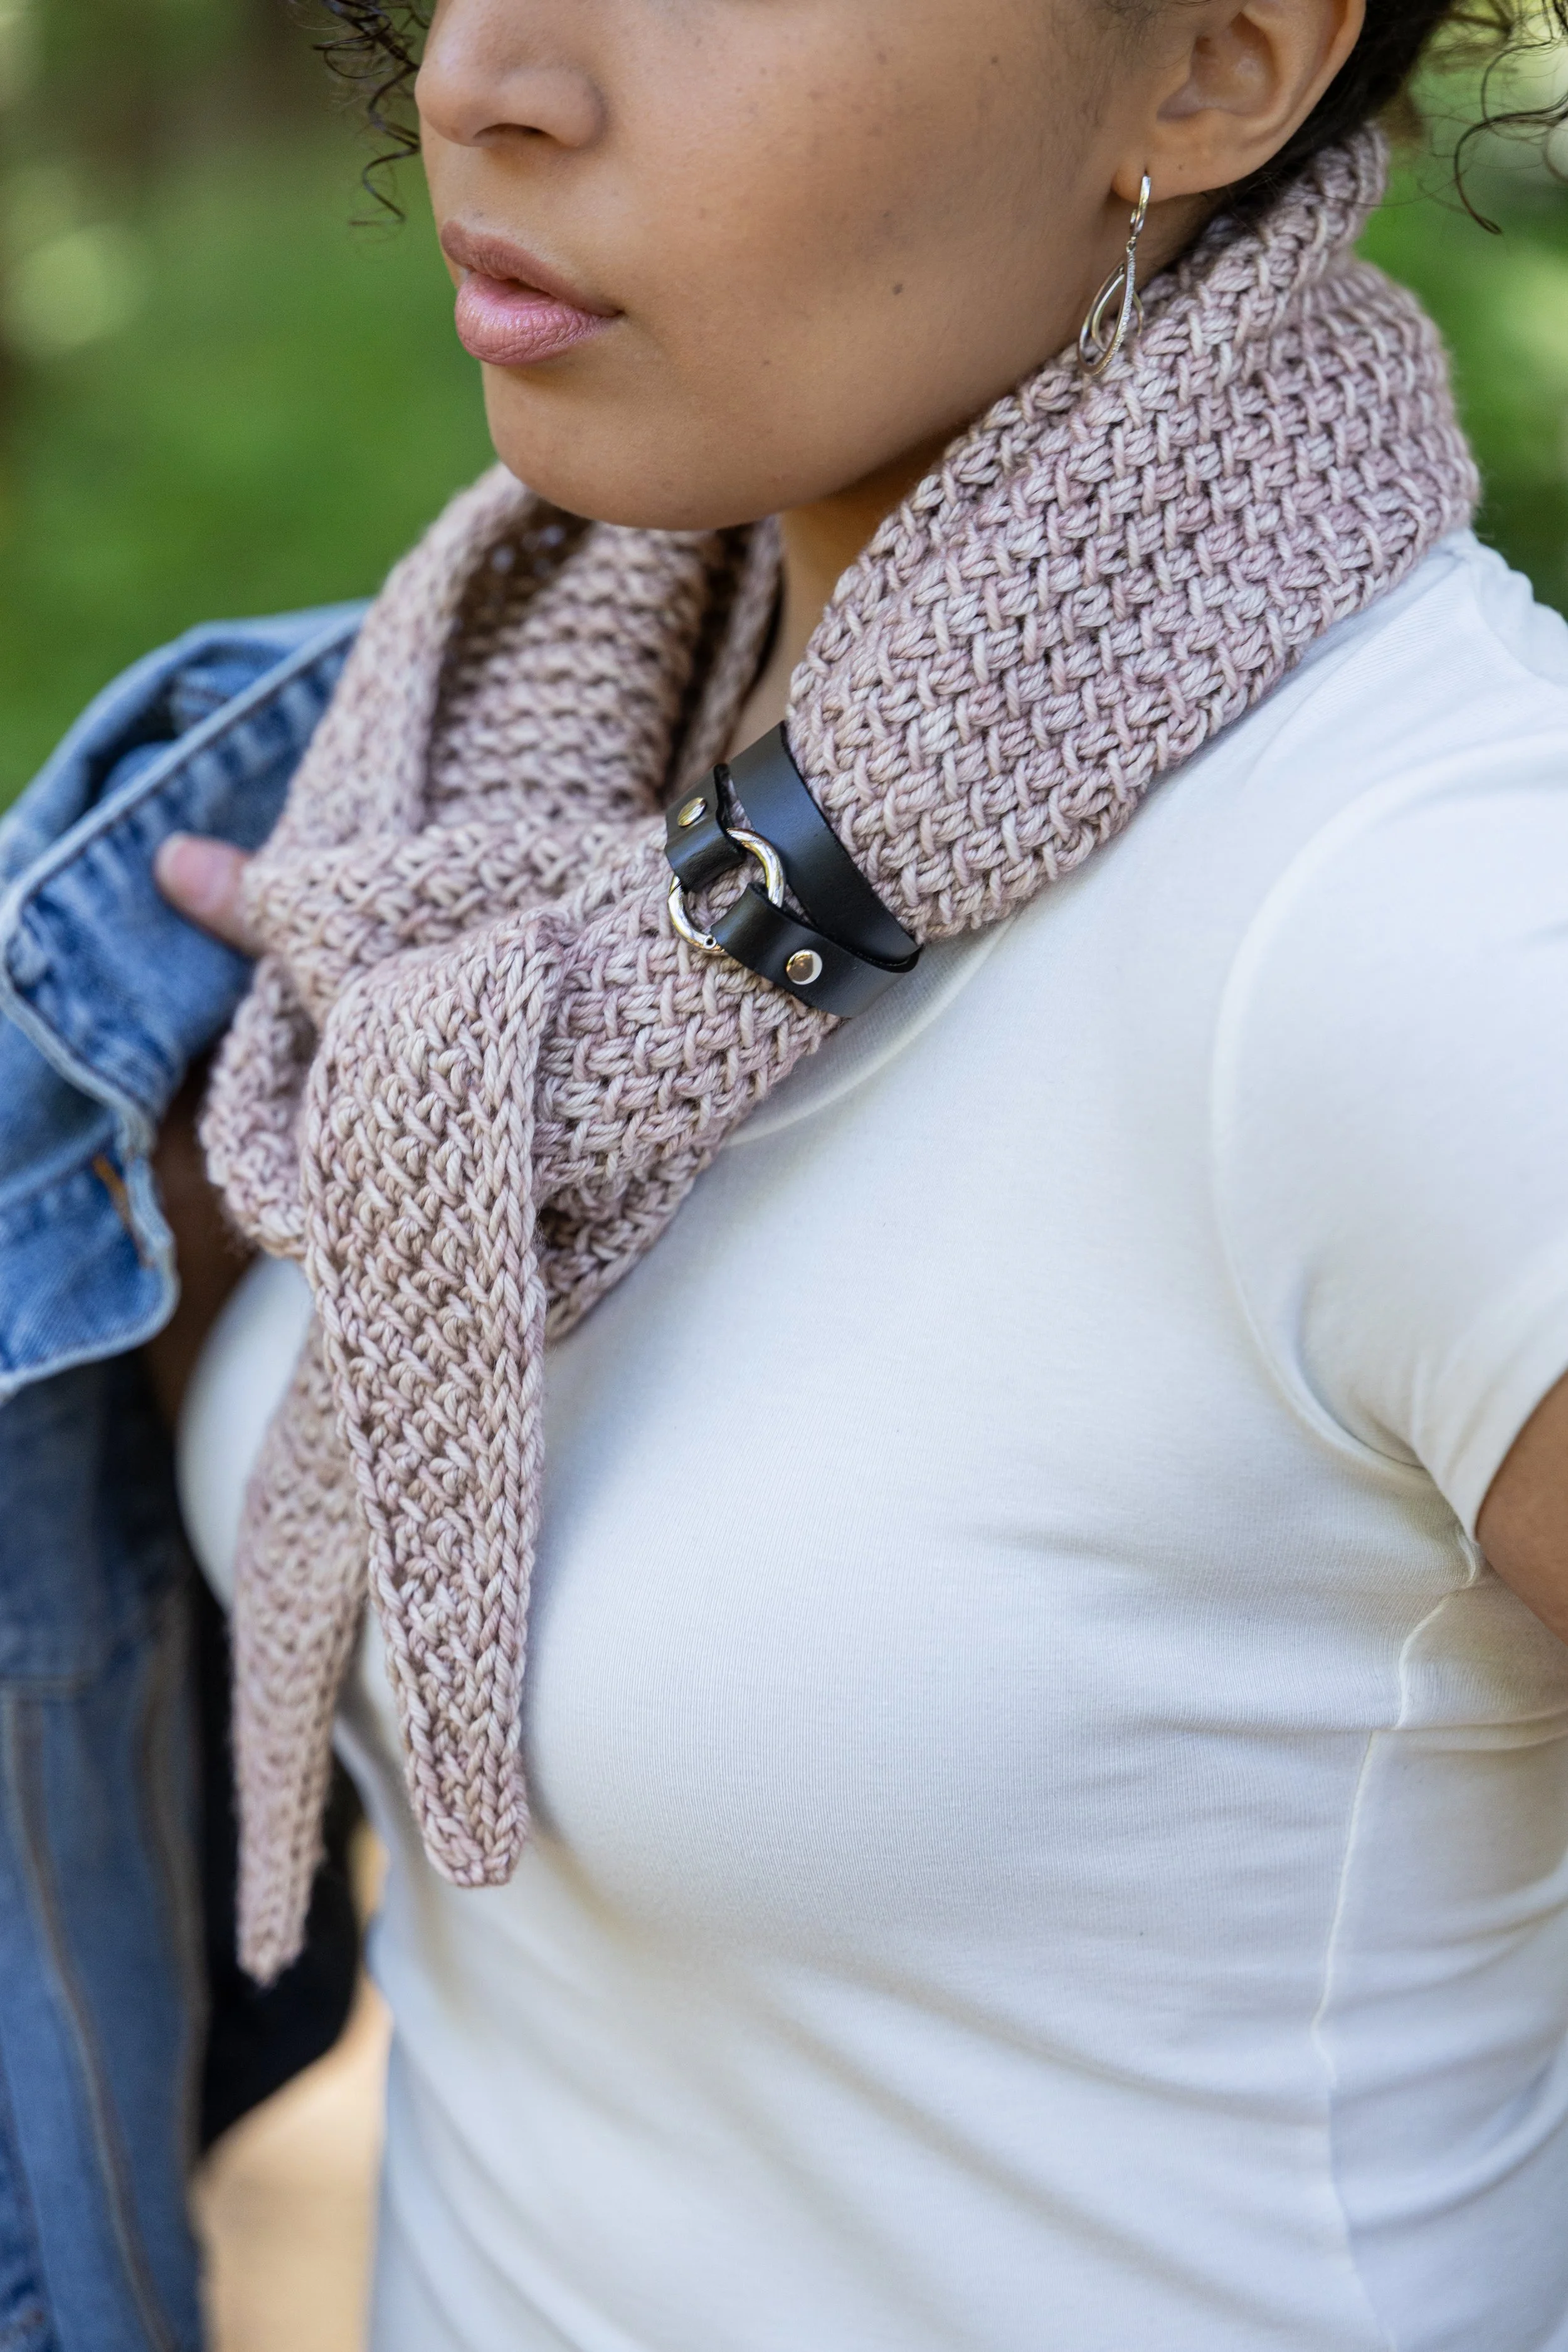
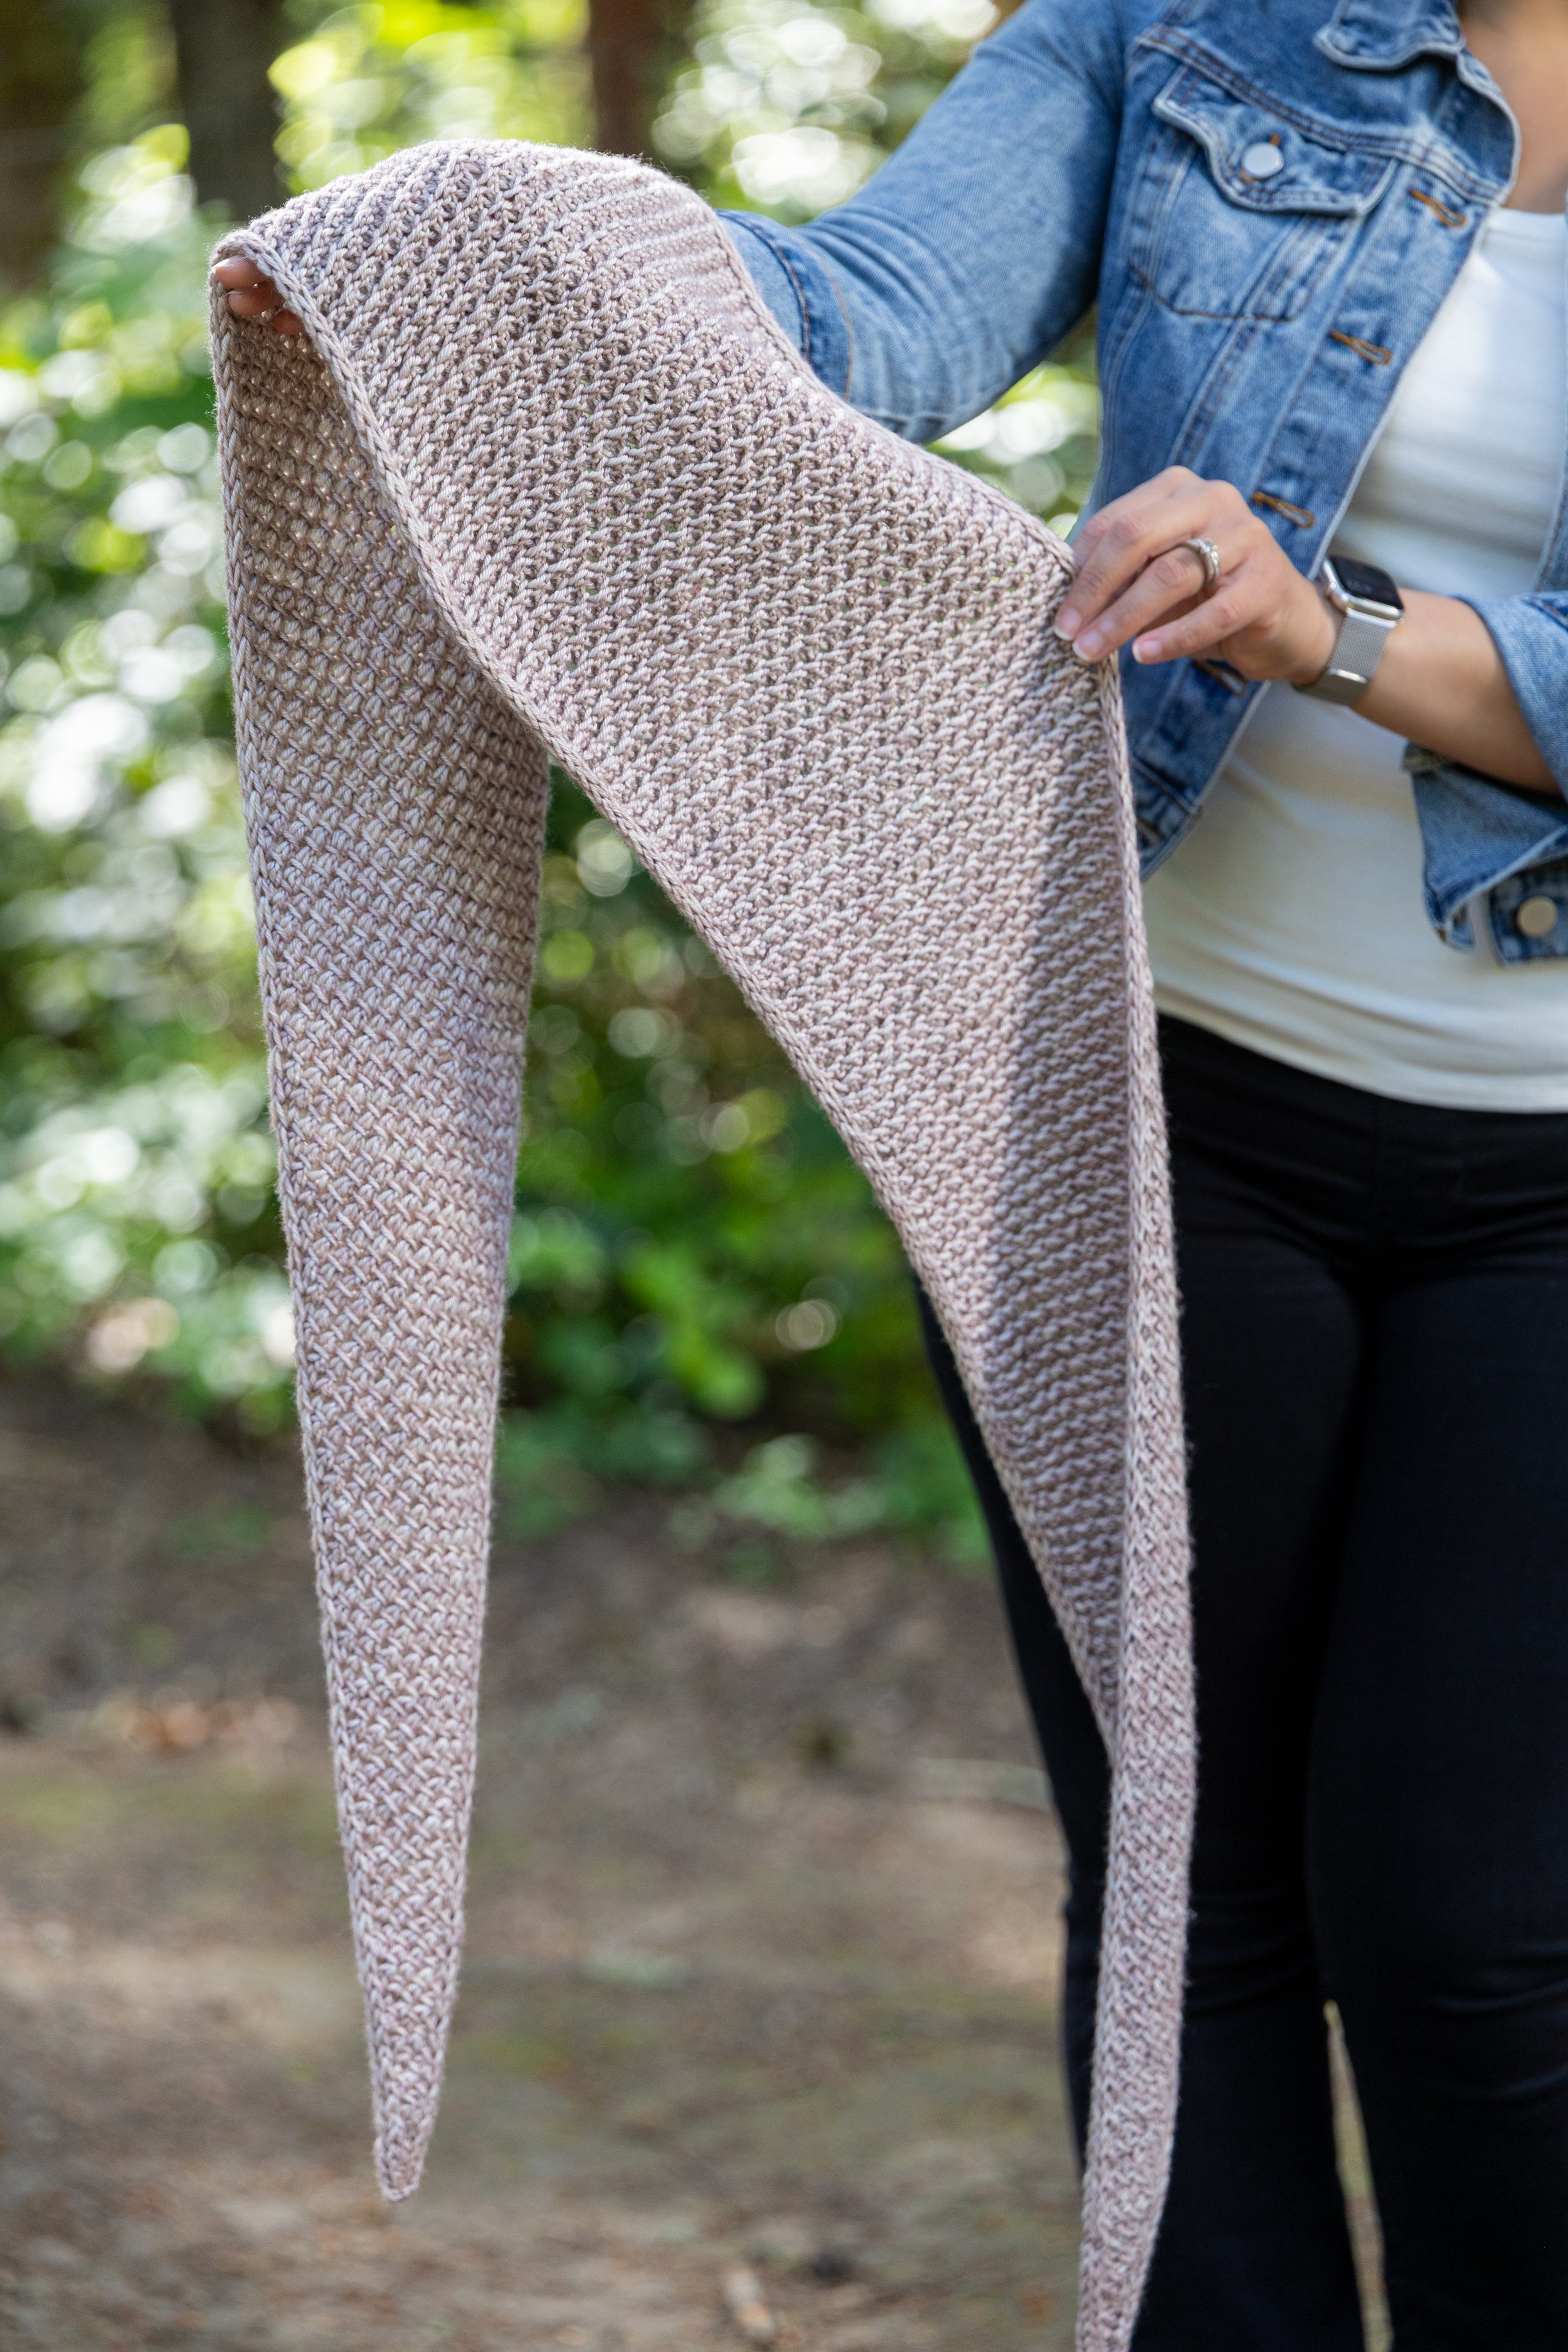
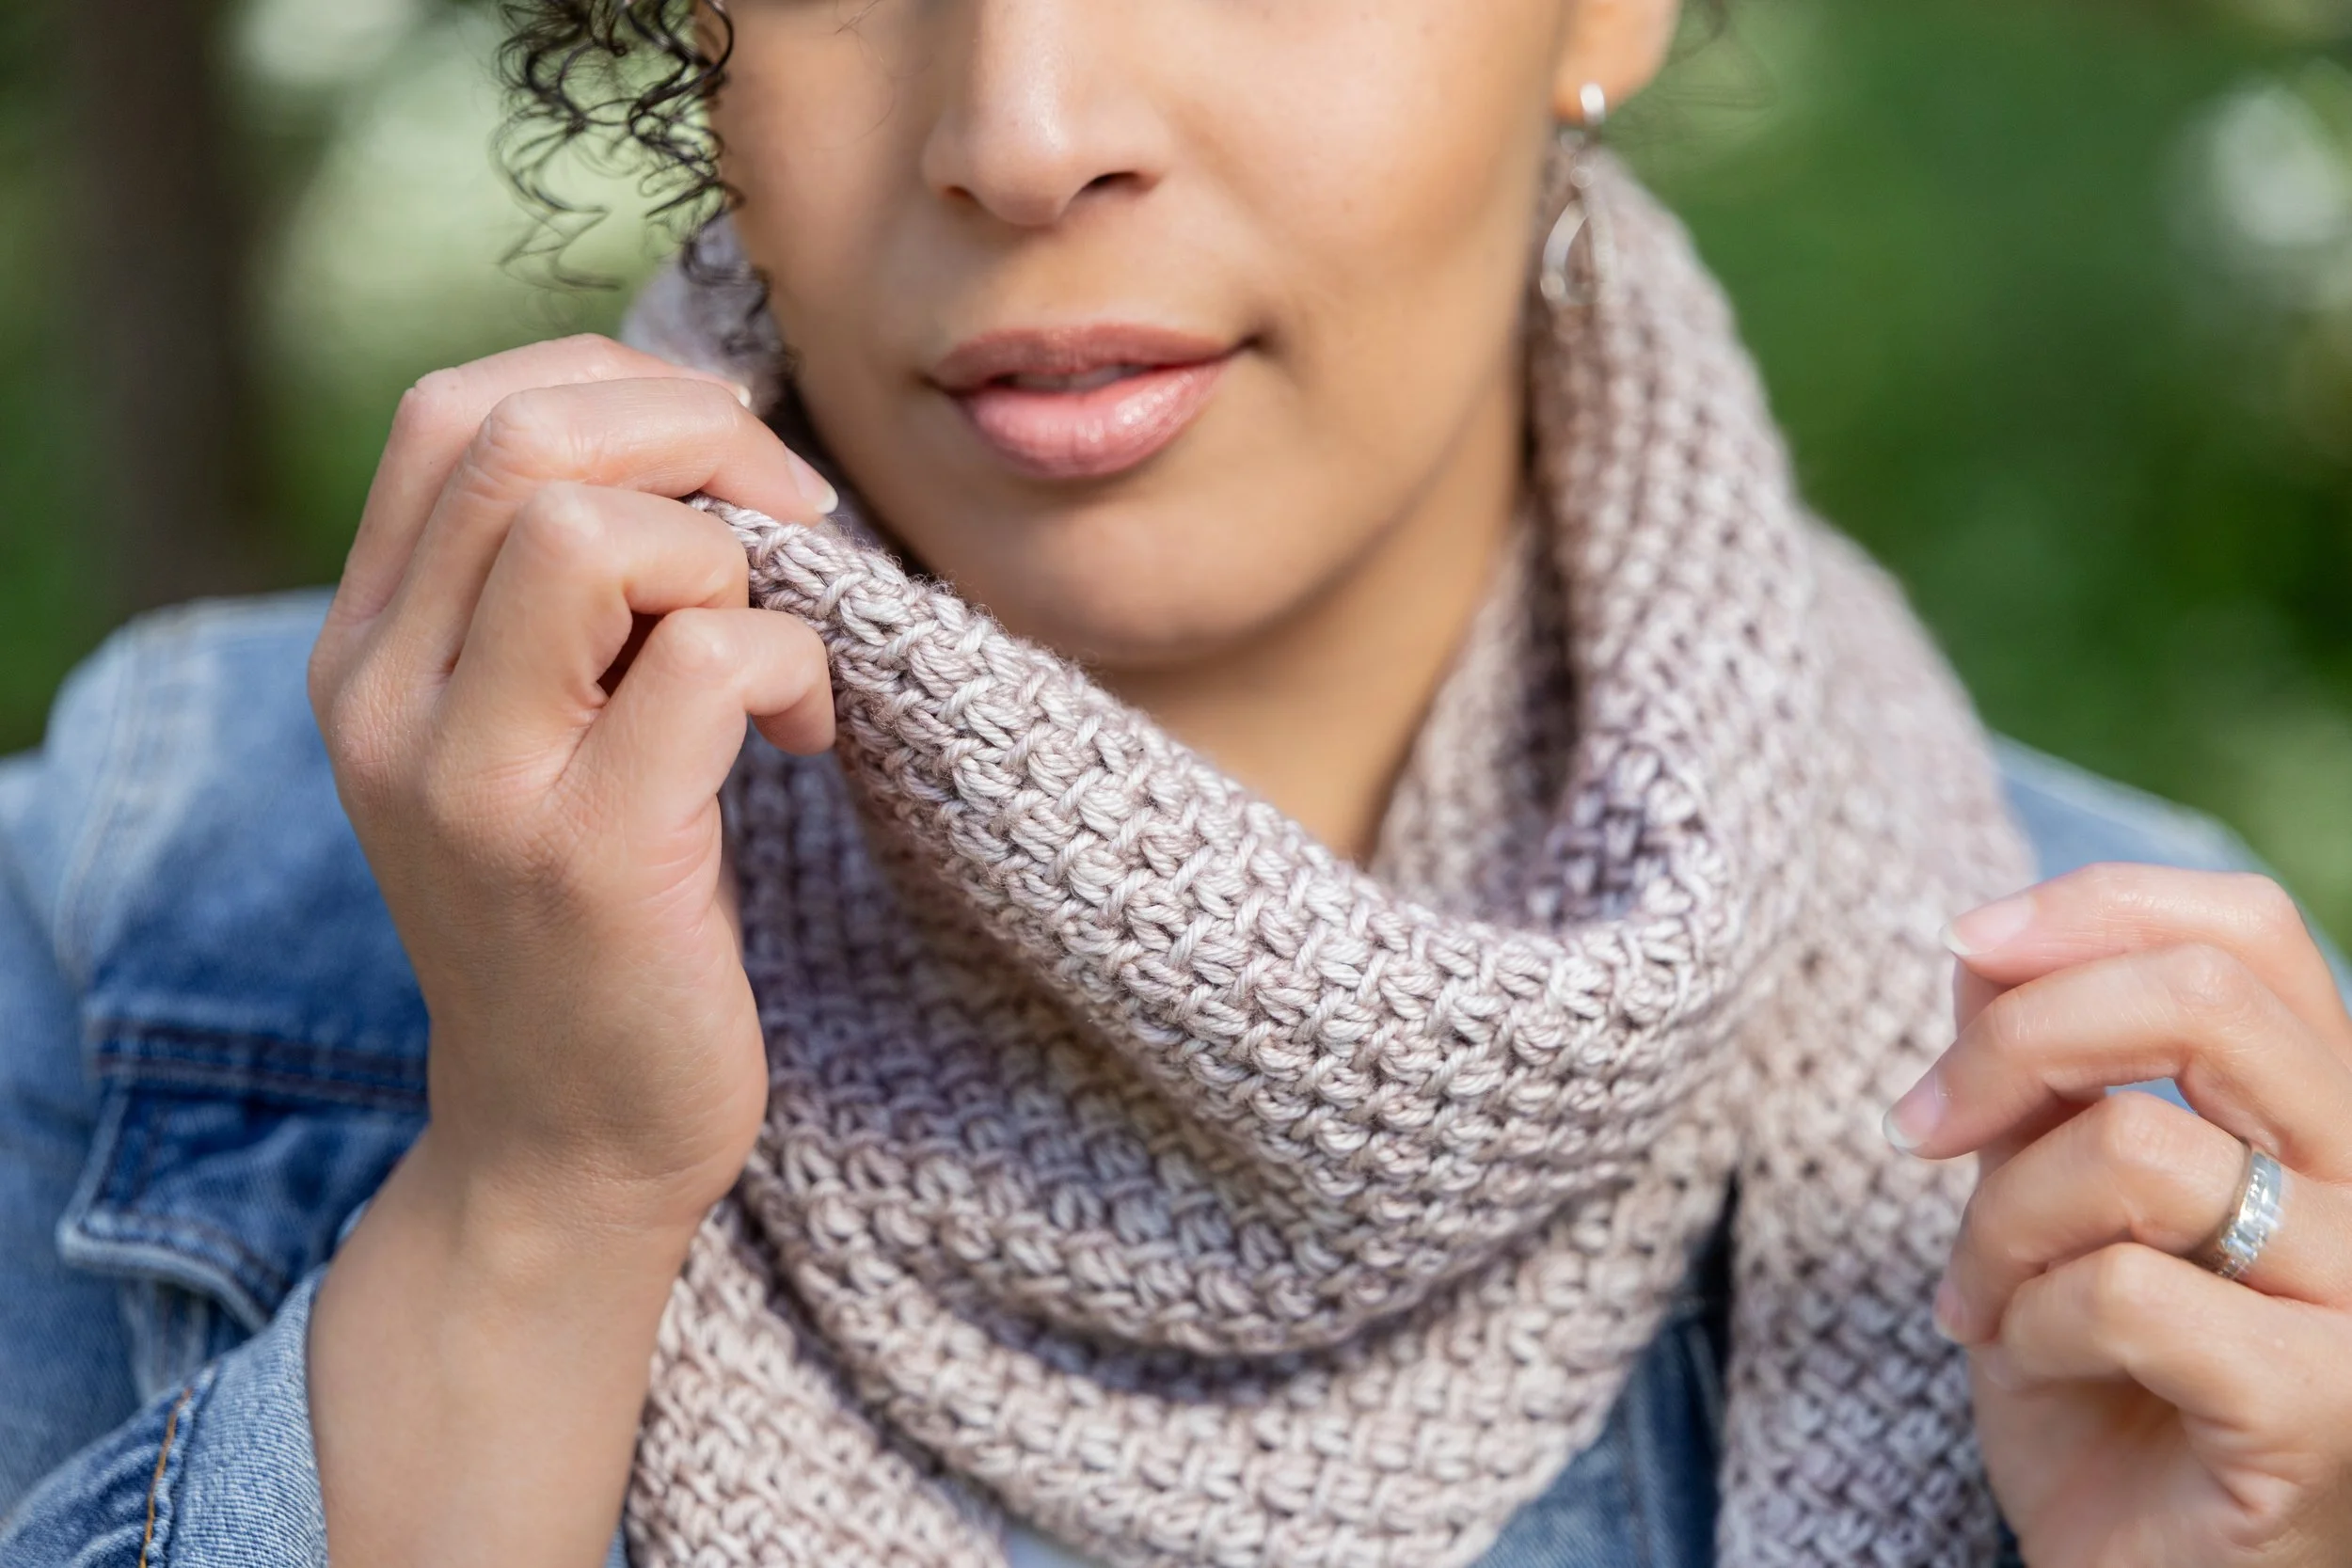
Tipping Point Scarf
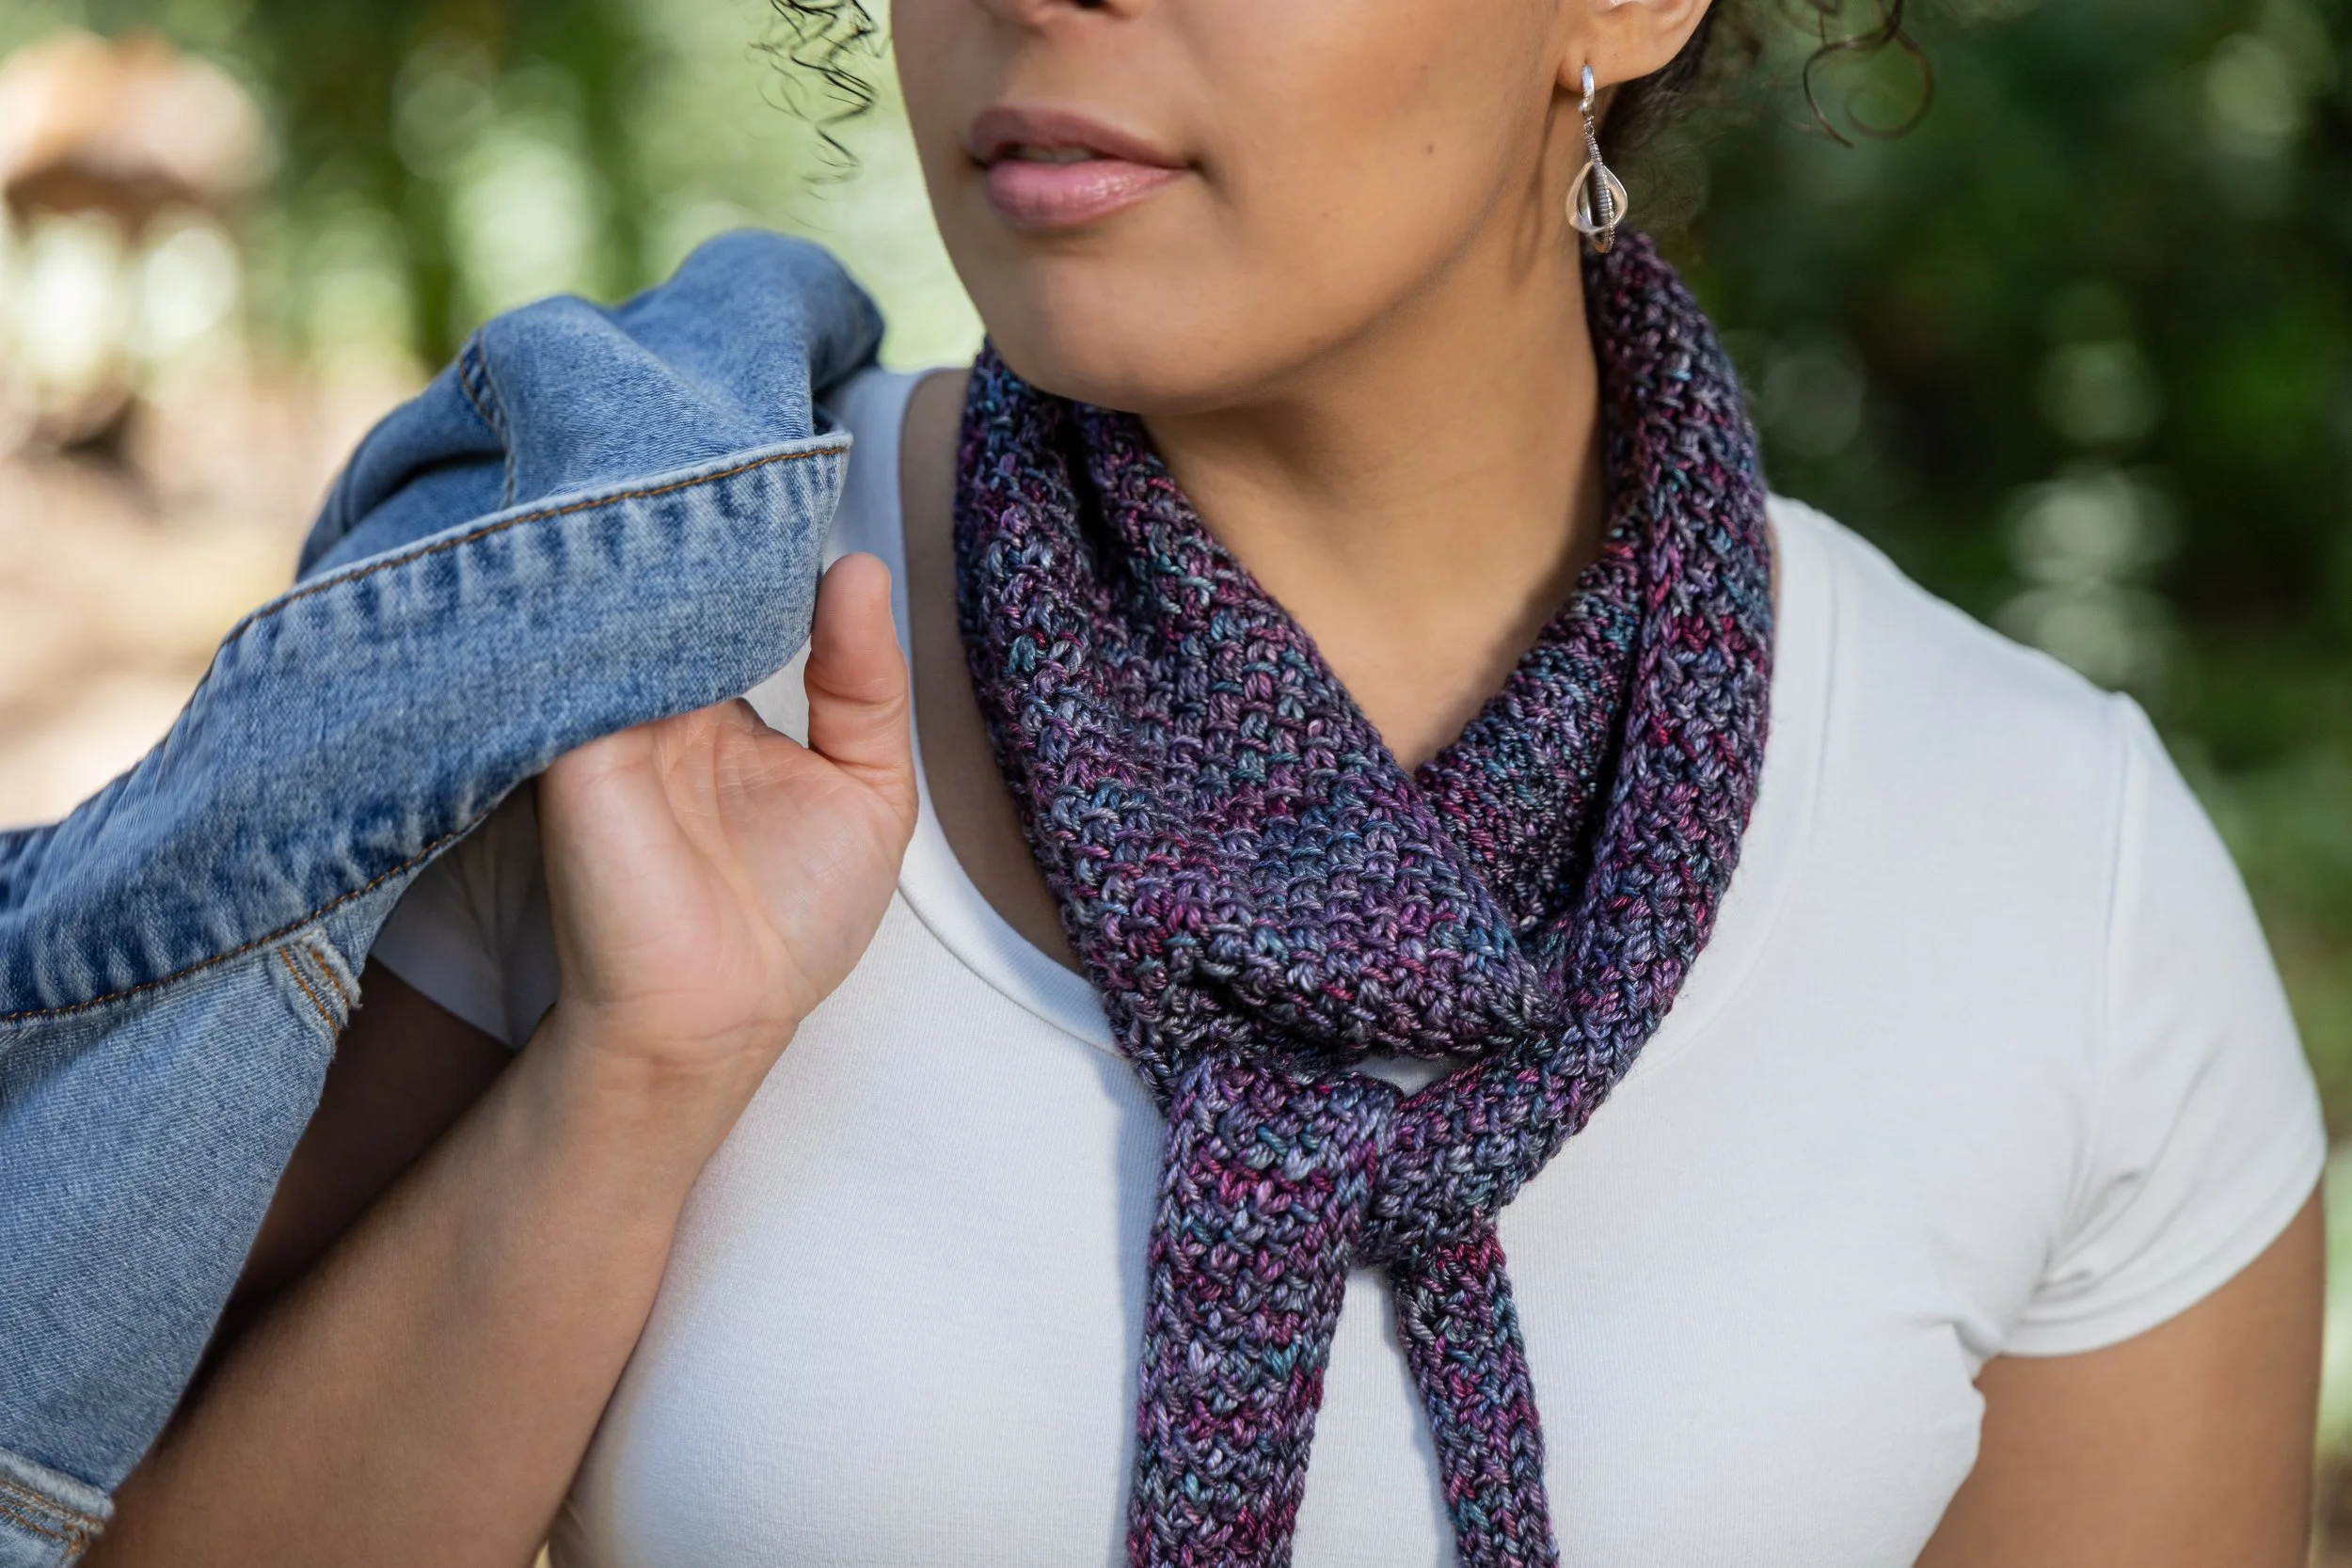
For many years, my yarn cabinet was home to four skeins—two singles and one pair—that drew my eye every time I perused my stash but that I thought weren’t enough for anything bigger than a hat or a cowl. They were all beautiful but, sadly, discontinued and irreplaceable. Then, during a particularly demanding time at work, I just needed something easy and practical to knit. Some people turn to garter stitch. Others go for brioche. For me, it’s a potato-chippy, rhythmic textured lace stitch—the same squishy fabric that shows up in several of my patterns. I’d also noticed that skinny scarves were having a moment, so I decided to make one myself. And I knew exactly which yarns to reach for.
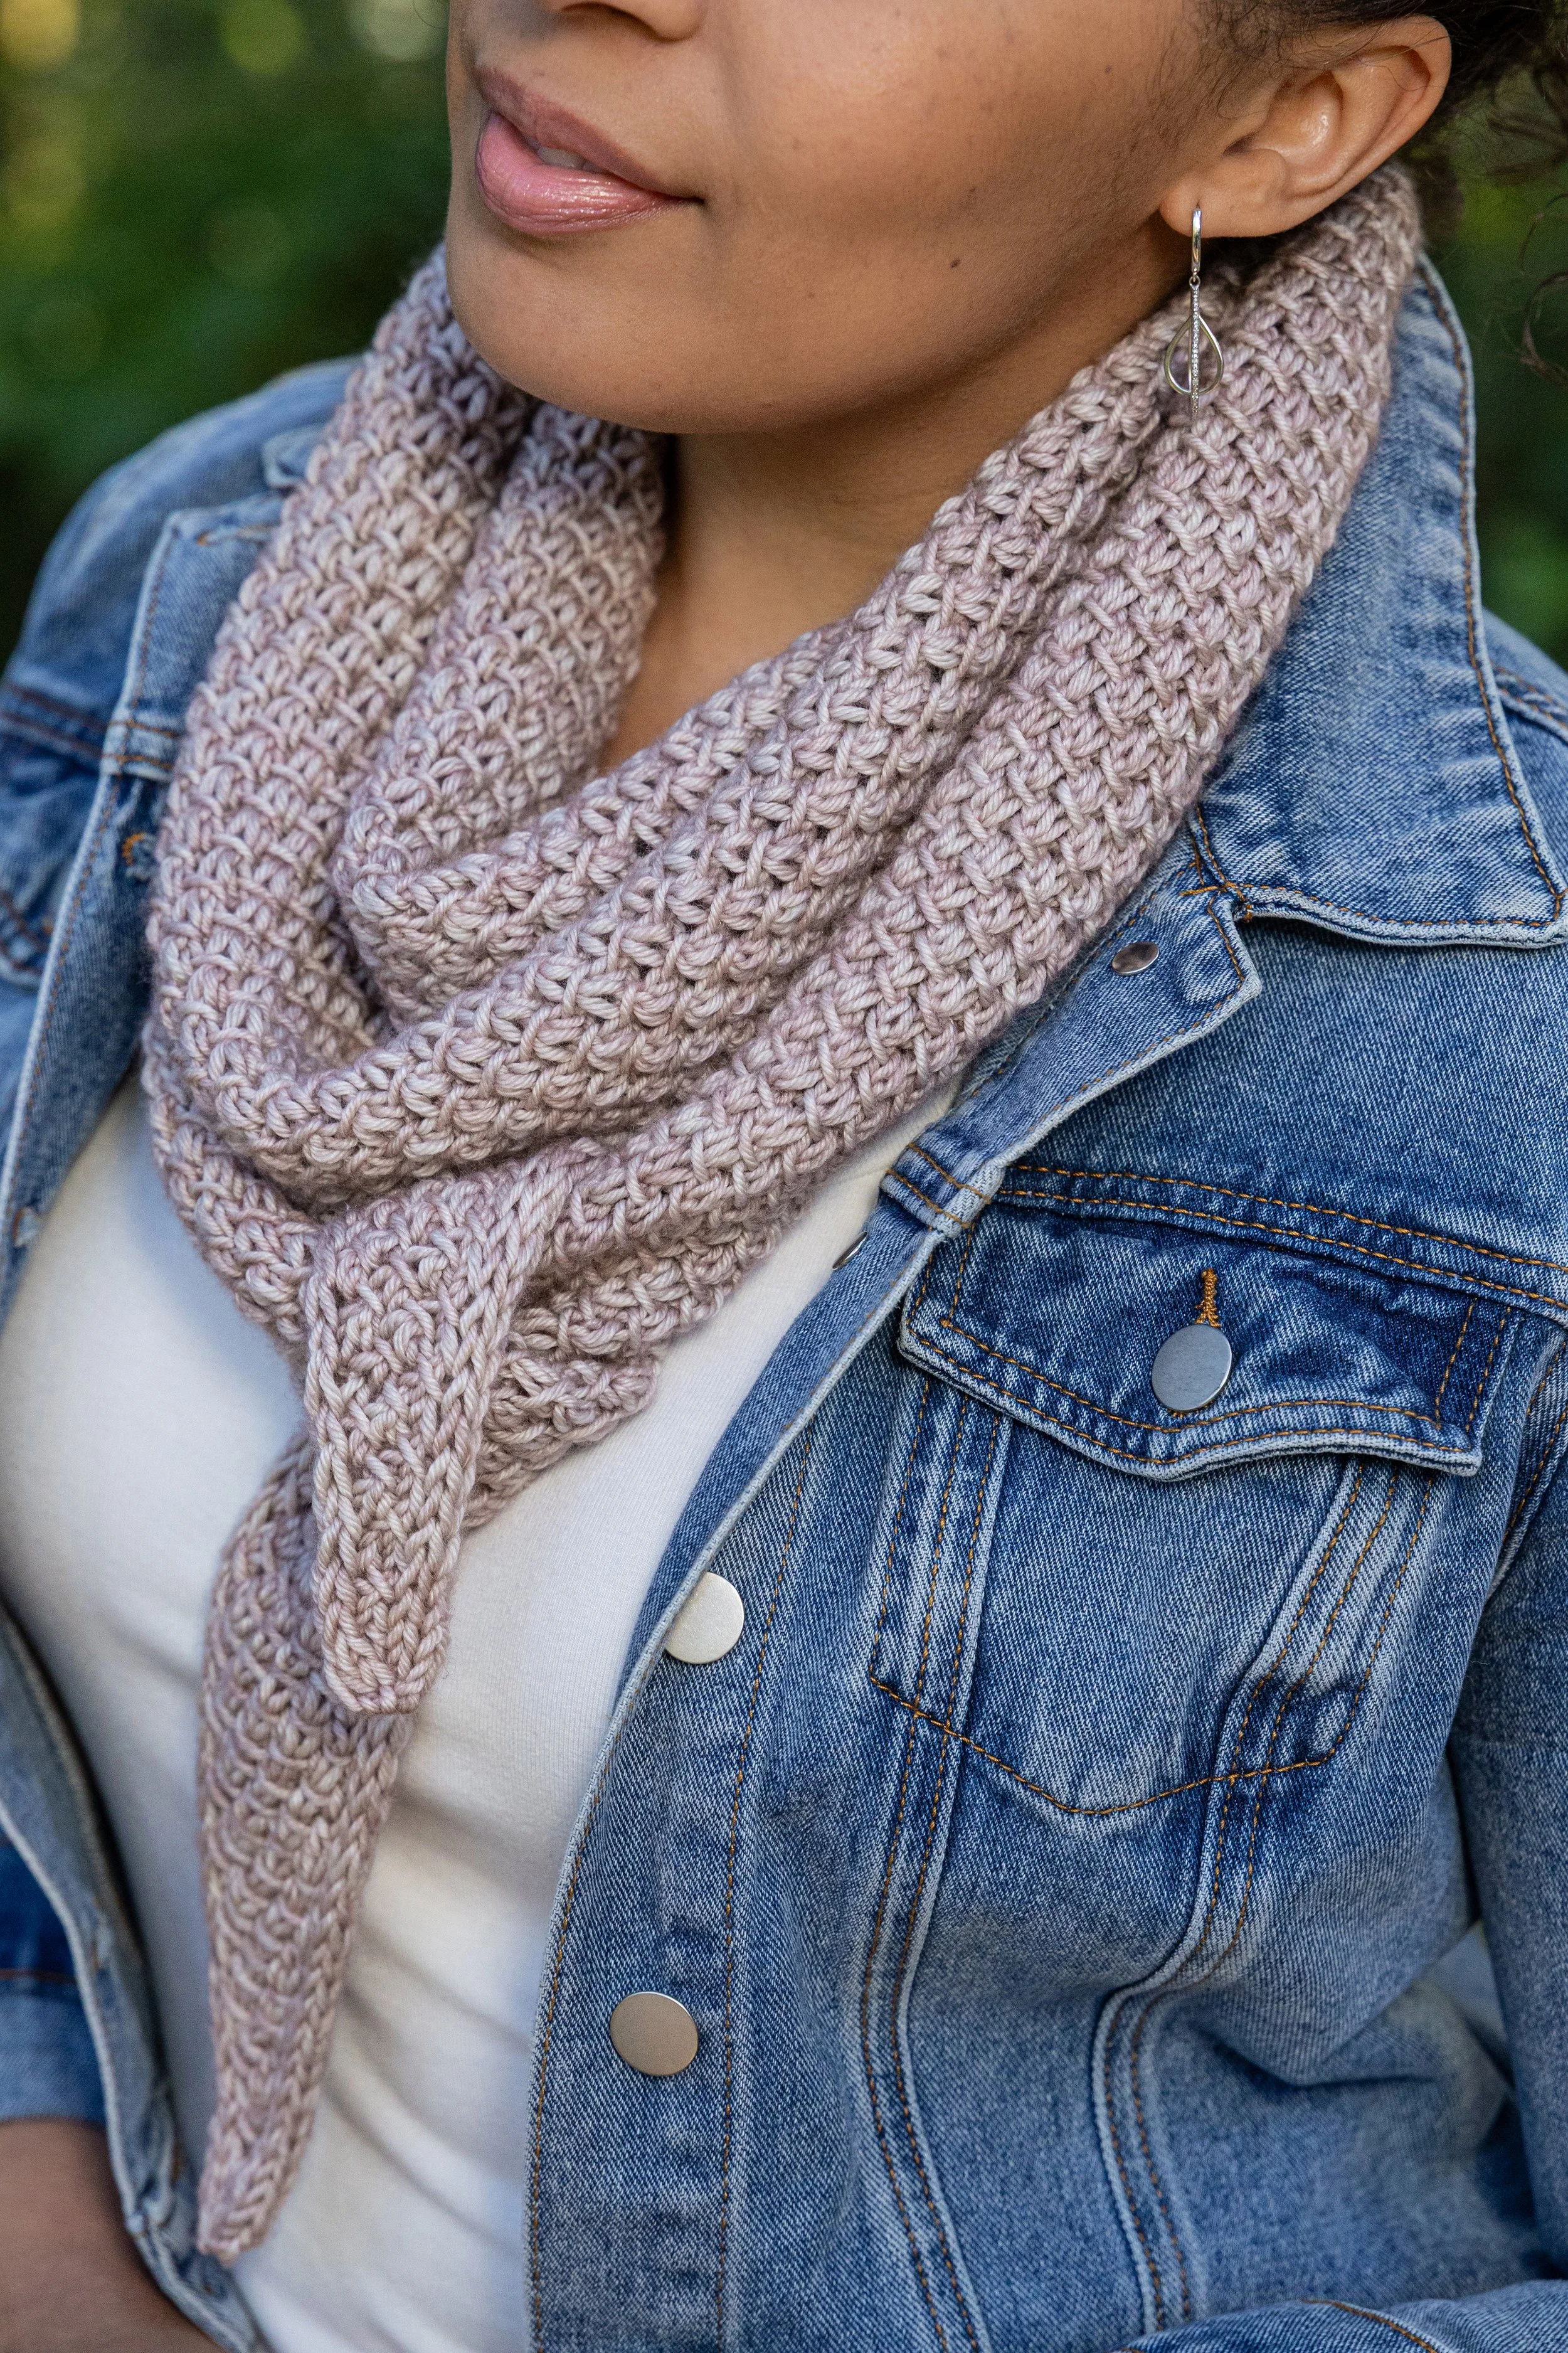
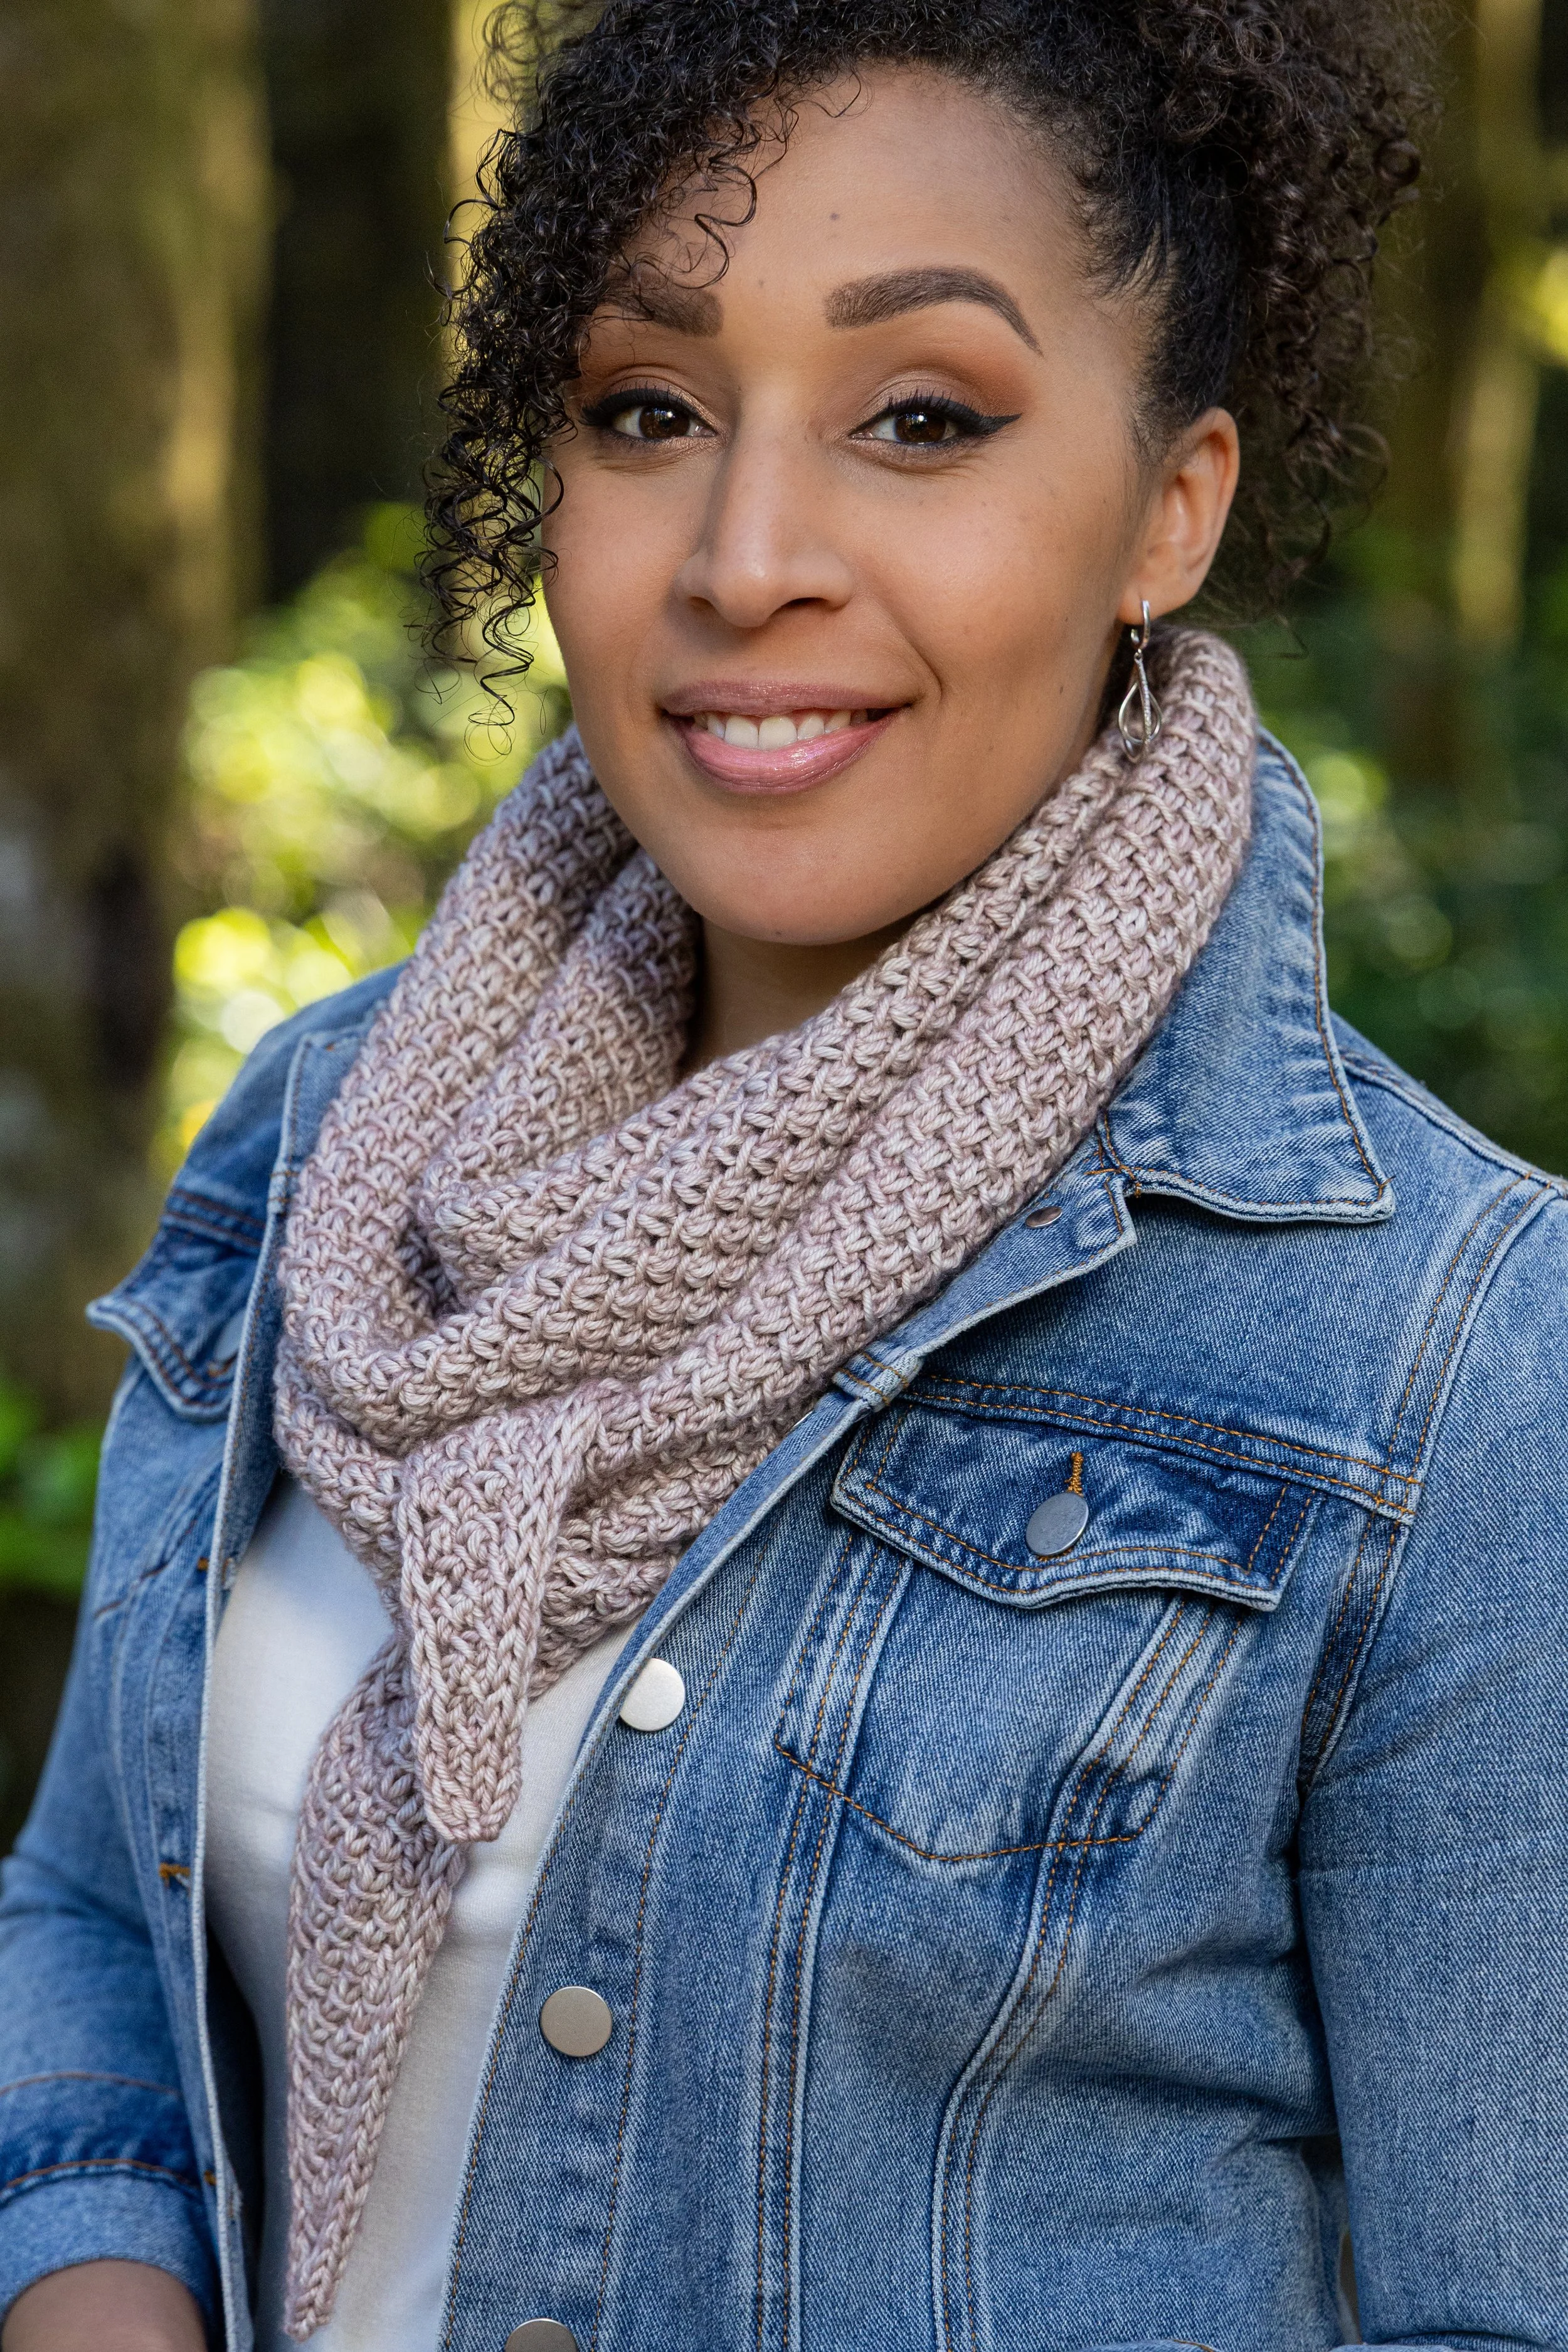
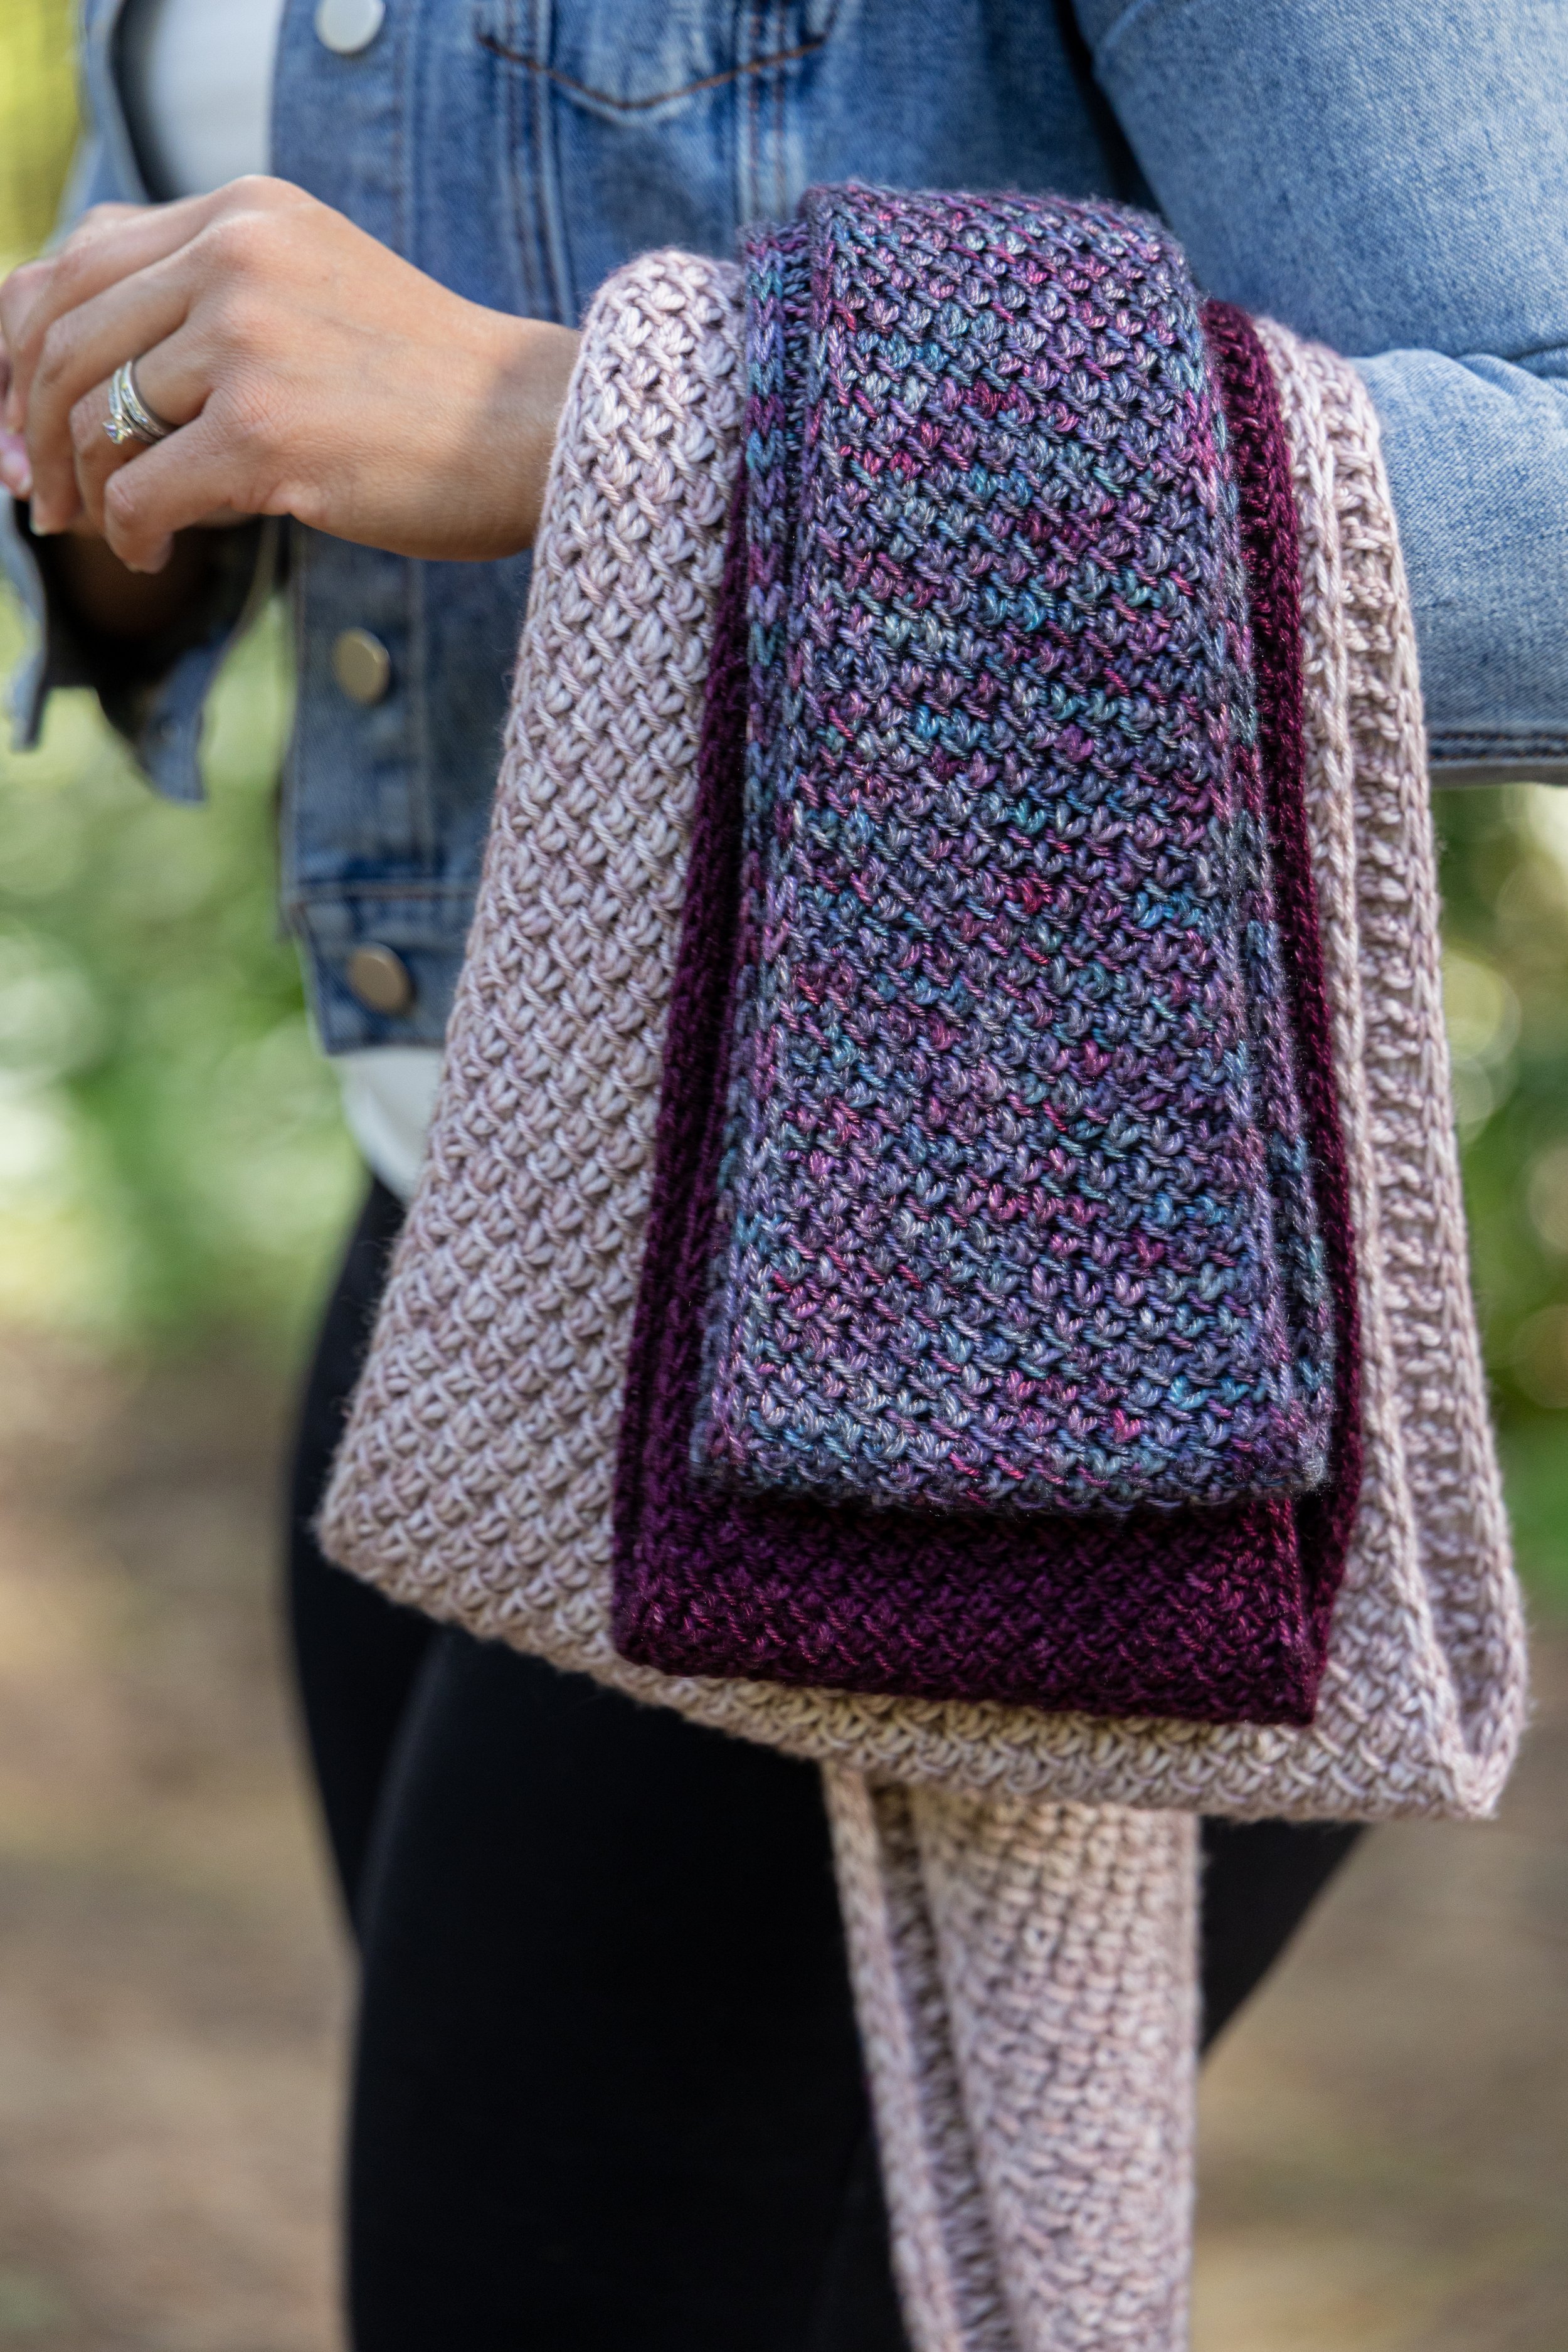
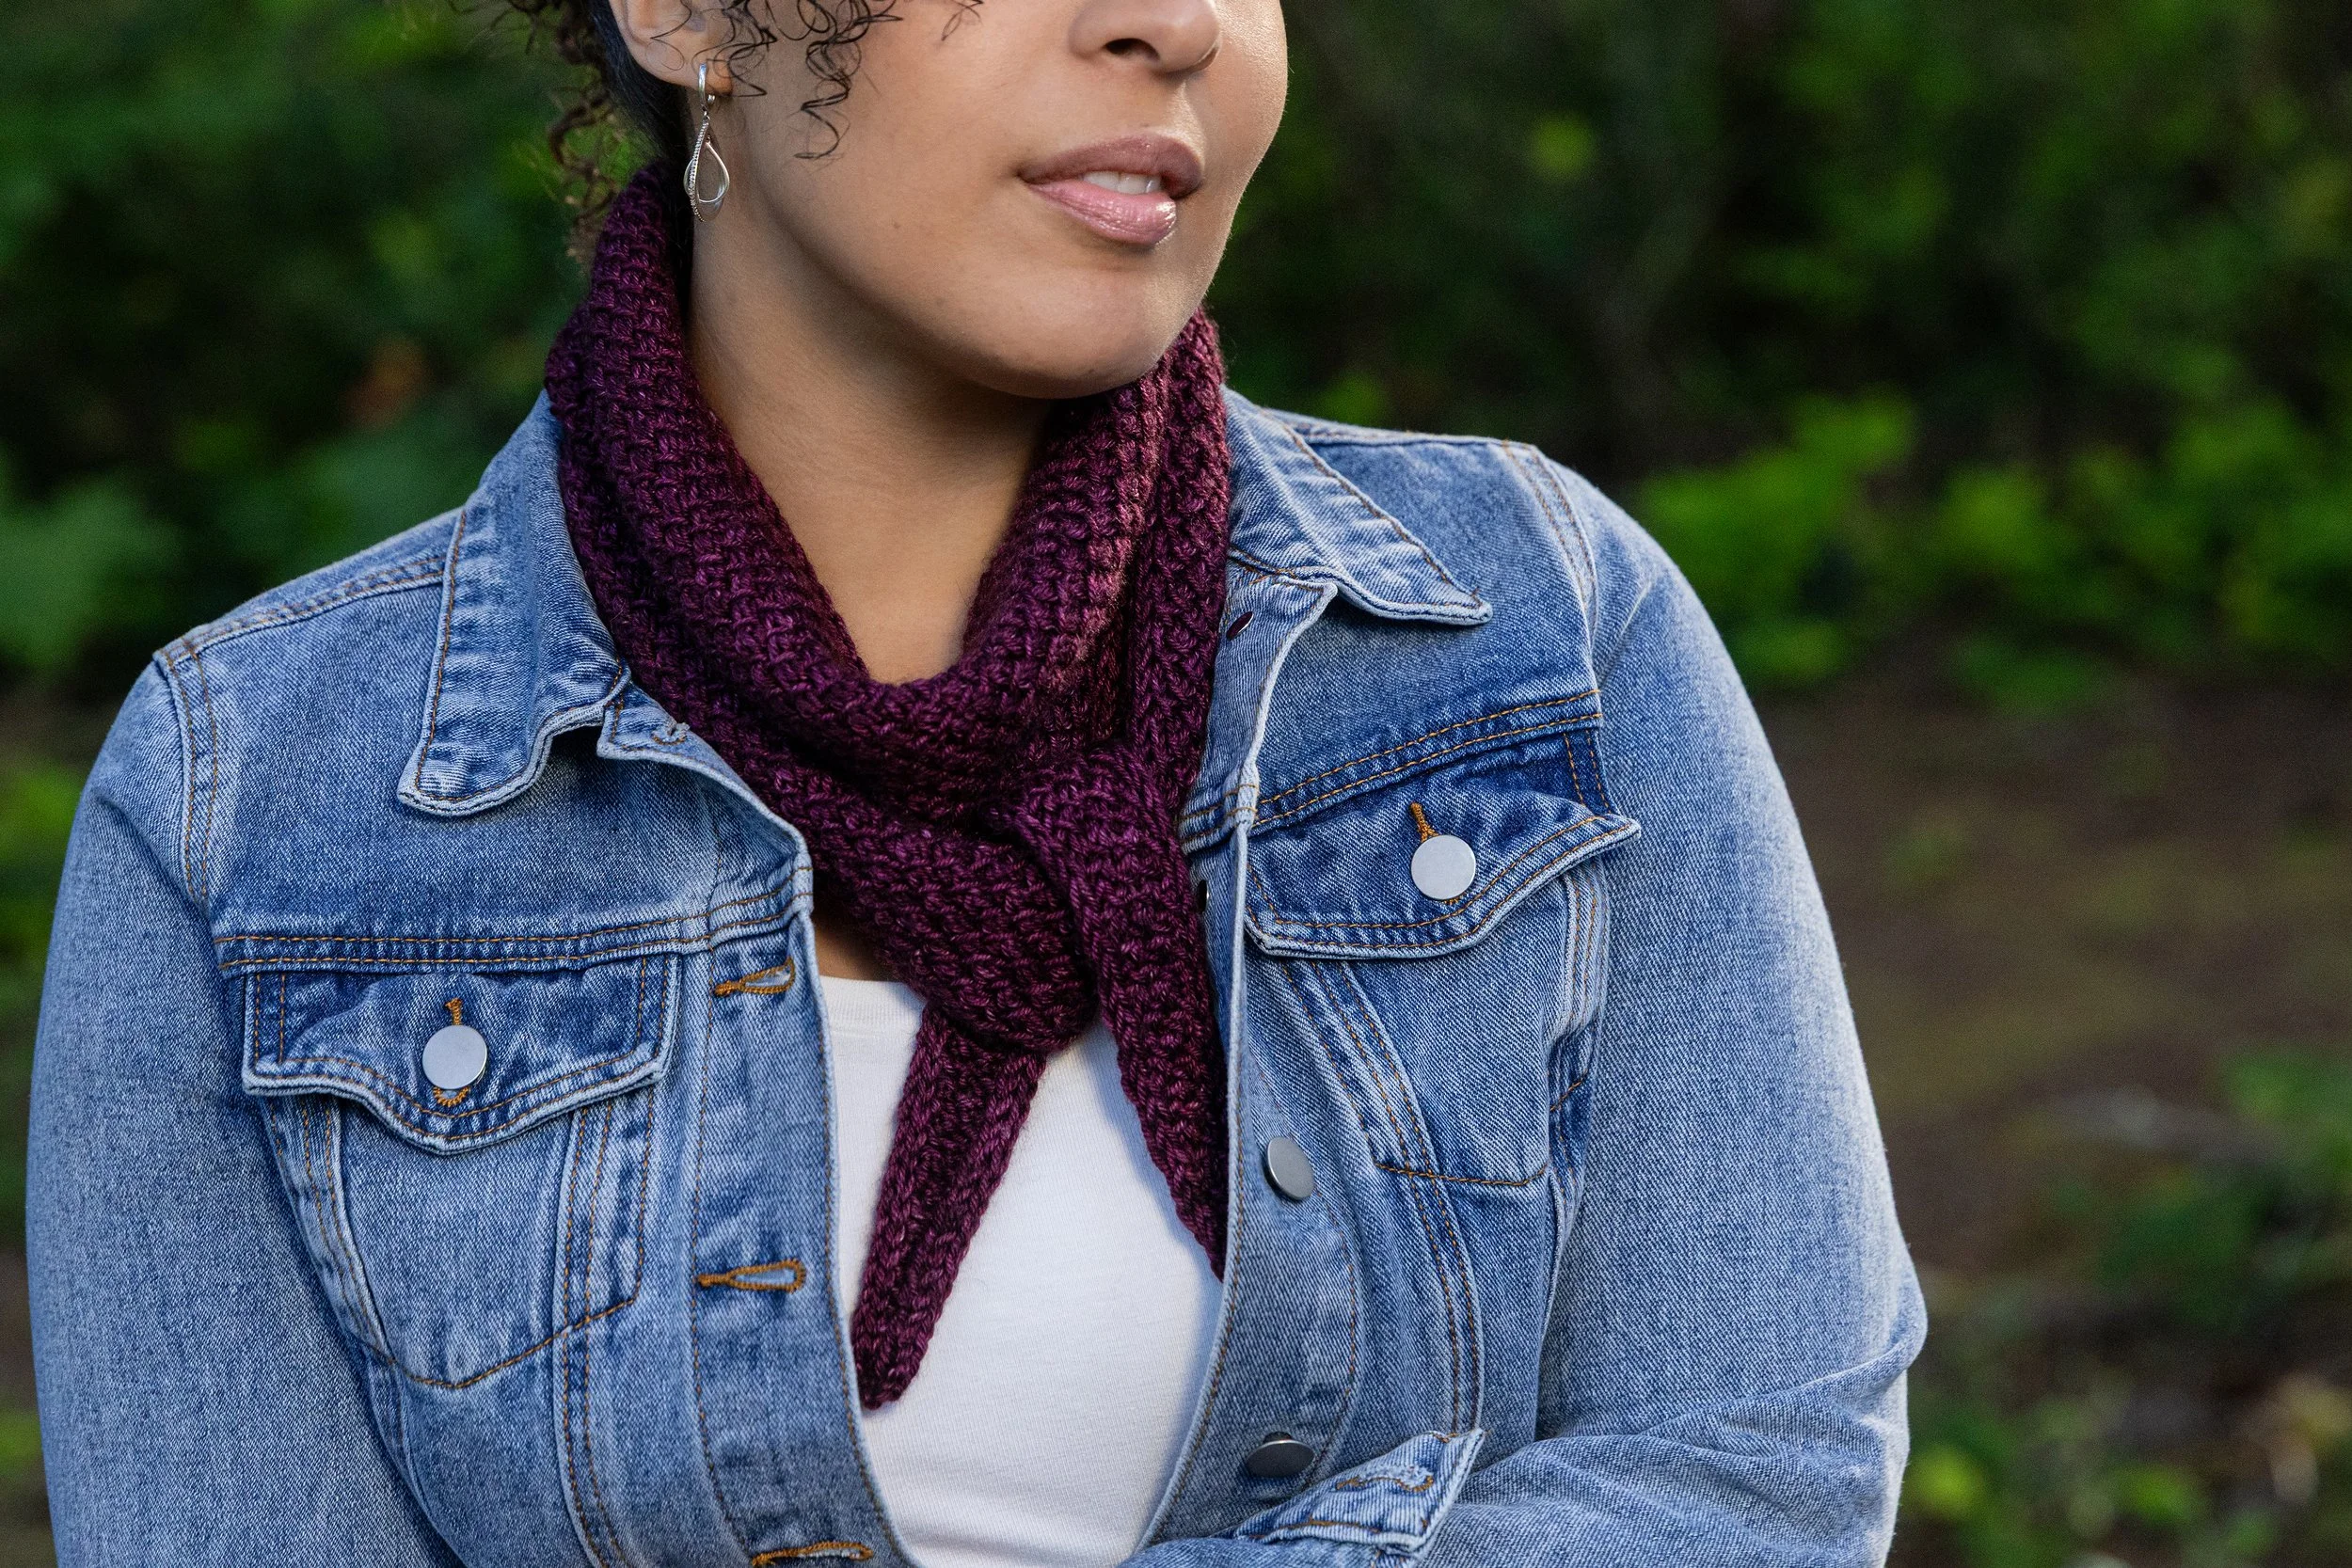
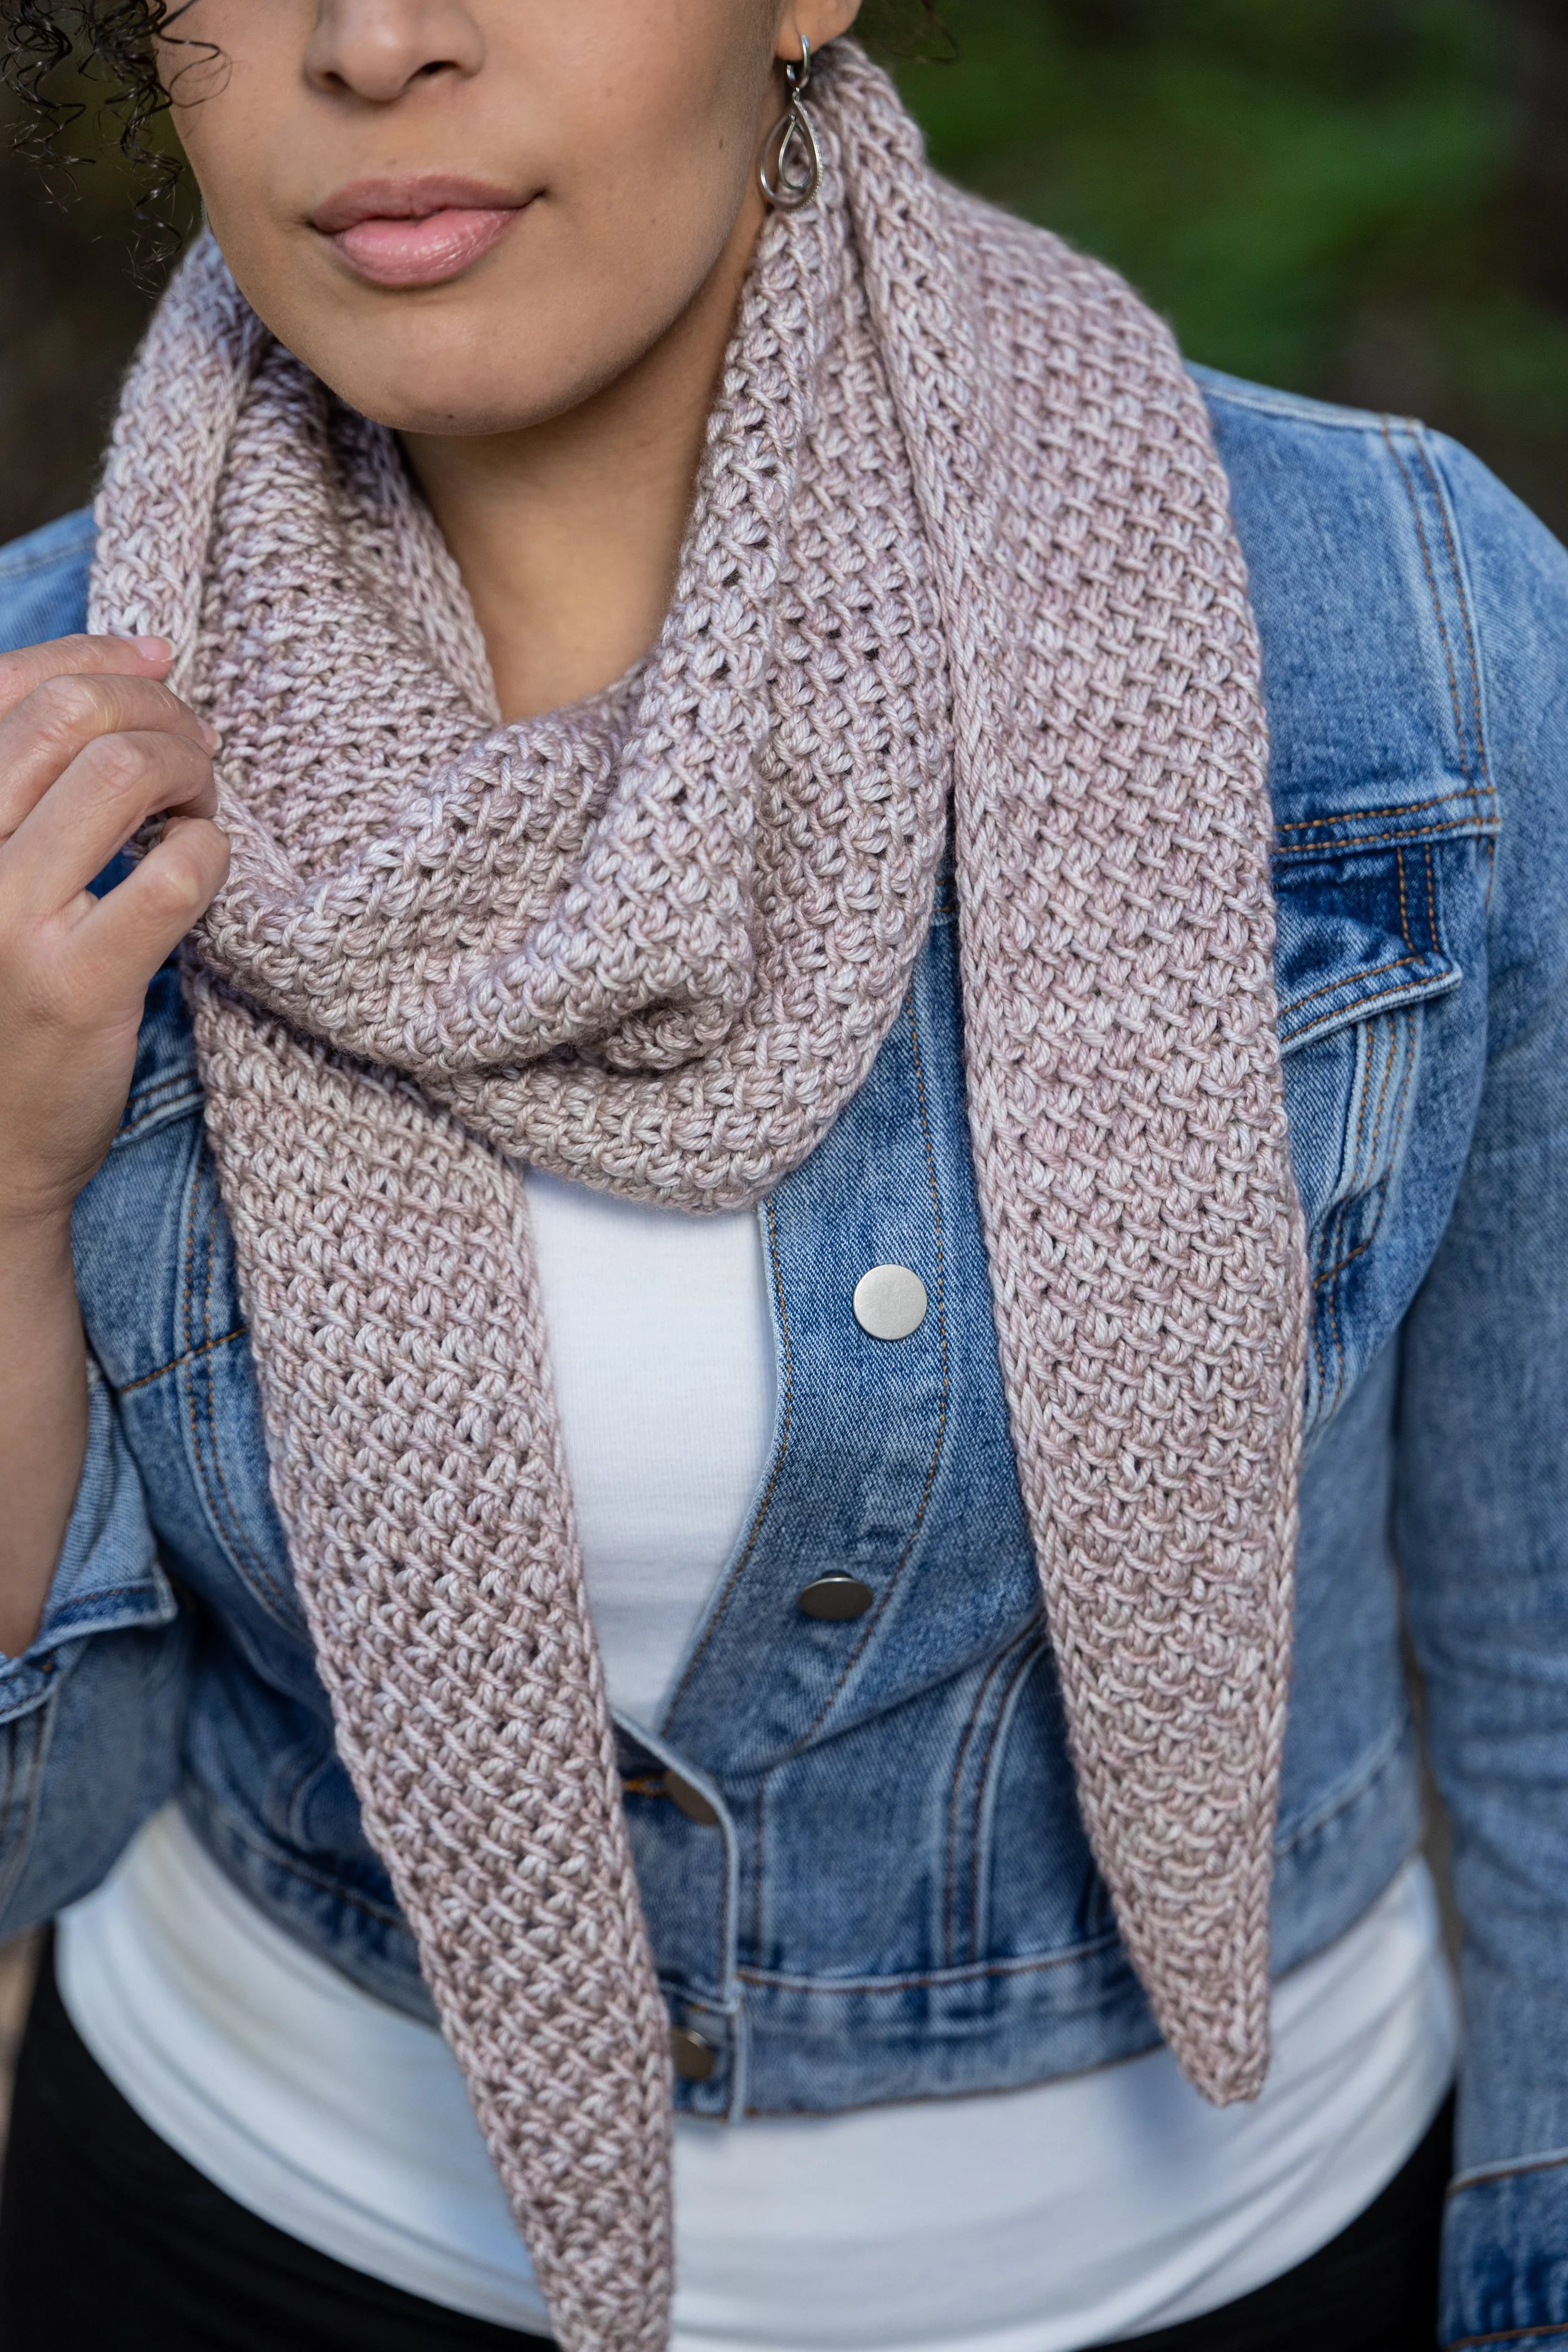
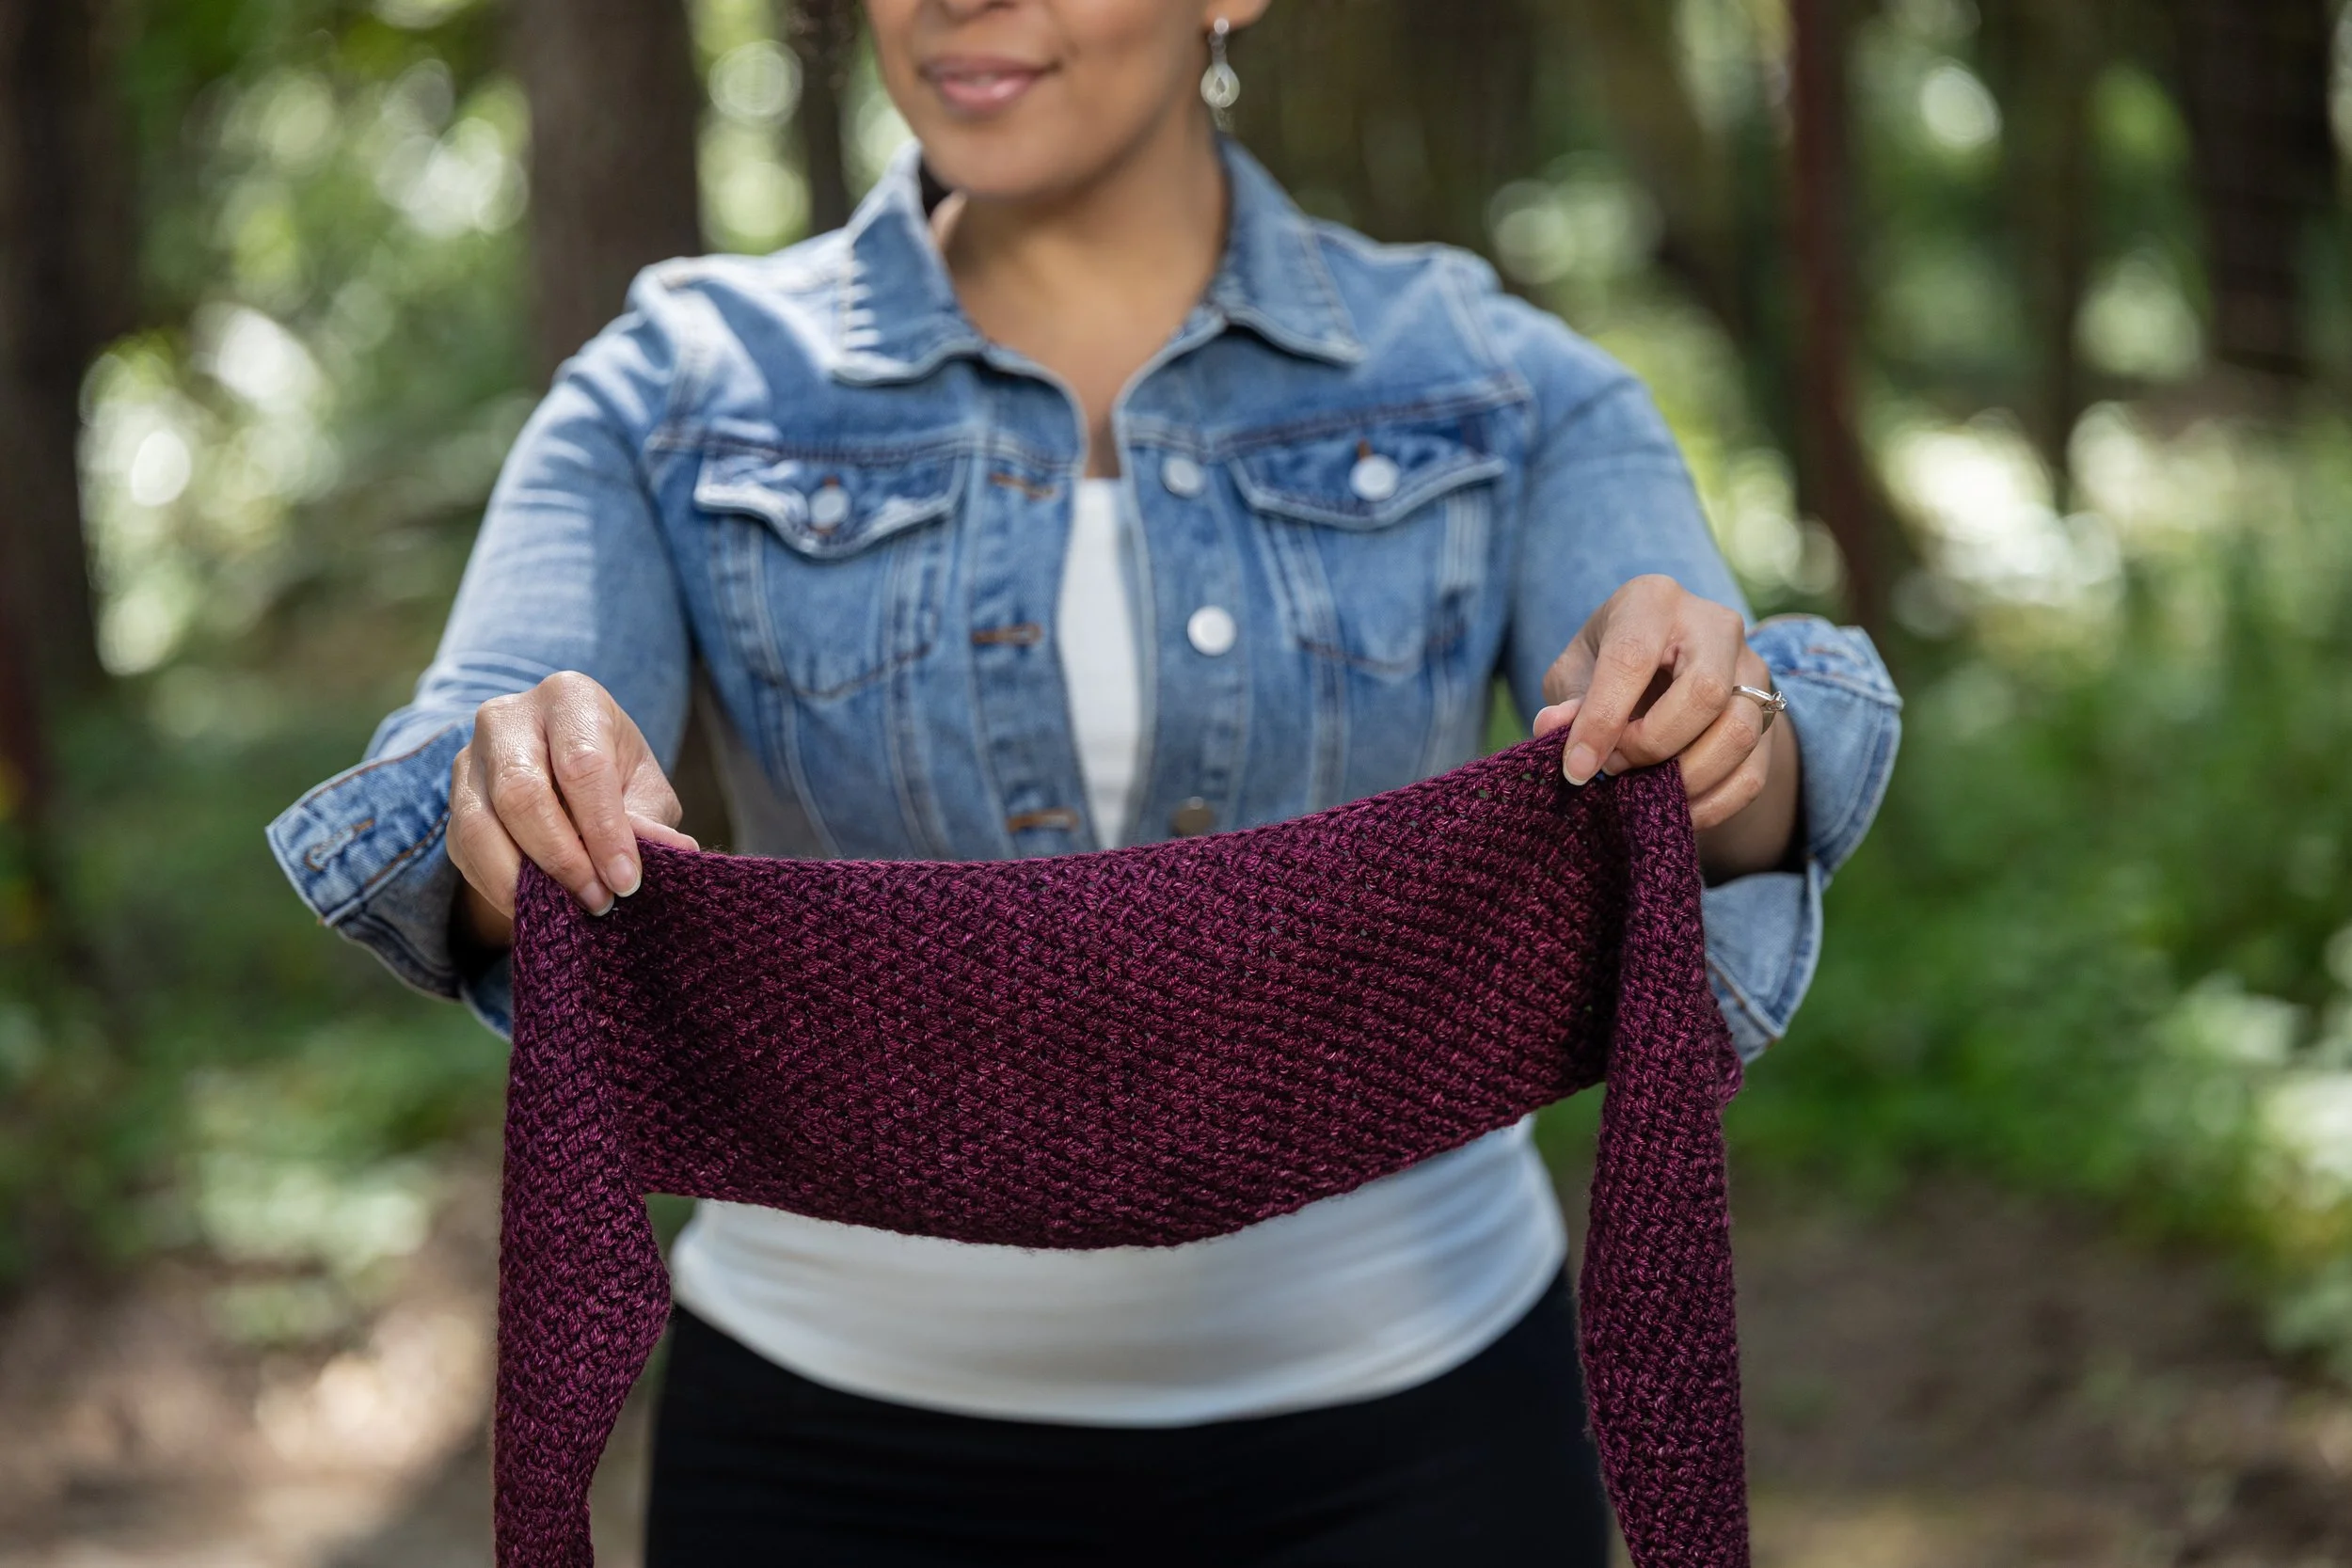
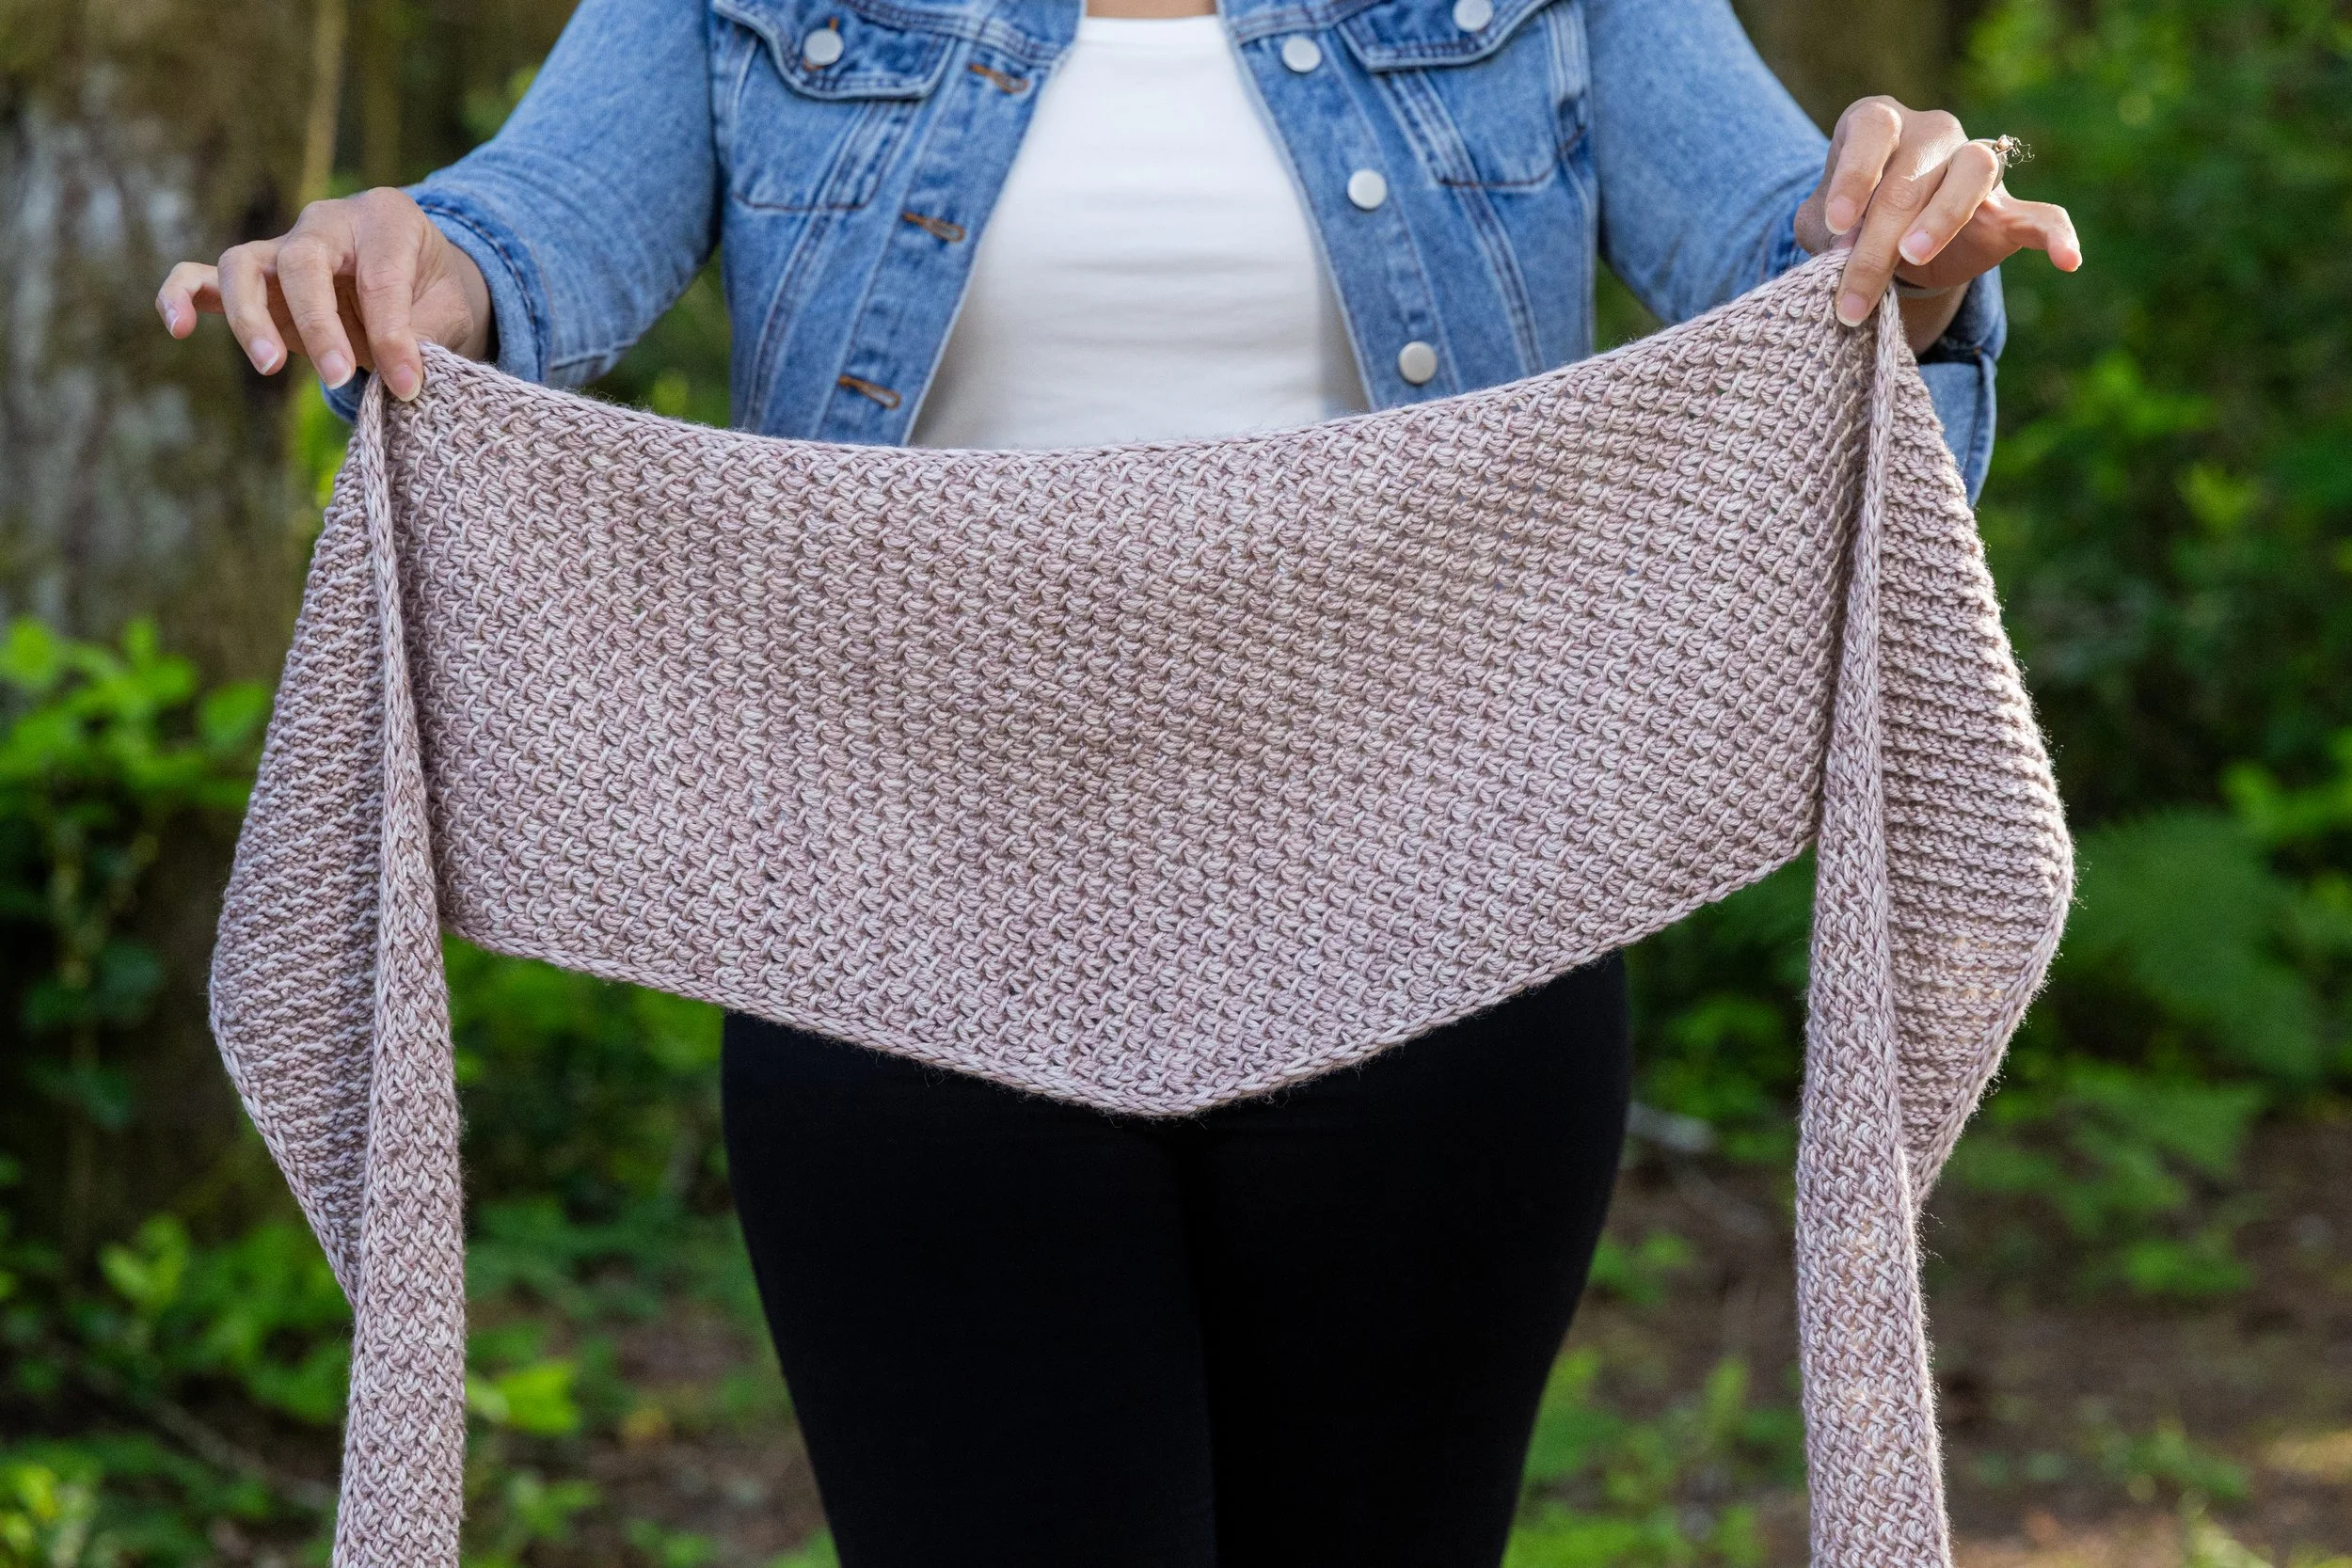
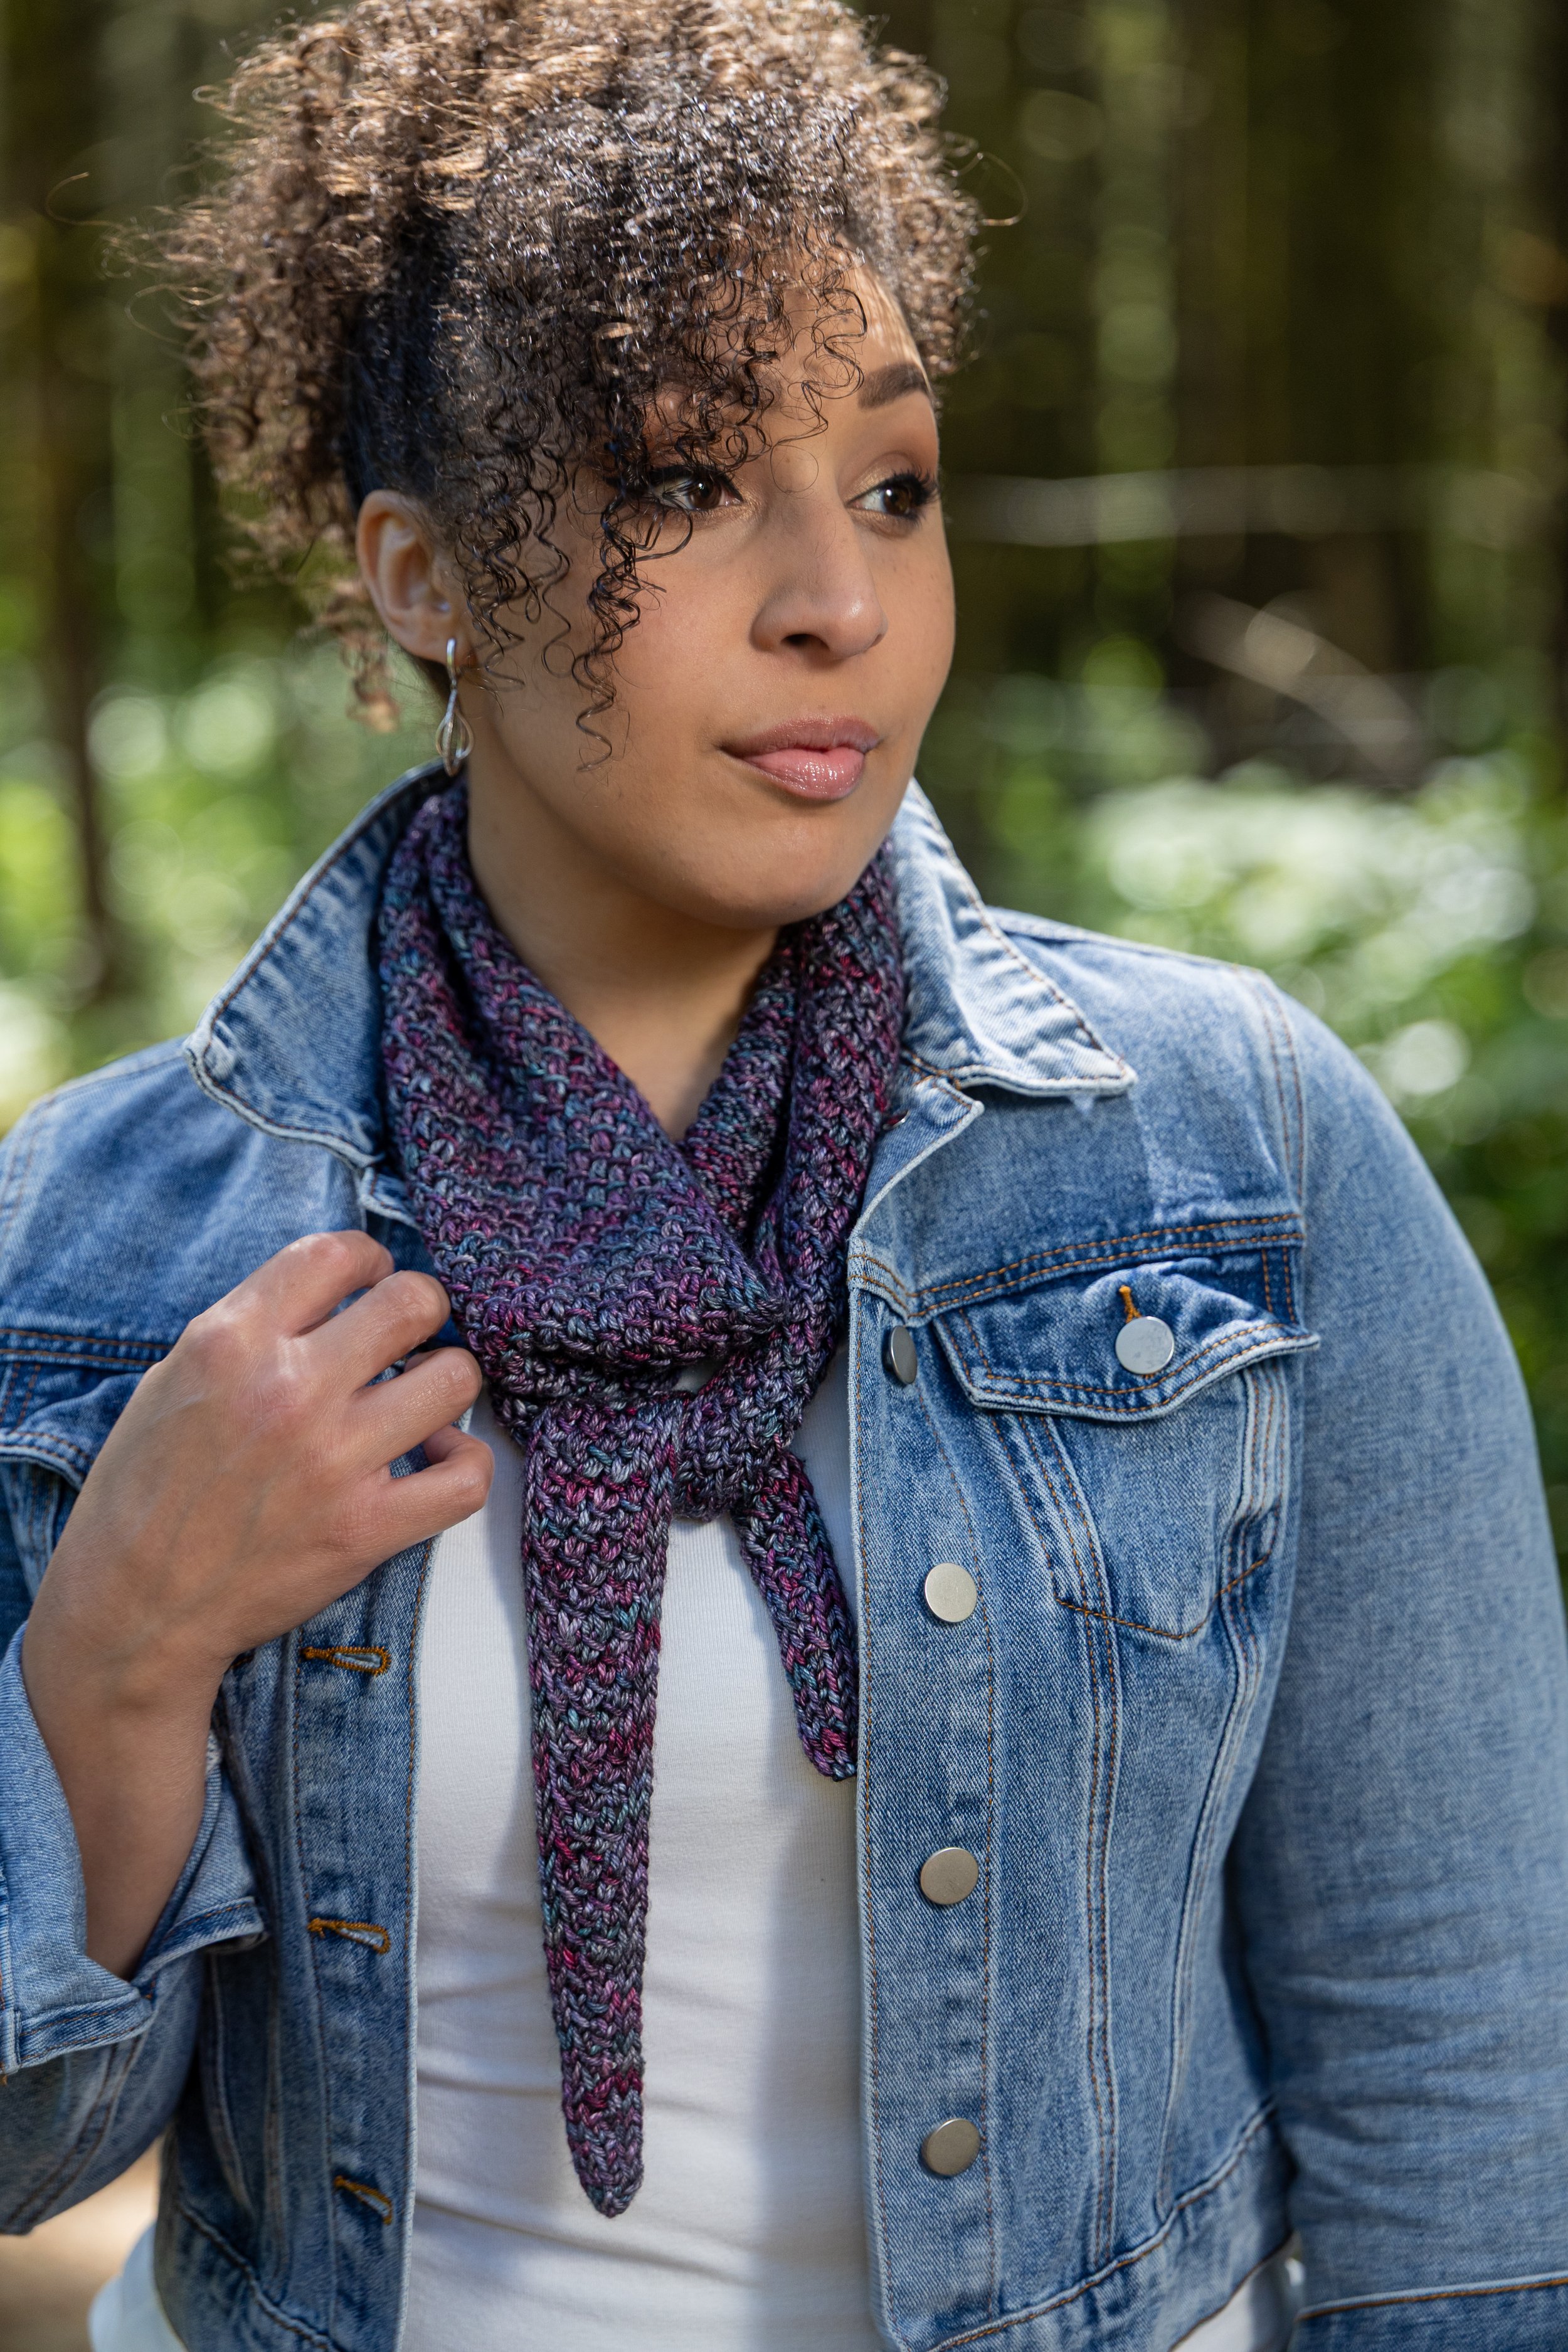
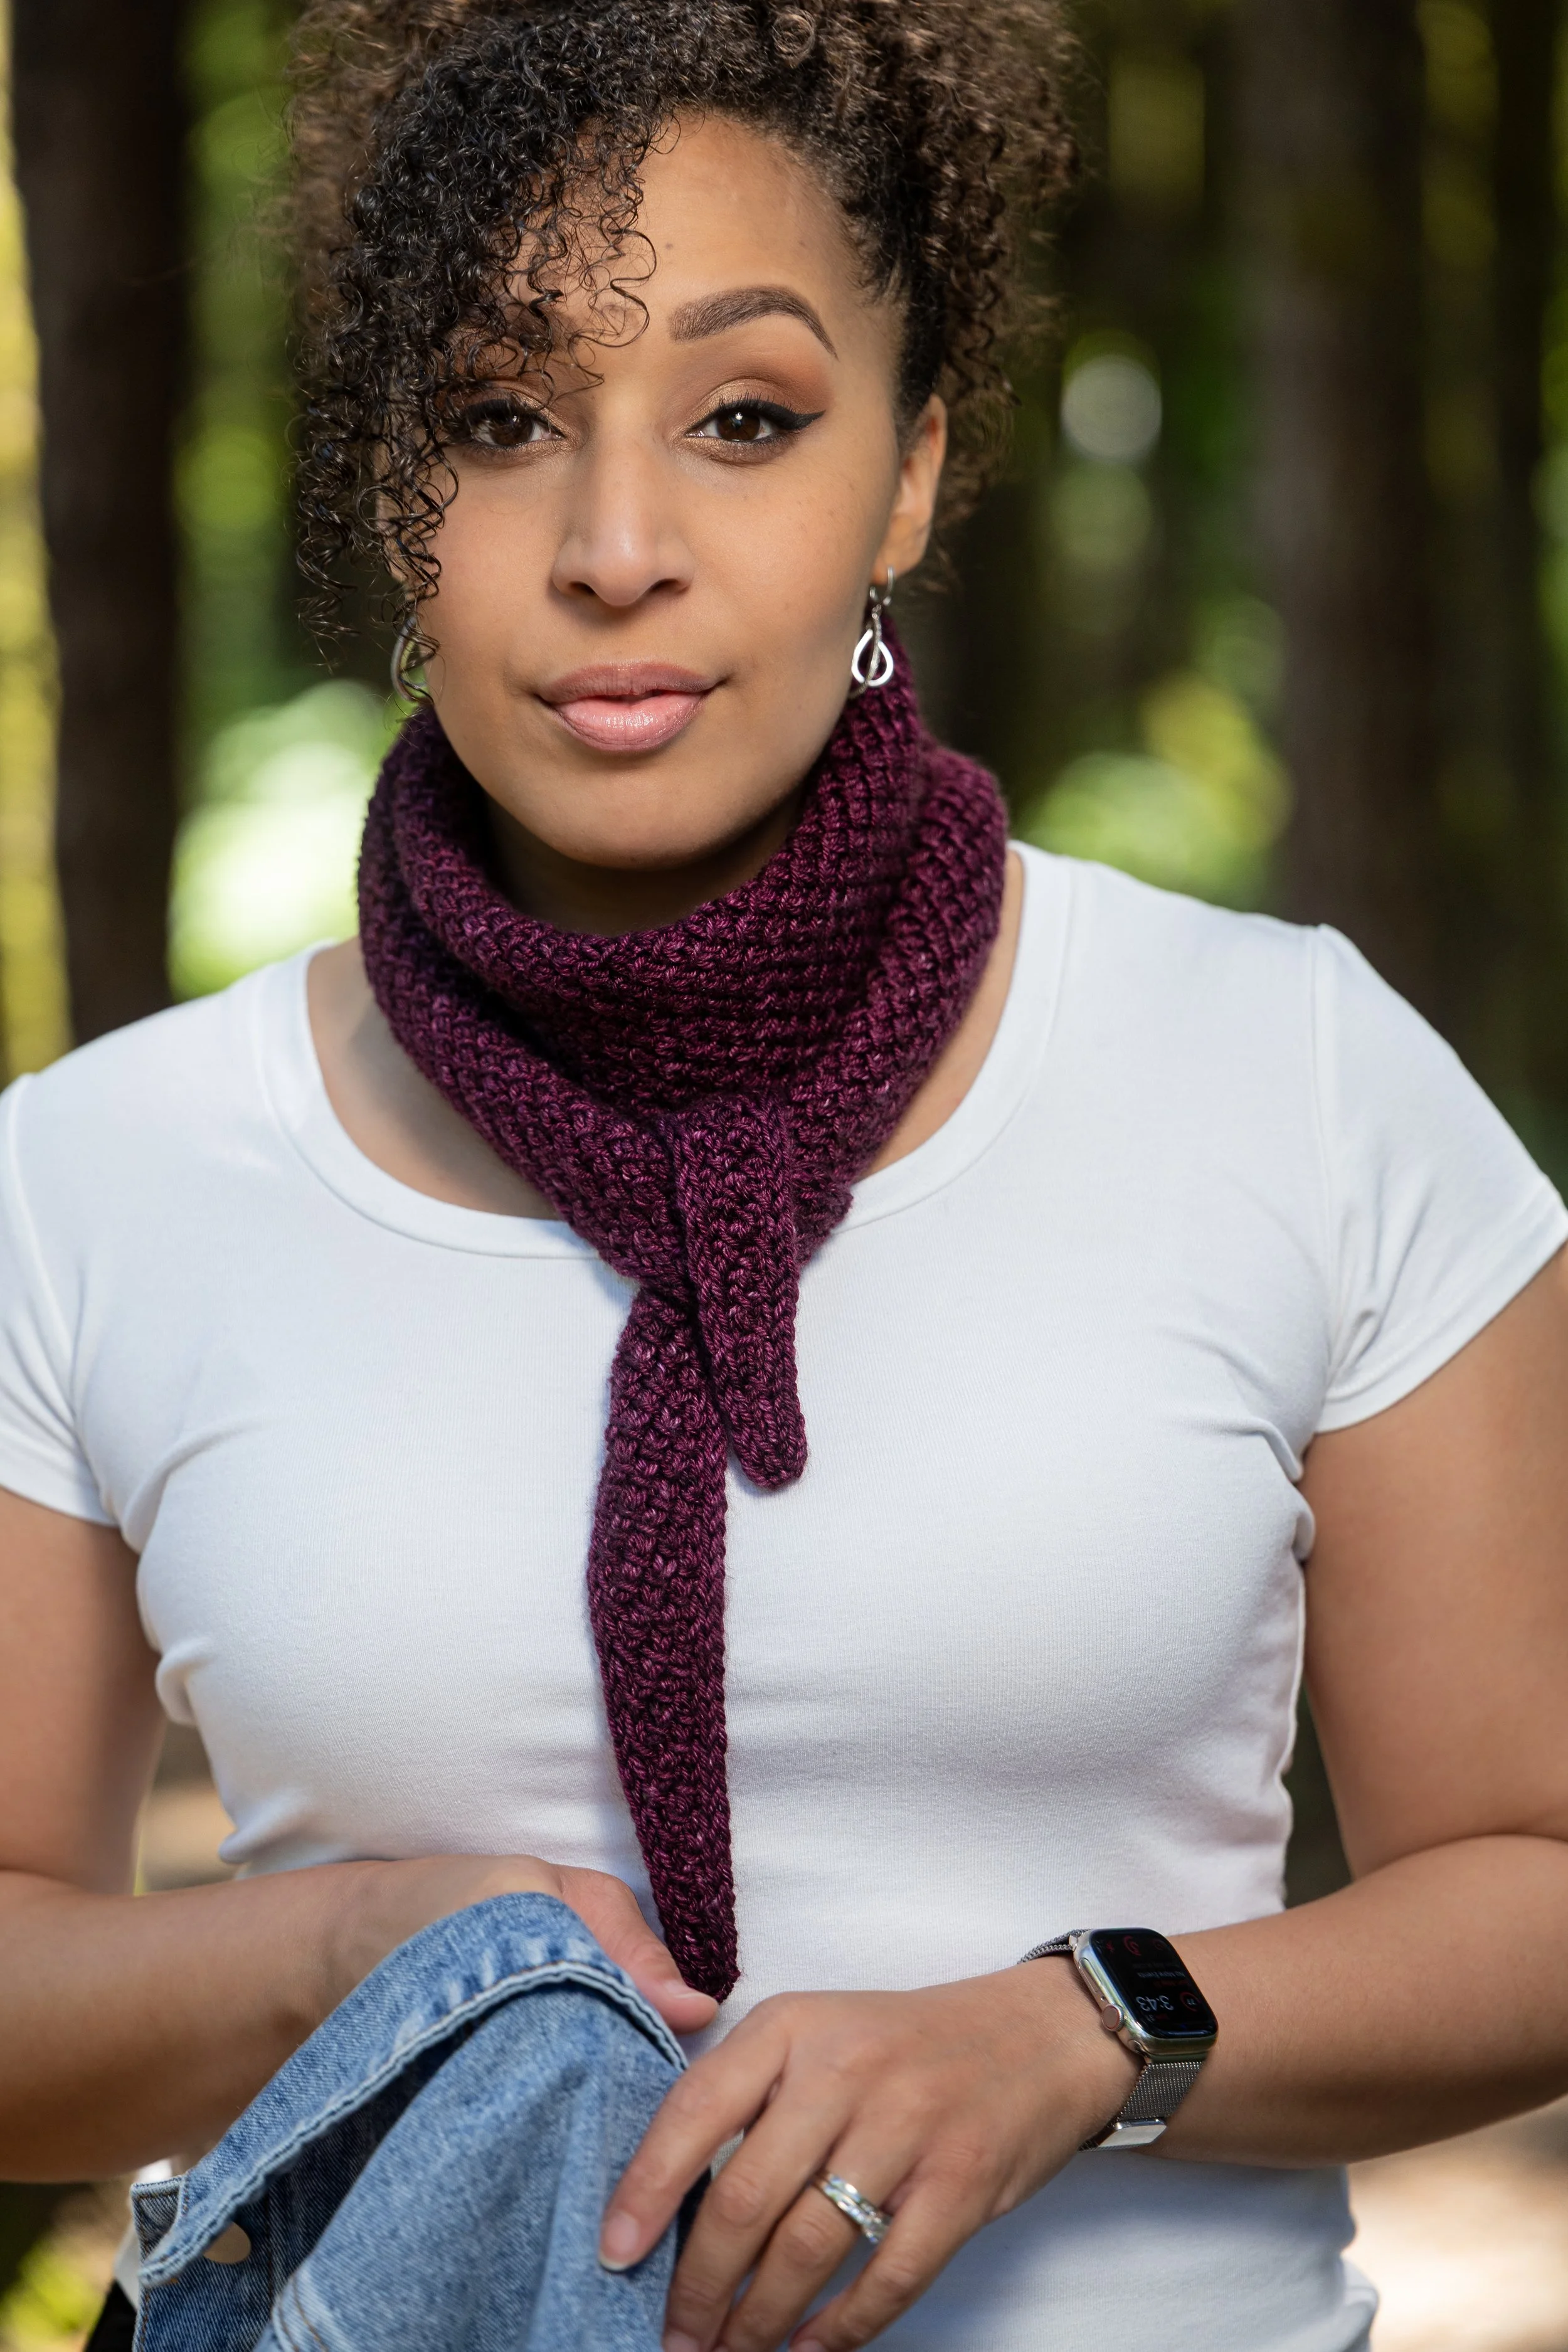
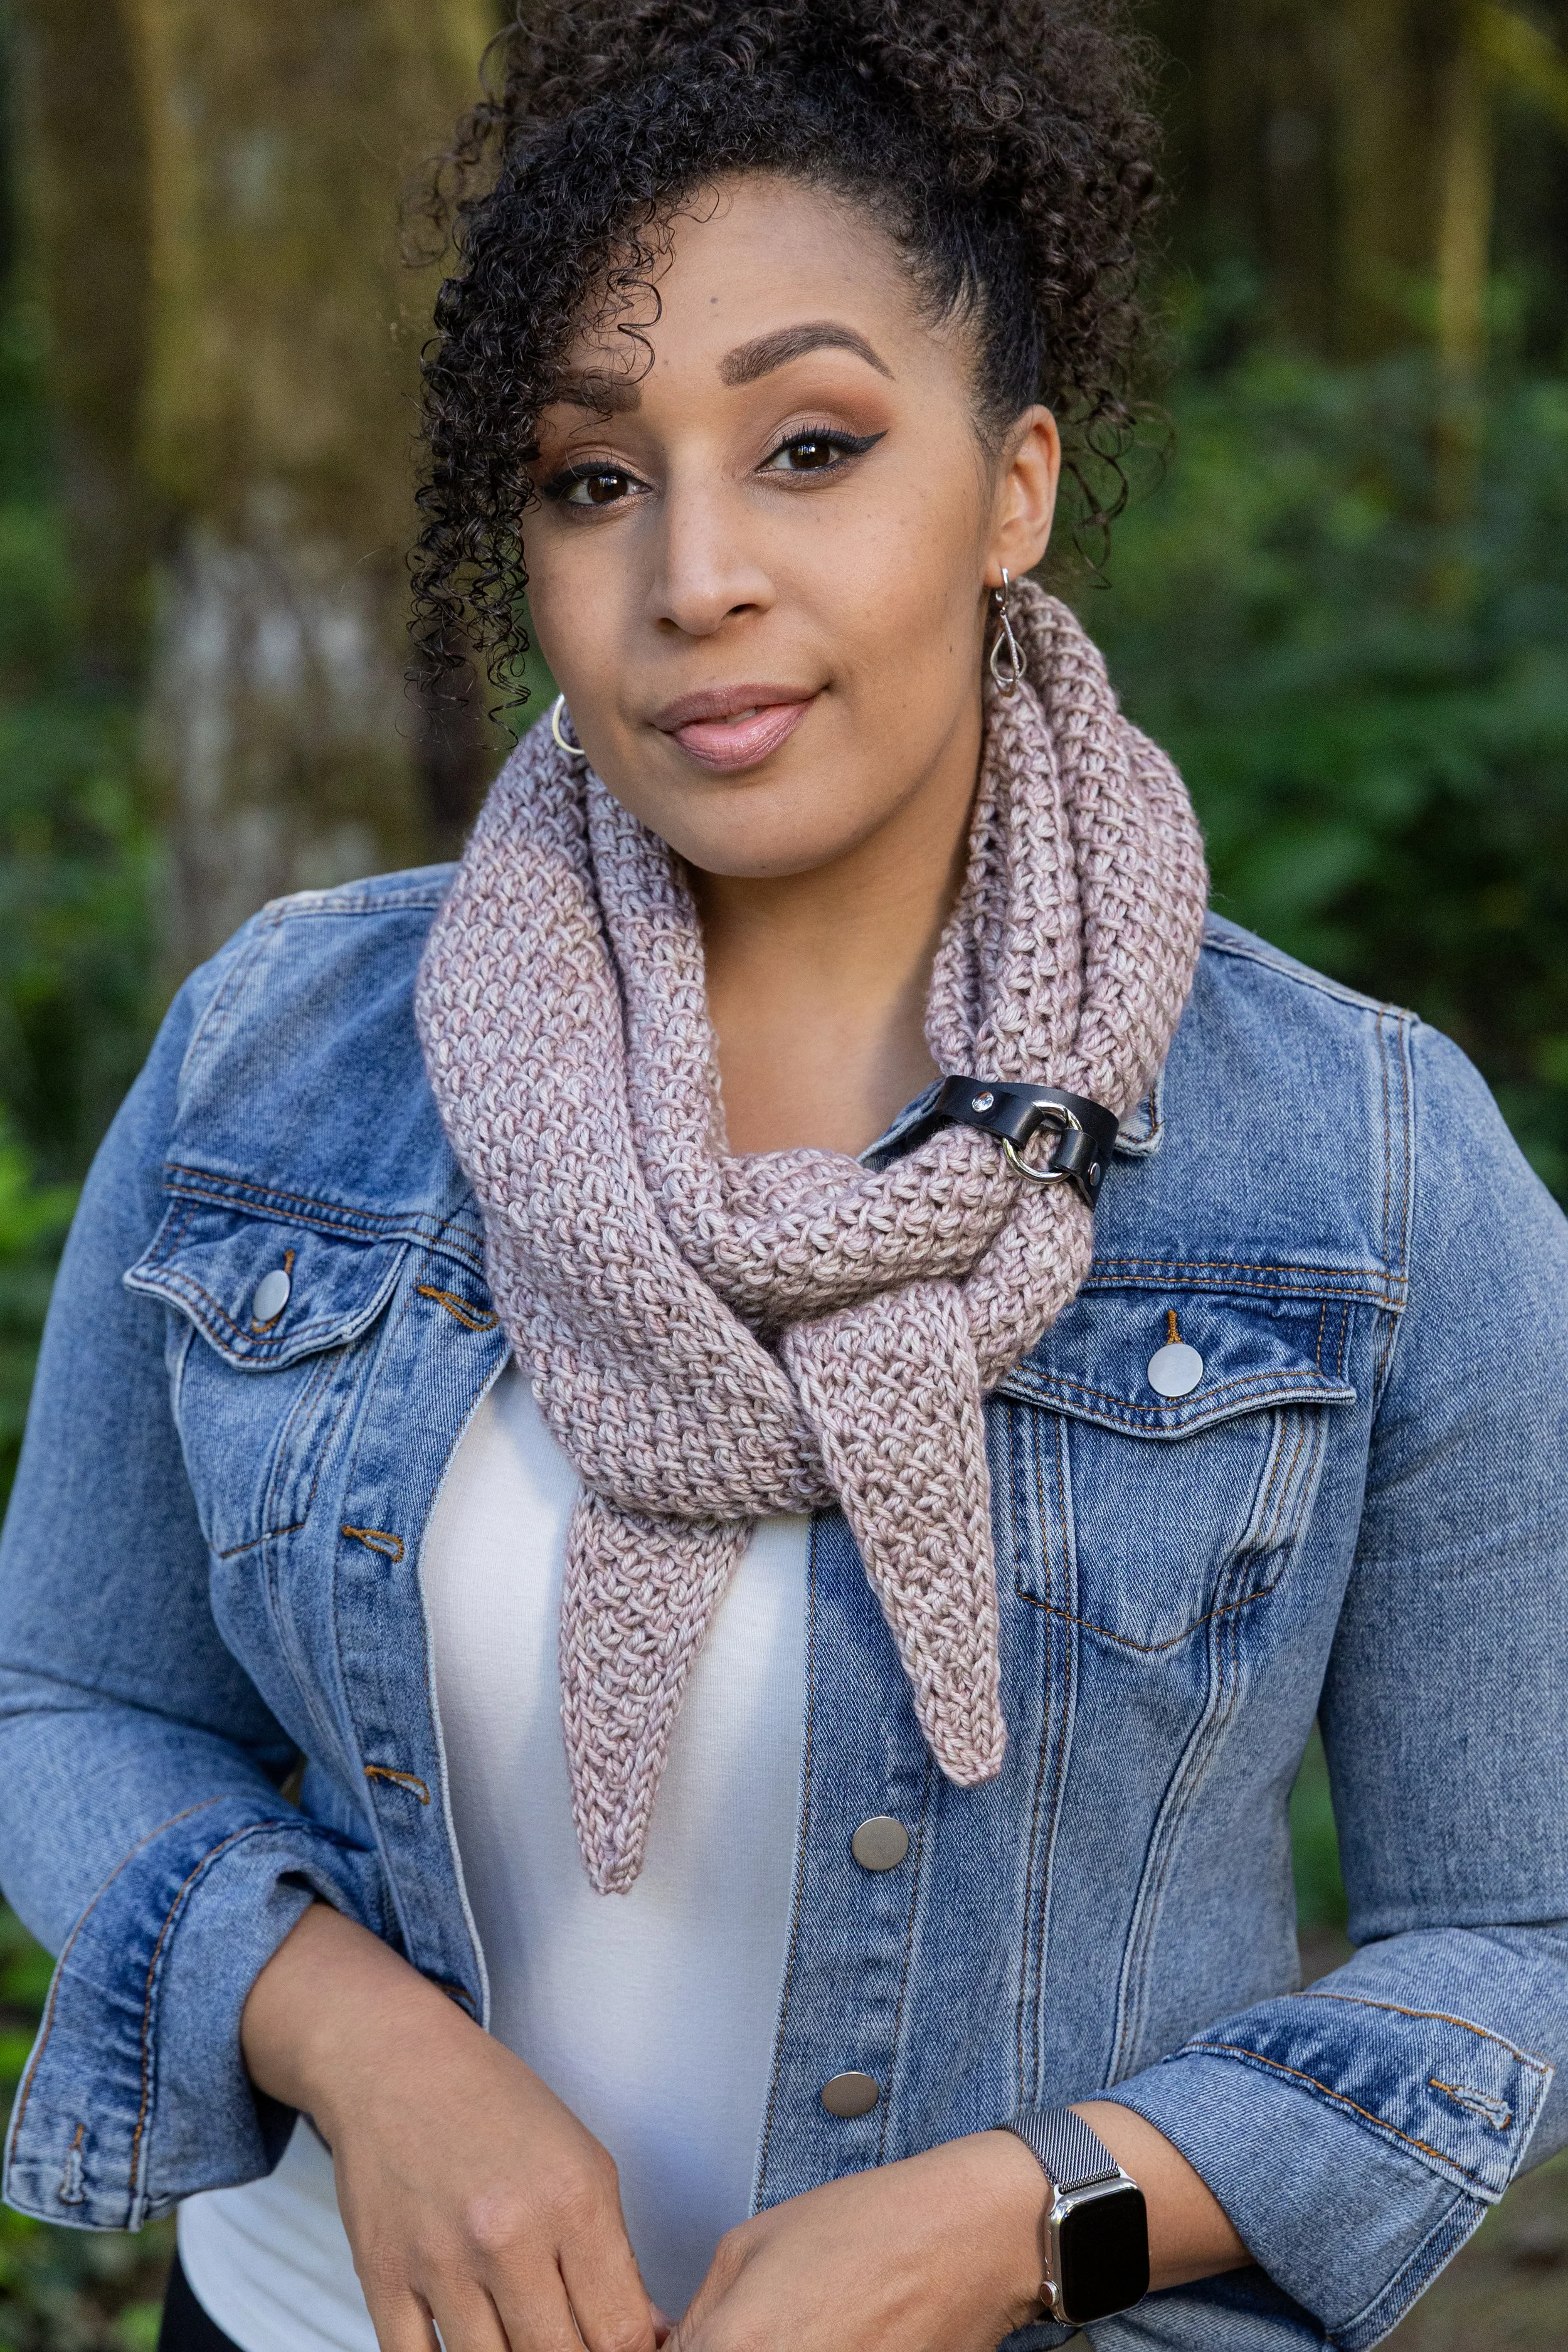
I started with just a few stitches and played with shaping ratios before casting on in earnest. Once the scarf was on my needles, I enjoyed the pattern and the colorplay of the variegated, silk/merino I was using so much that I finished in just a week. After blocking, I excitedly tried it on and thought it might be the cutest accessory I’d ever made. I immediately wanted to make another, so I cast on again using slightly faster shaping and a leftover skein from my second, burgundy Nydia pullover. I loved this one just as much as the first. Making a third was only natural. But this time, I wanted to use up two skeins of a creamy Aran weight I’d been saving for some sort of neckwear, so I used an even faster shaping ratio. In the end, all three scarves were different and wearable in their own right.
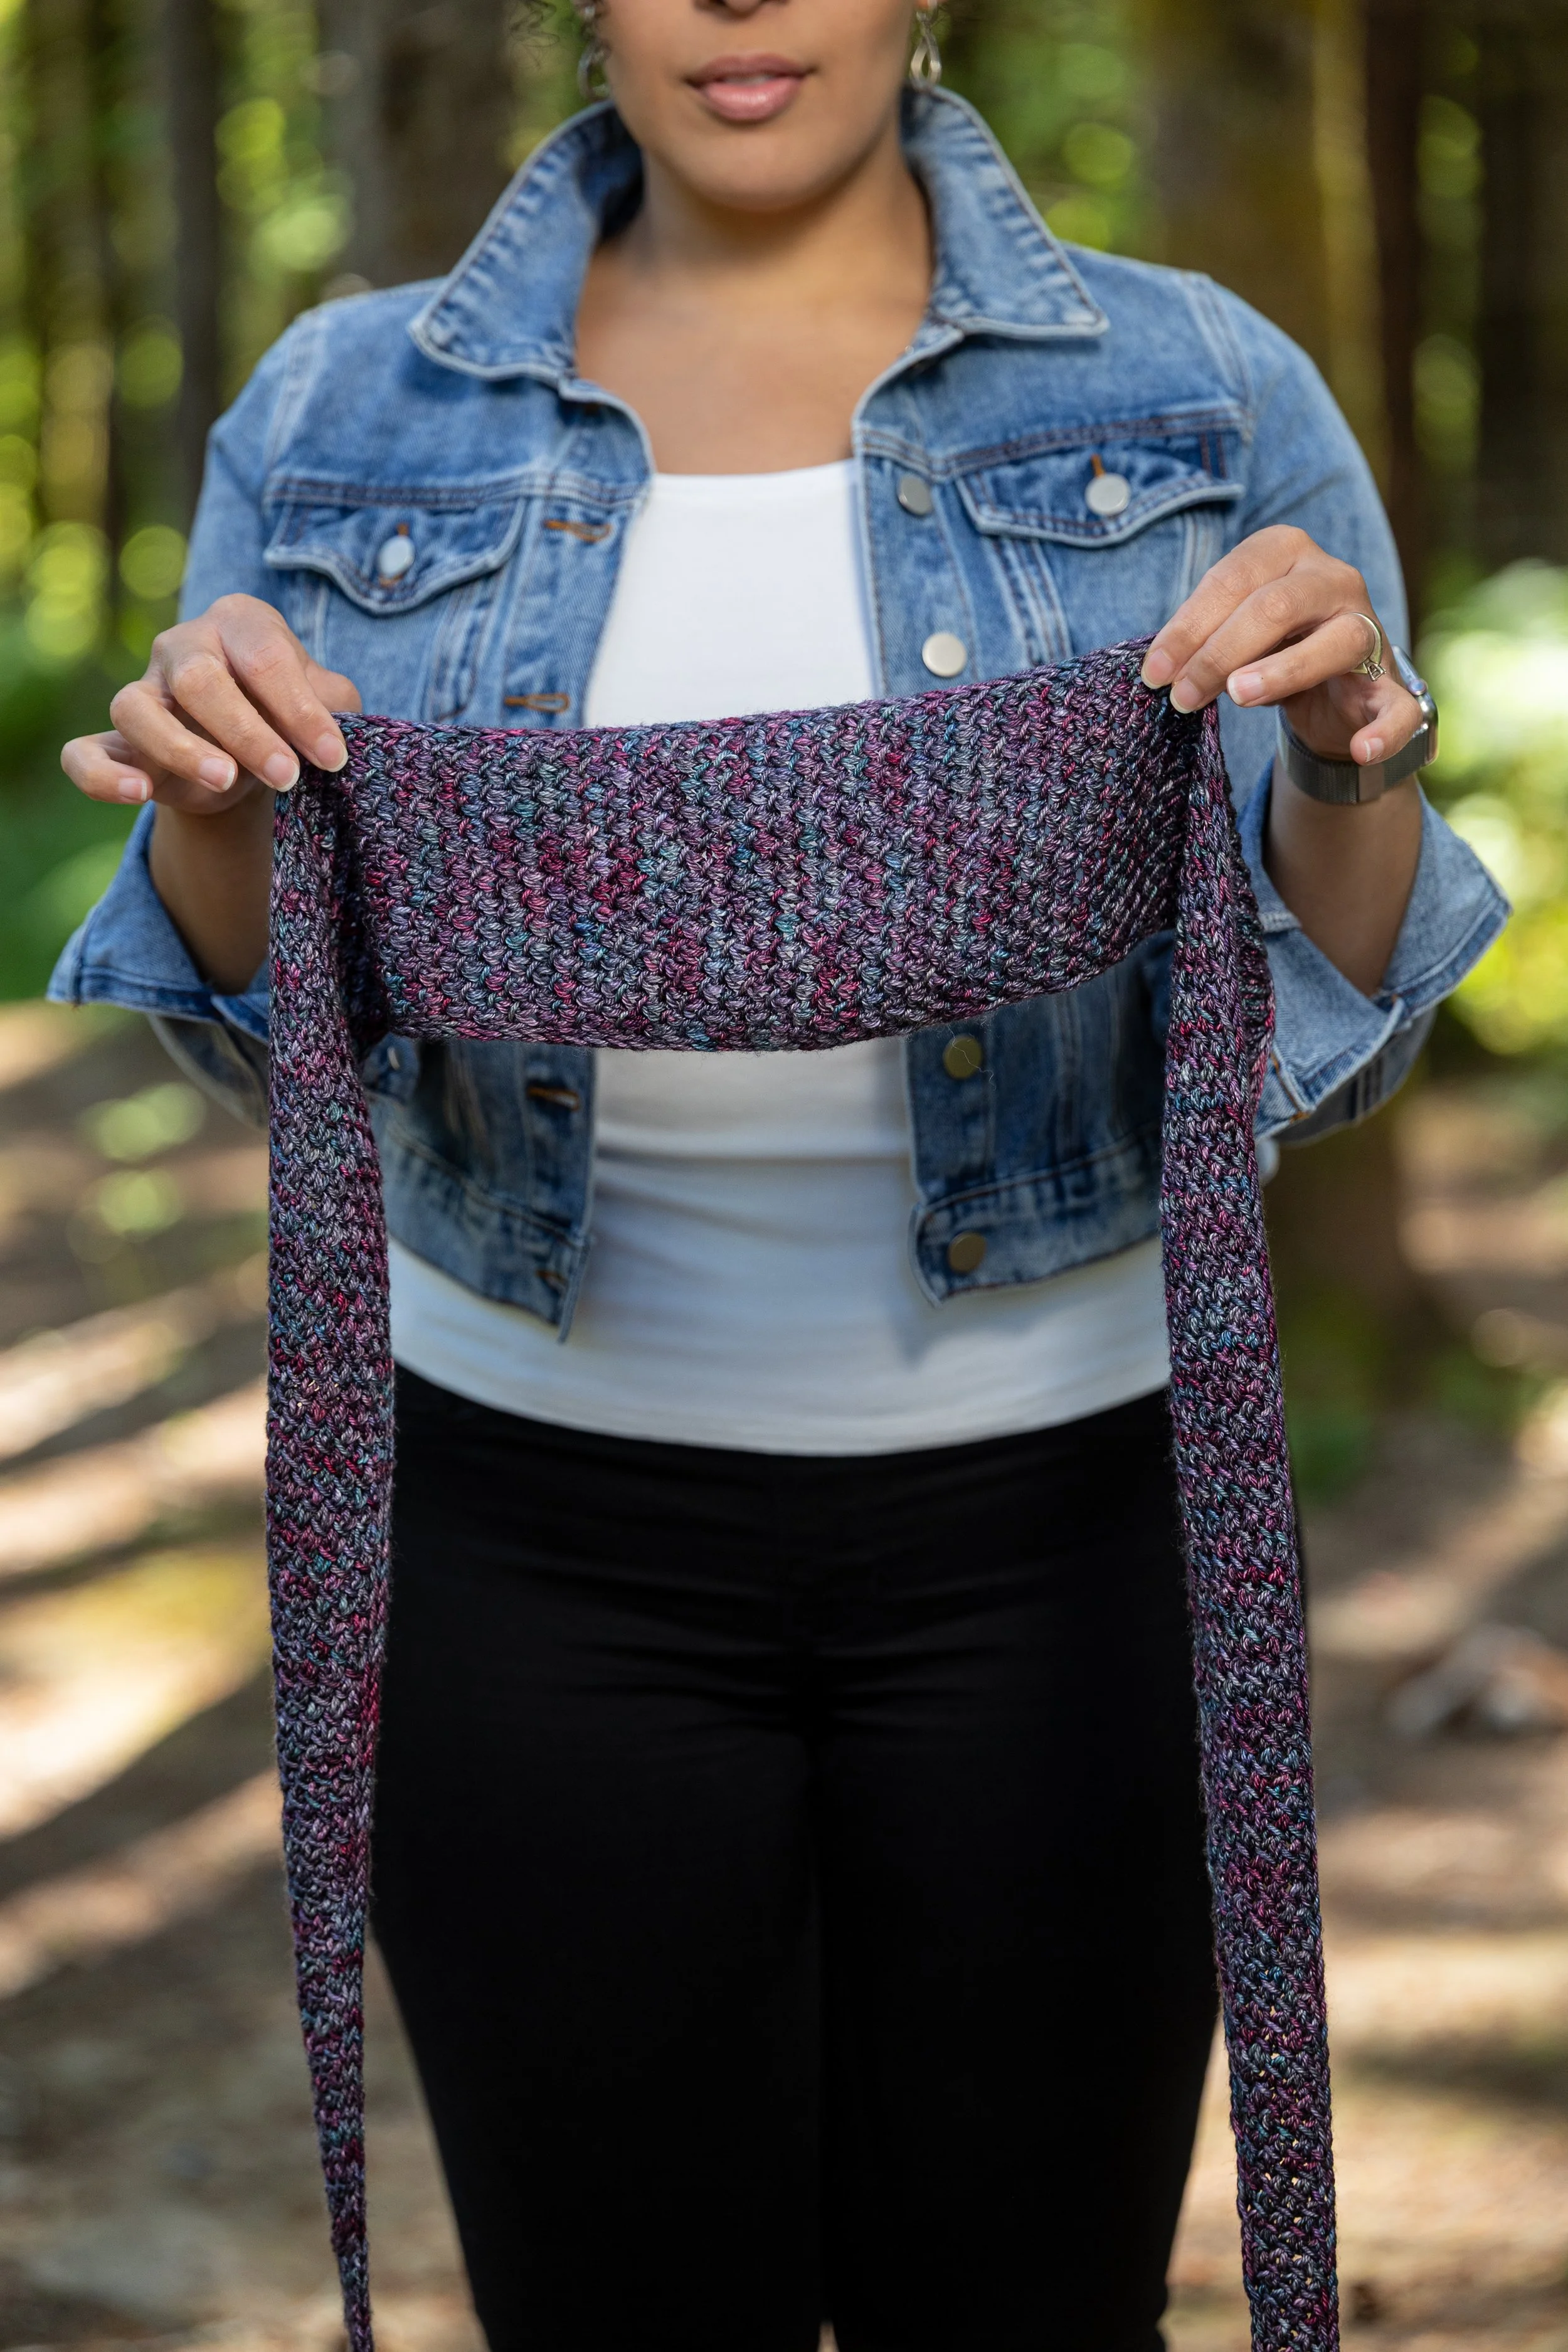
I called this pattern the Tipping Point Scarf not only for the obvious reasons—that it’s knit from tip to tip and reaches a point in the center—but also because it’s the result of pushing the shaping just far enough with what you’ve got until what feels like barely enough yarn becomes a full scarf.
That special skein at the back of your stash or the lovely yarn you bought on a whim? Cast on and find its tipping point.
Why knitters love this pattern
One or two skeins is all you need. This is the ideal project for using up orphaned skeins or test-driving a new yarn before committing to anything bigger.
Any yarn weight works. Fingering, sport, DK, worsted, Aran, even chunky! Pick whatever you want to use up and the pattern adapts to it. No gauge swatch required; just cast on and go.
Highly customizable. Three shaping options give you everything from a narrow neck warmer to a substantial wrap, while length depends entirely on how much yarn you have. Easily adjust the proportions or stop increasing sooner and knit straight before tapering for a simple trapezoid shape instead of a triangular scarf.
A quick knit that finishes fast. You’ll cast on one evening and have something wearable before you know it.
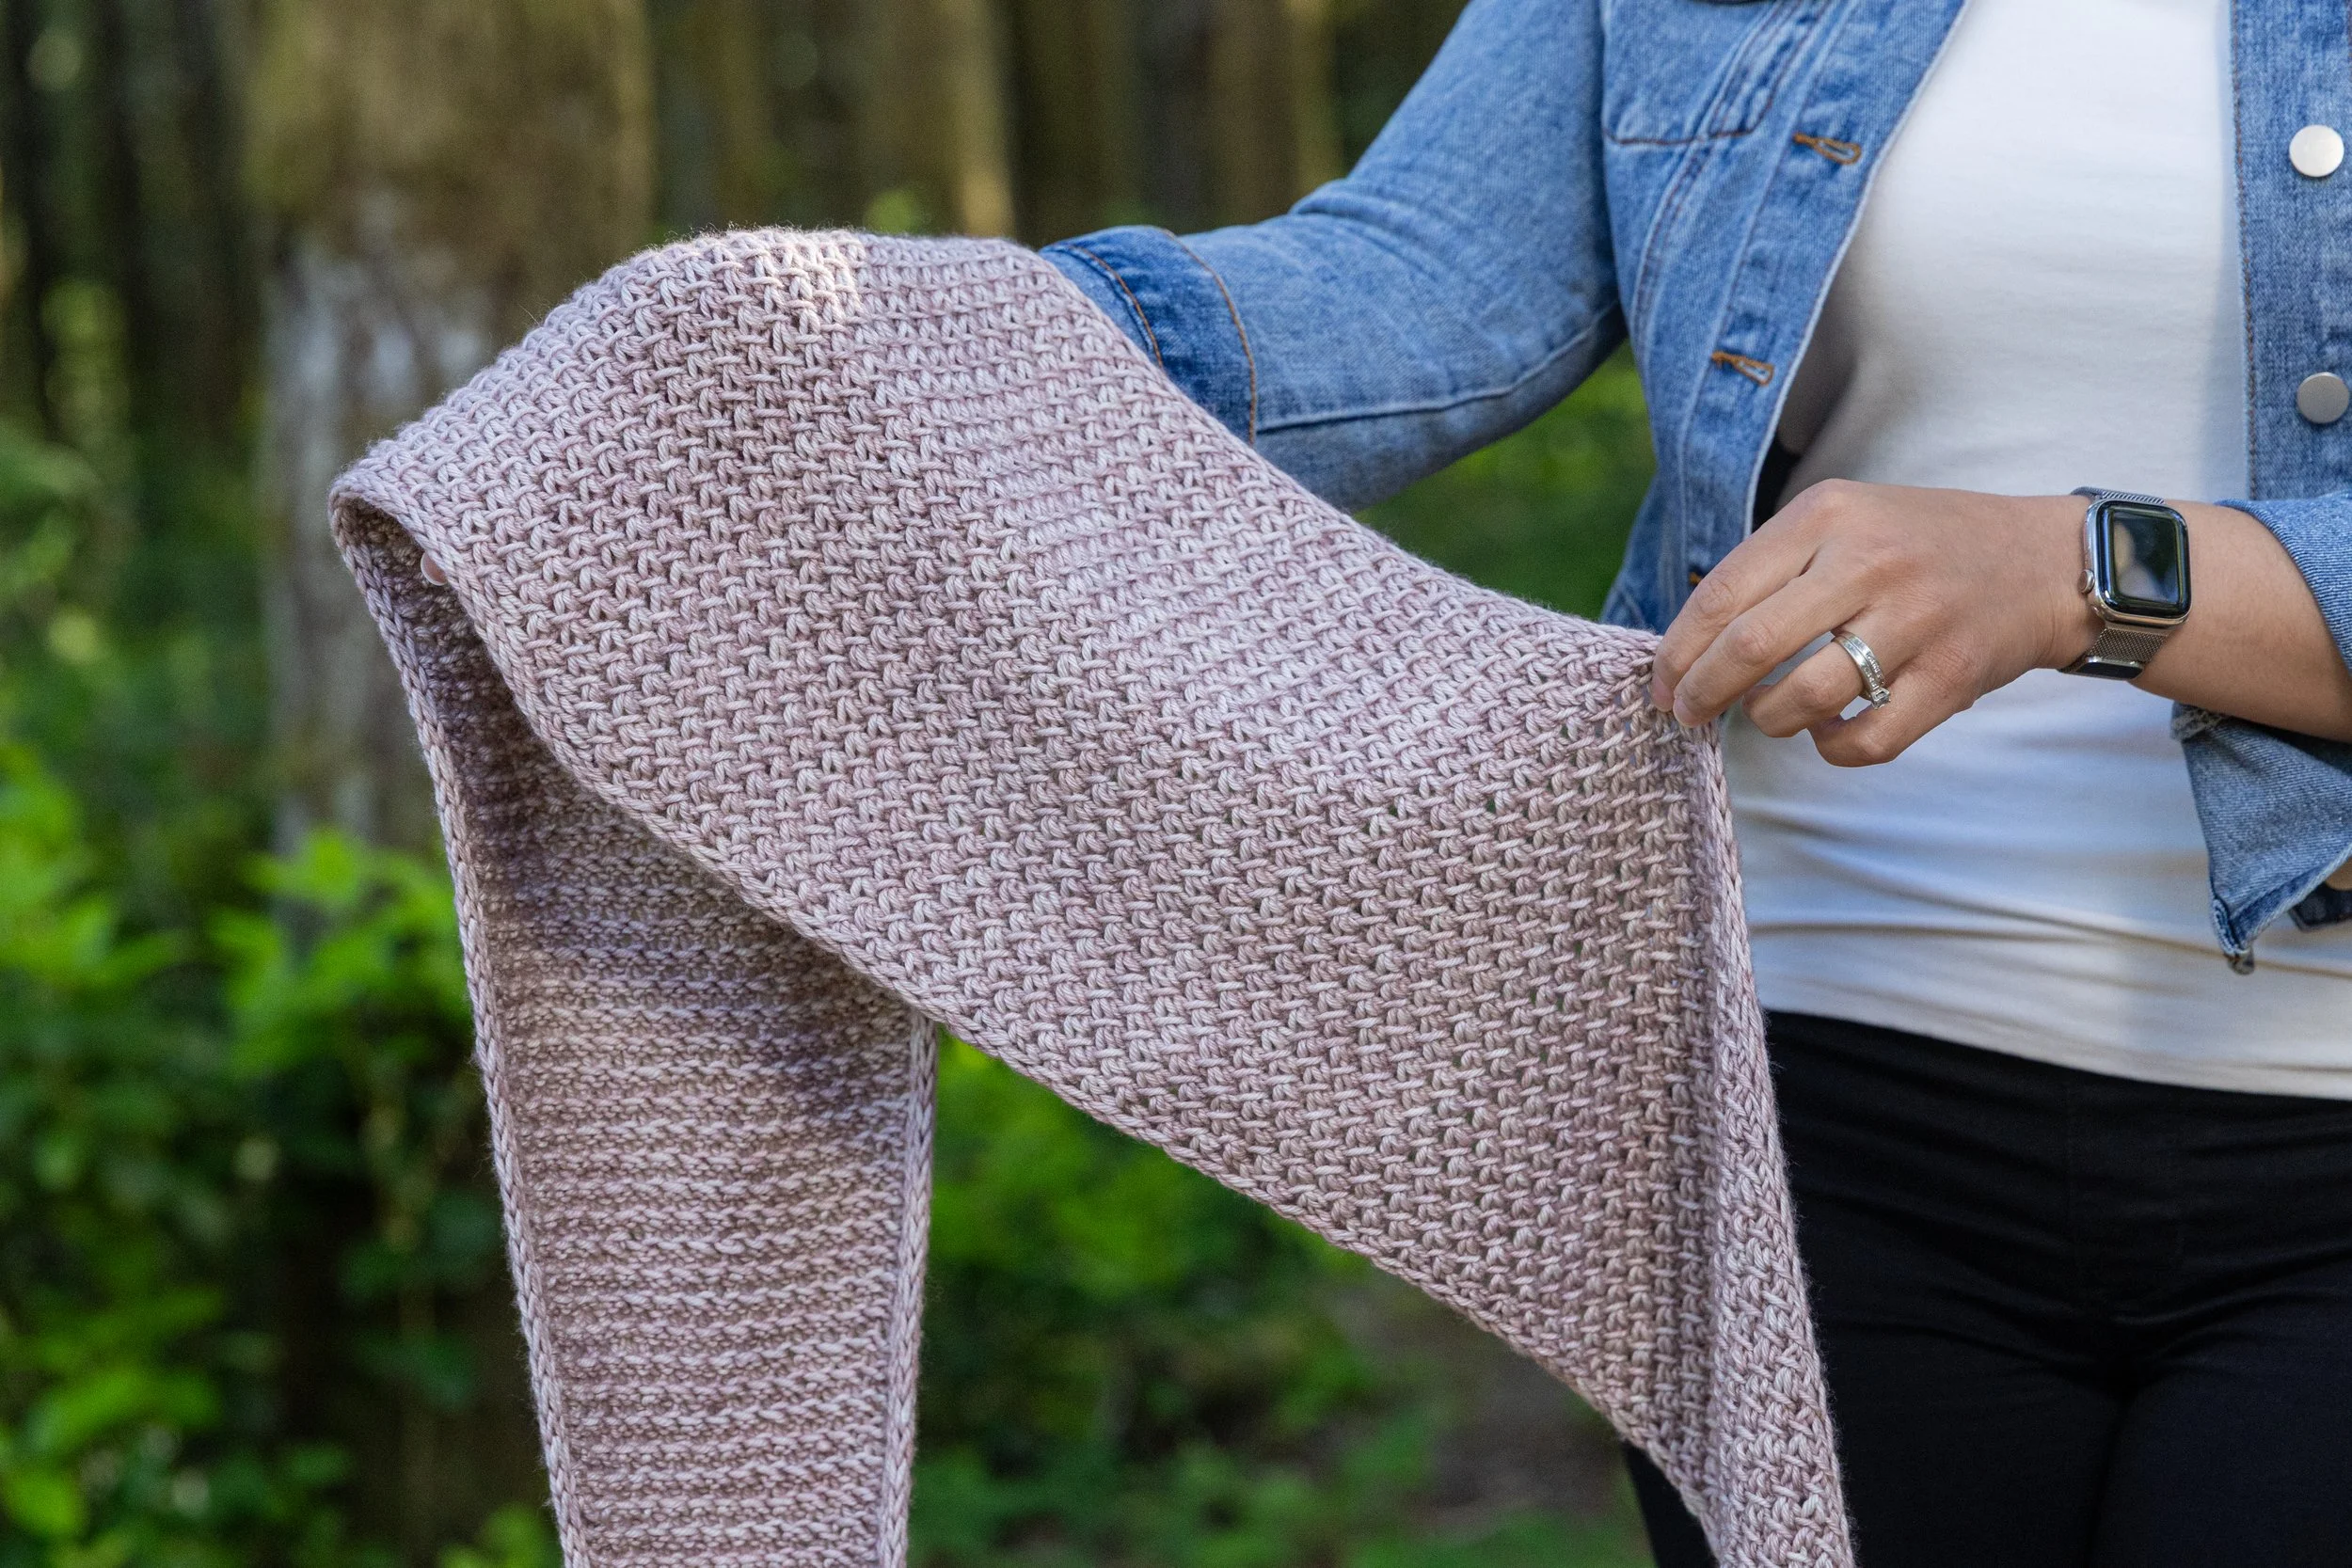
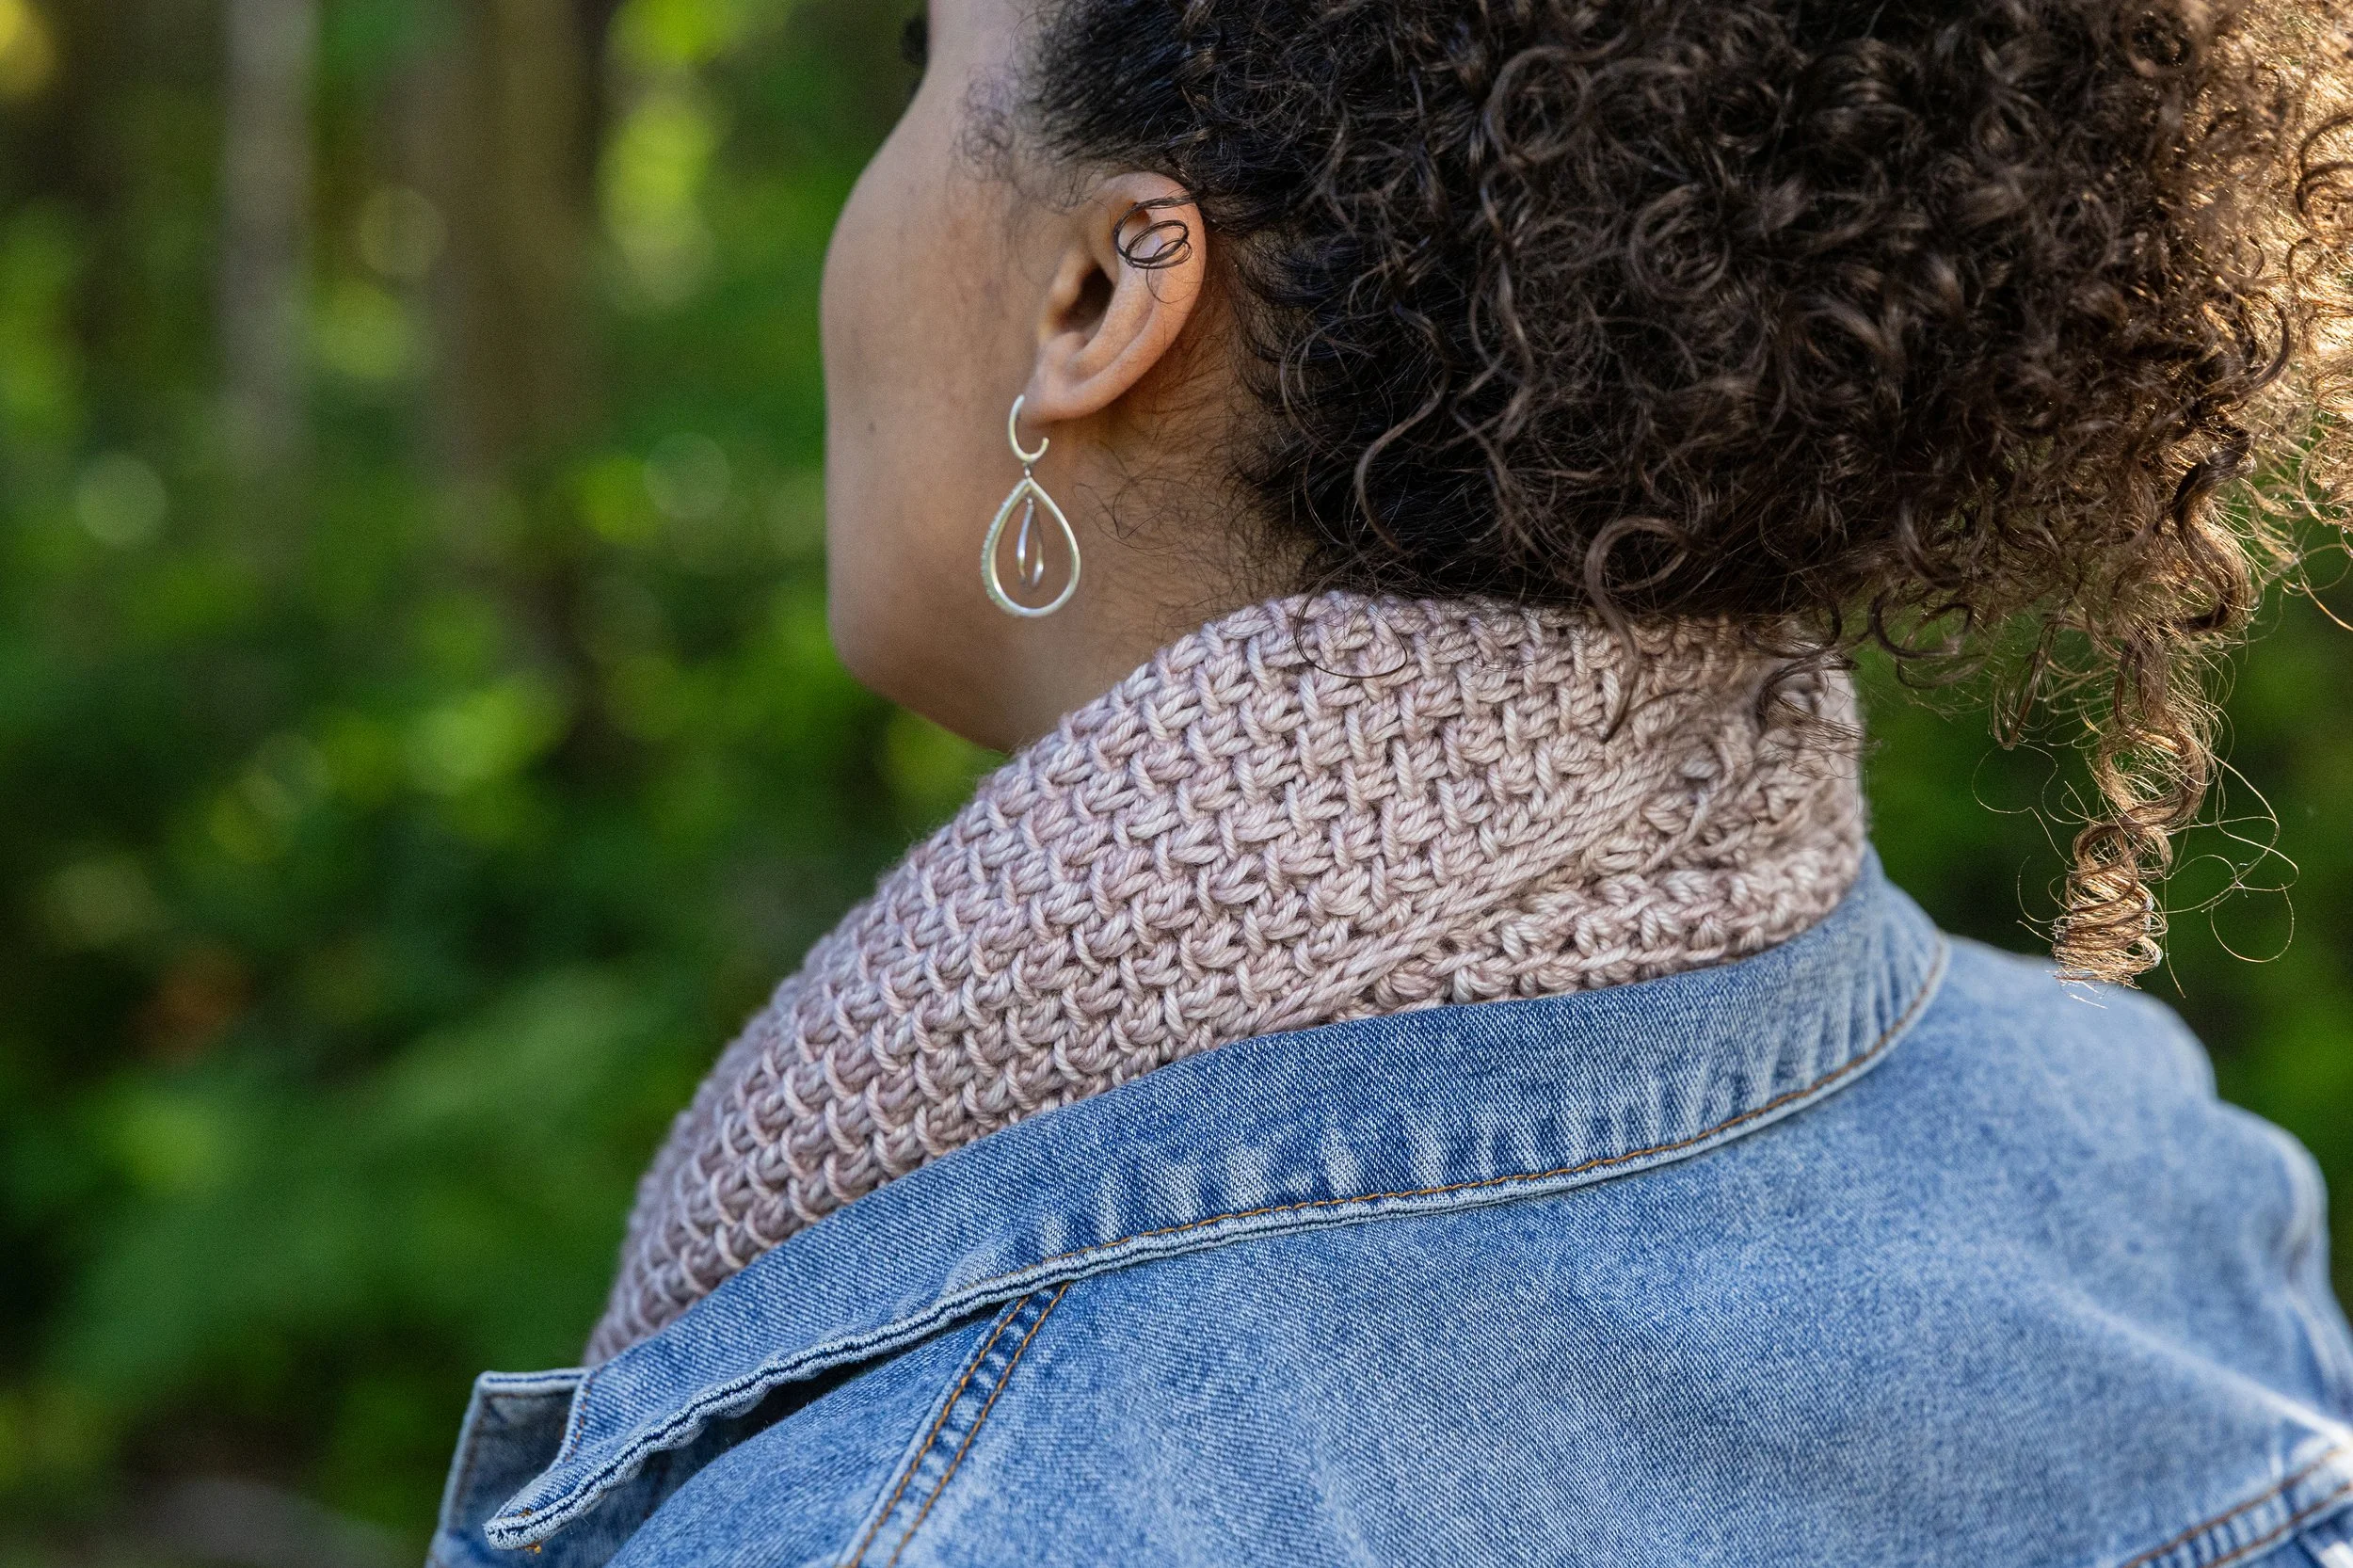
Reversible textured fabric. The stitch pattern looks great regardless of which side faces out, so you don’t have to worry about hiding your purl side.
Testermonials
“I love the length and width. The way it sits when wrapped around is great because of how it widens when nearing the center. It’s not too bulky like a shawl can sometimes be when trying to wear one like a scarf. I will definitely be making another in a different color!”
“It was a pleasure to test knit this scarf for Vanessa. The pattern is clear with helpful additions to easily find the stitch pattern. I know this will be a favorite when the cold weather returns. And, I will absolutely knit this one again.”
“I found it very straight forward and easy to do. It was a fast knit which I enjoy, especially if I make one as a gift.”
“I loved the texture lace stitch. With the video tutorial it was easy to grasp. I found the instructions clear and the knit meditative.”
“I loved knitting the Nydia cardigan so I knew I would love this pattern and will definitely be making more of these!! This stitch is so intuitive and as always Vanessas pattern is amazing!! So much detail and information included so everyone can knit this beautiful scarf. I’m excited to knit the other sizes and also to use some other yarn weights!!”

What you get
In the instant PDF download, you’ll find . . .
A video guide. A 20-minute walkthrough shows all the main techniques to build your confidence before you even cast on.
Three sizing options: skinny, midi, and chonky. Three main pages plus two dedicated pages per size, so you only have to print the instructions you need.
Customization notes. Clear instructions for making the scarf as long as you’d like—using all of your yarn or exactly what you want—as well as a simple option to omit the point and knit straight instead.
Written and charted instructions. Both formats are included so you can knit however you prefer.
See how far a single skein can take you.
For many years, my yarn cabinet was home to four skeins—two singles and one pair—that drew my eye every time I perused my stash but that I thought weren’t enough for anything bigger than a hat or a cowl. They were all beautiful but, sadly, discontinued and irreplaceable. Then, during a particularly demanding time at work, I just needed something easy and practical to knit. Some people turn to garter stitch. Others go for brioche. For me, it’s a potato-chippy, rhythmic textured lace stitch—the same squishy fabric that shows up in several of my patterns. I’d also noticed that skinny scarves were having a moment, so I decided to make one myself. And I knew exactly which yarns to reach for.
I started with just a few stitches and played with shaping ratios before casting on in earnest. Once the scarf was on my needles, I enjoyed the pattern and the colorplay of the variegated, silk/merino I was using so much that I finished in just a week. After blocking, I excitedly tried it on and thought it might be the cutest accessory I’d ever made. I immediately wanted to make another, so I cast on again using slightly faster shaping and a leftover skein from my second, burgundy Nydia pullover. I loved this one just as much as the first. Making a third was only natural. But this time, I wanted to use up two skeins of a creamy Aran weight I’d been saving for some sort of neckwear, so I used an even faster shaping ratio. In the end, all three scarves were different and wearable in their own right.
I called this pattern the Tipping Point Scarf not only for the obvious reasons—that it’s knit from tip to tip and reaches a point in the center—but also because it’s the result of pushing the shaping just far enough with what you’ve got until what feels like barely enough yarn becomes a full scarf.
That special skein at the back of your stash or the lovely yarn you bought on a whim? Cast on and find its tipping point.
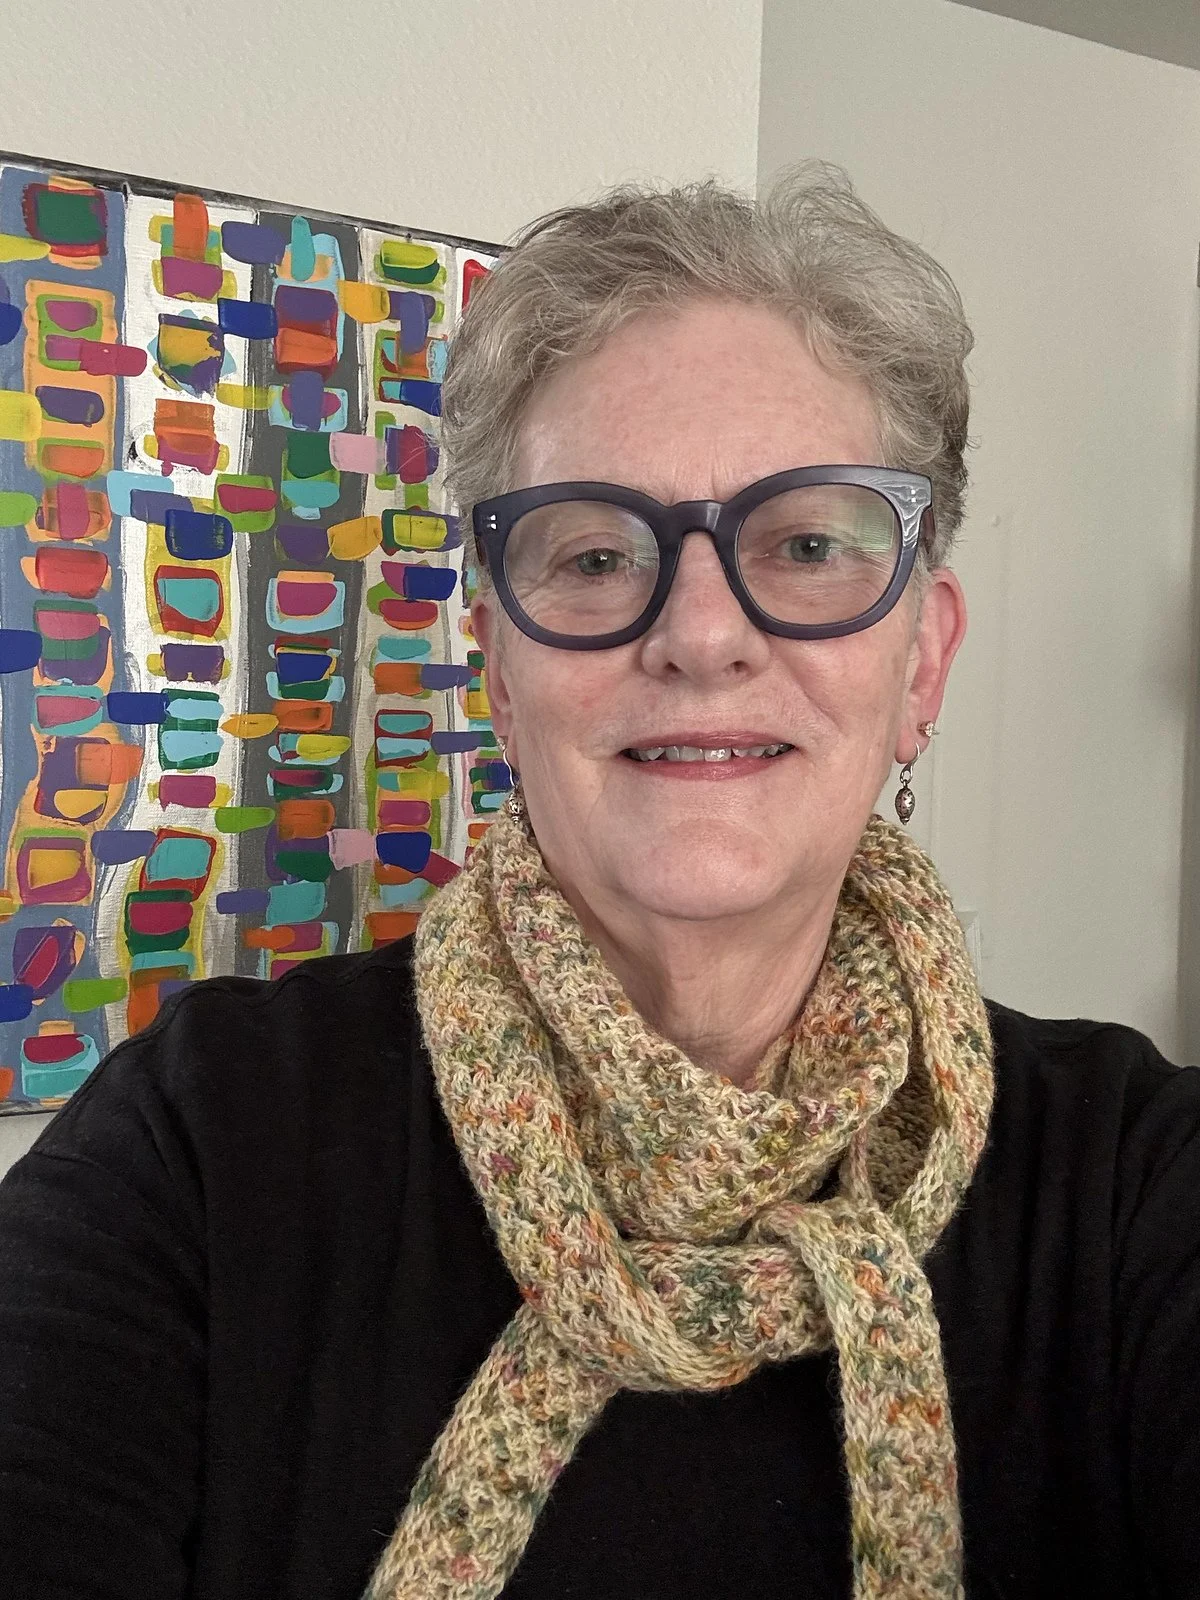
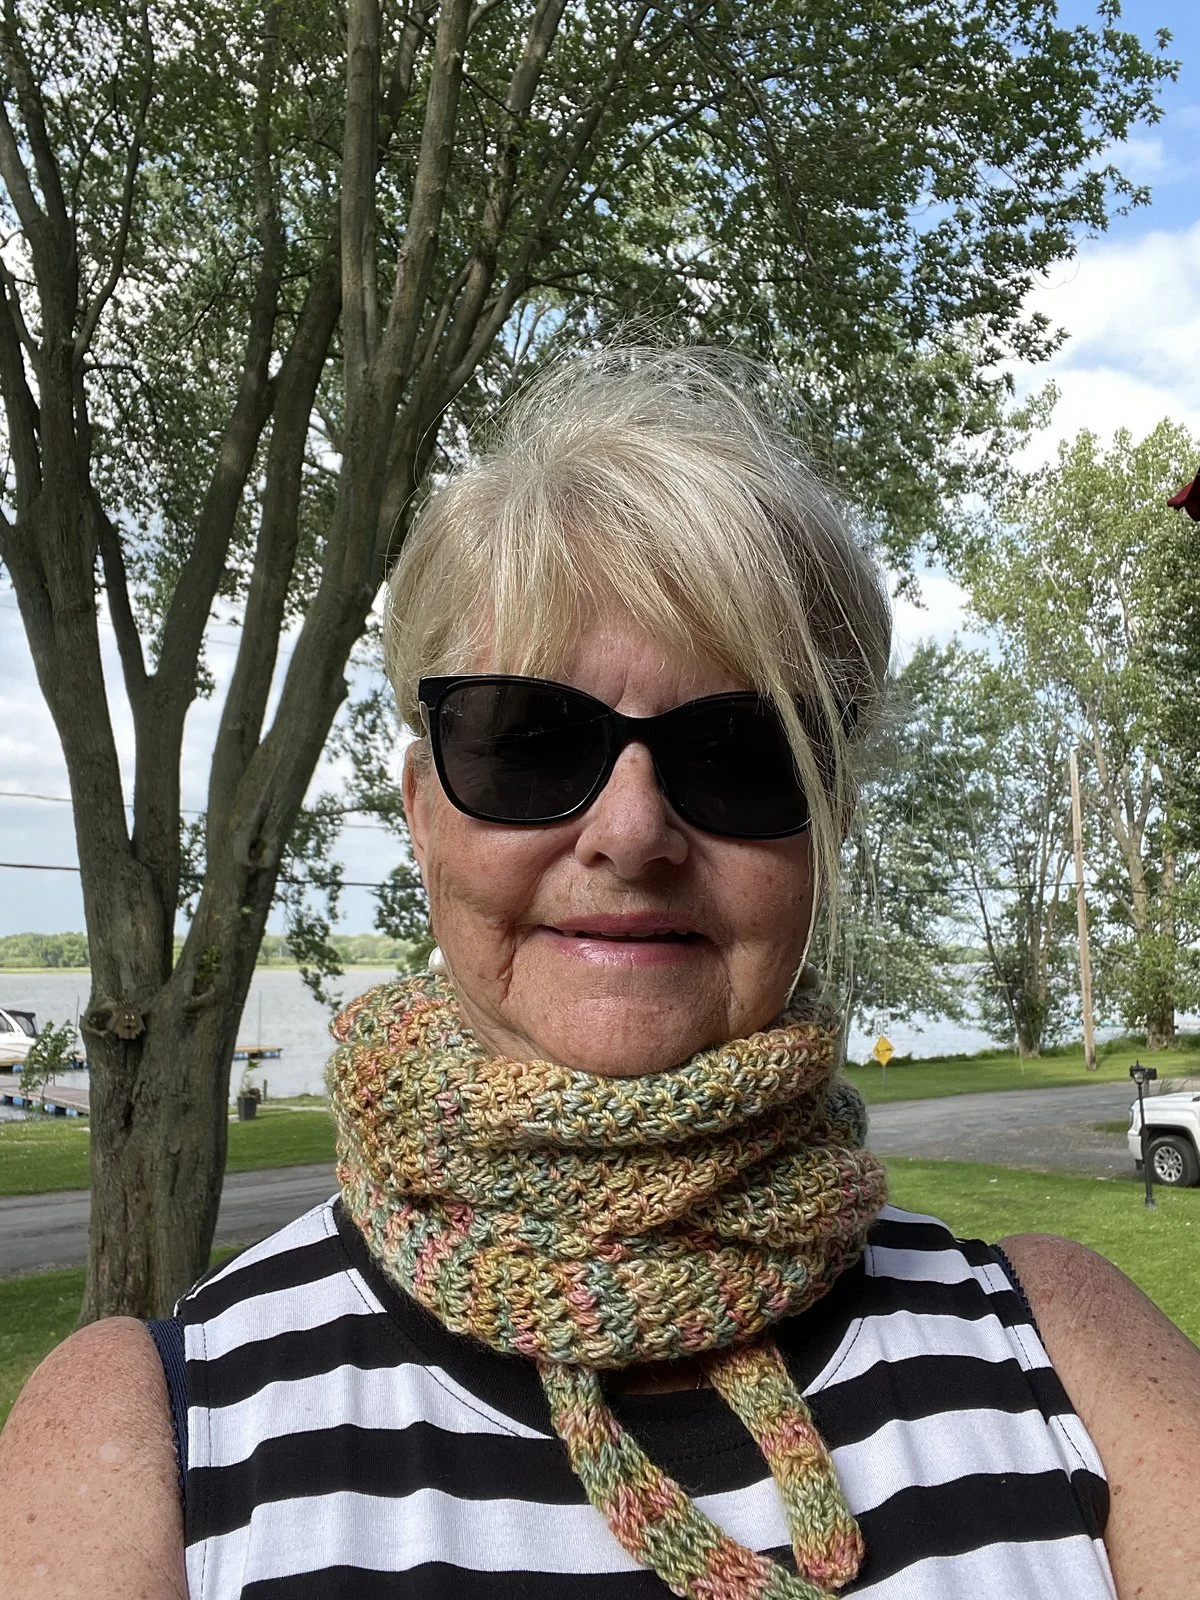
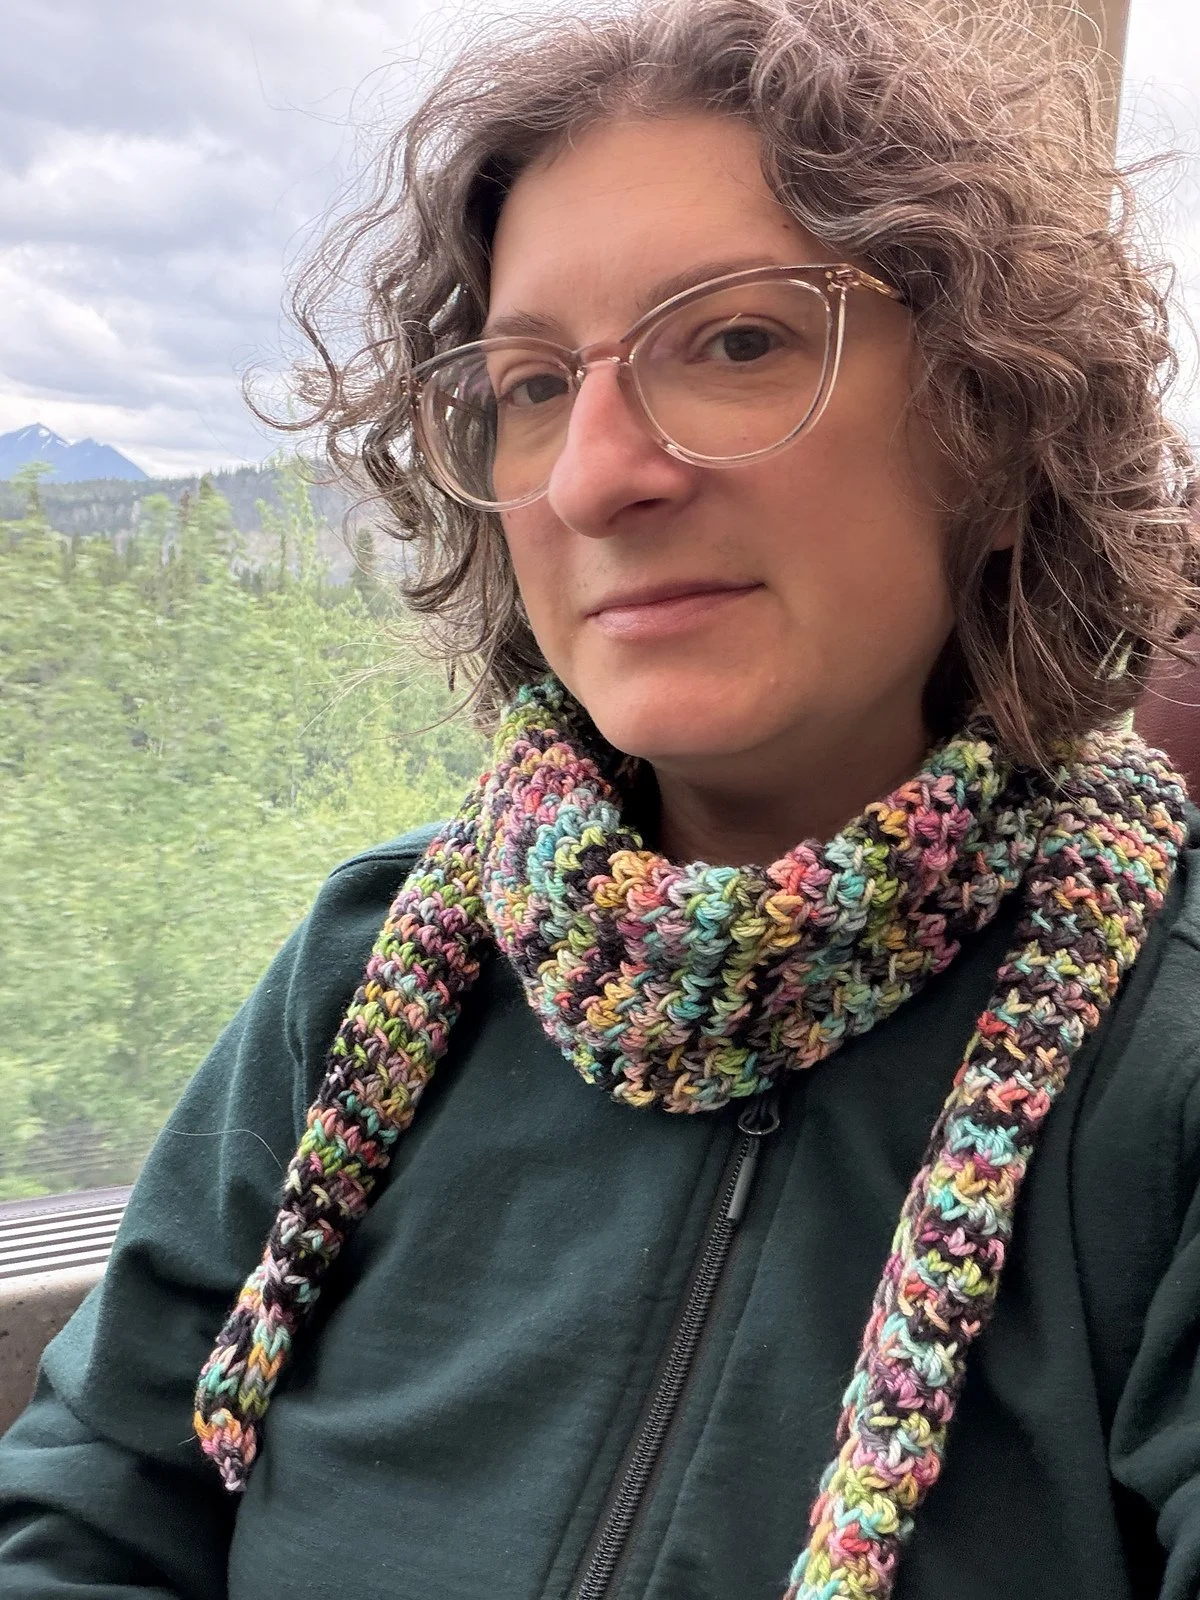
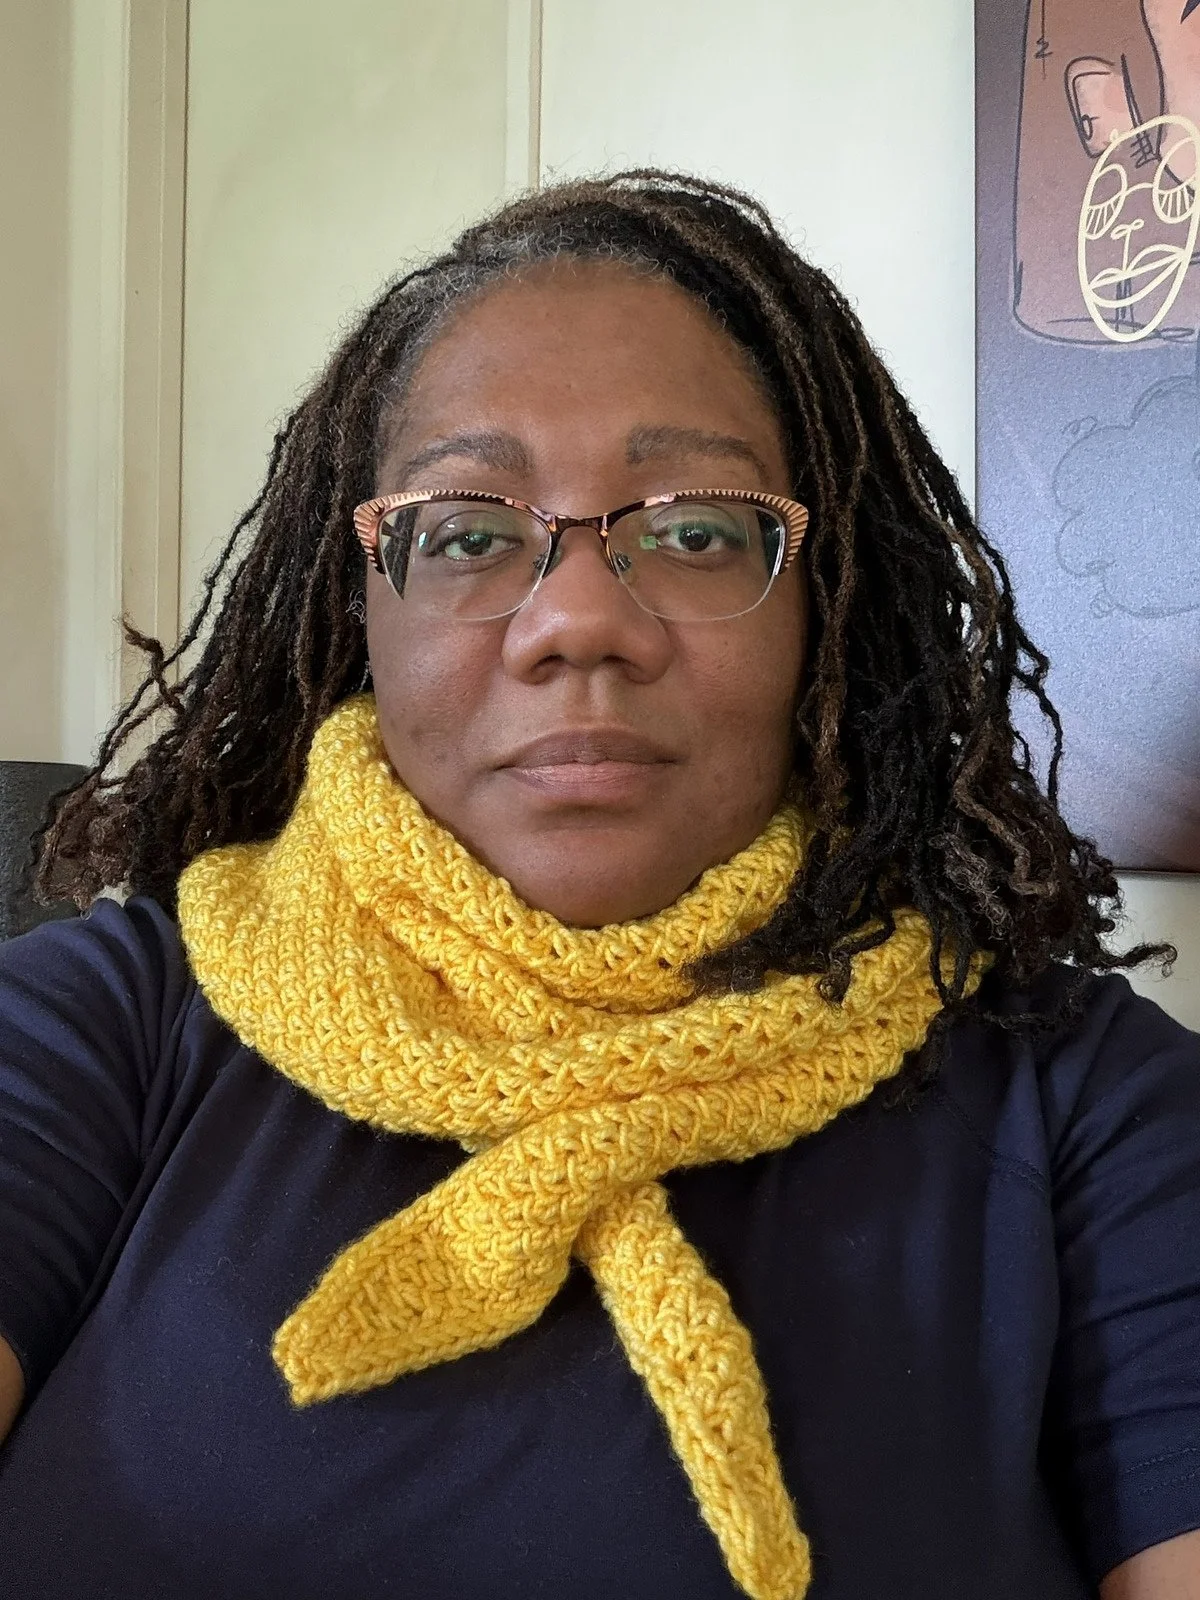
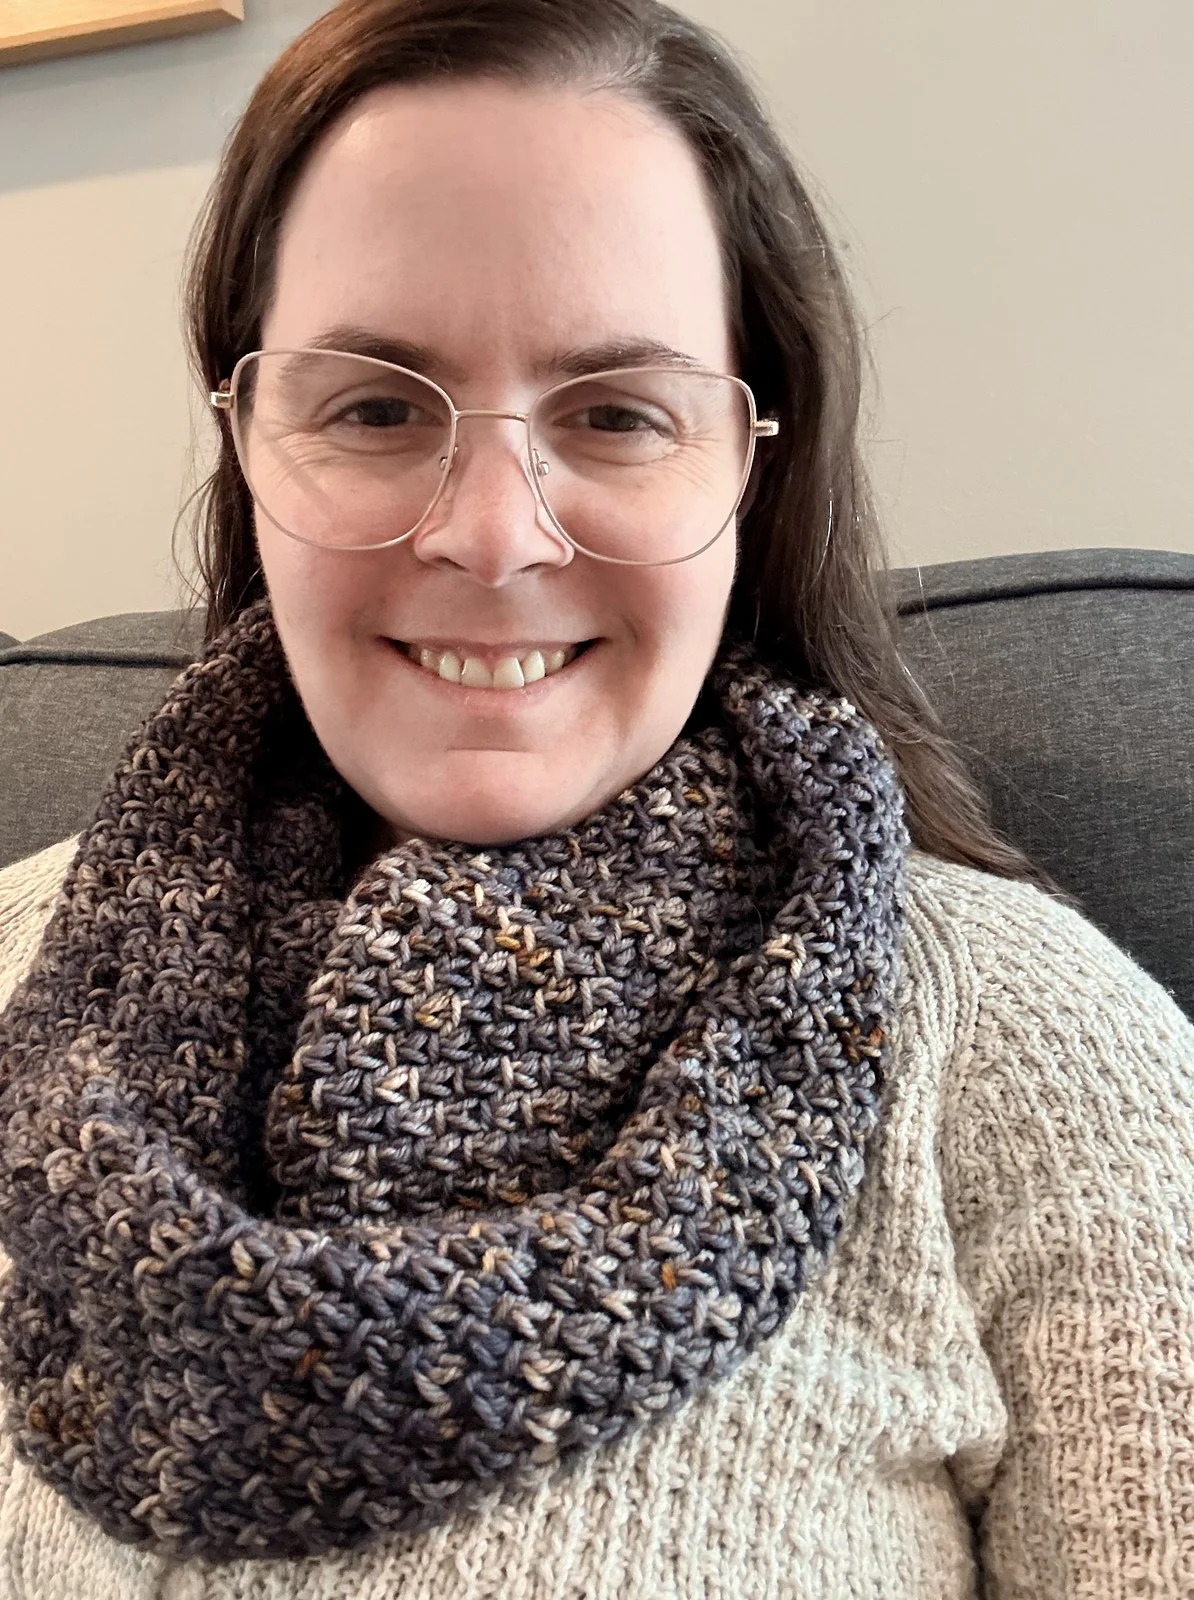
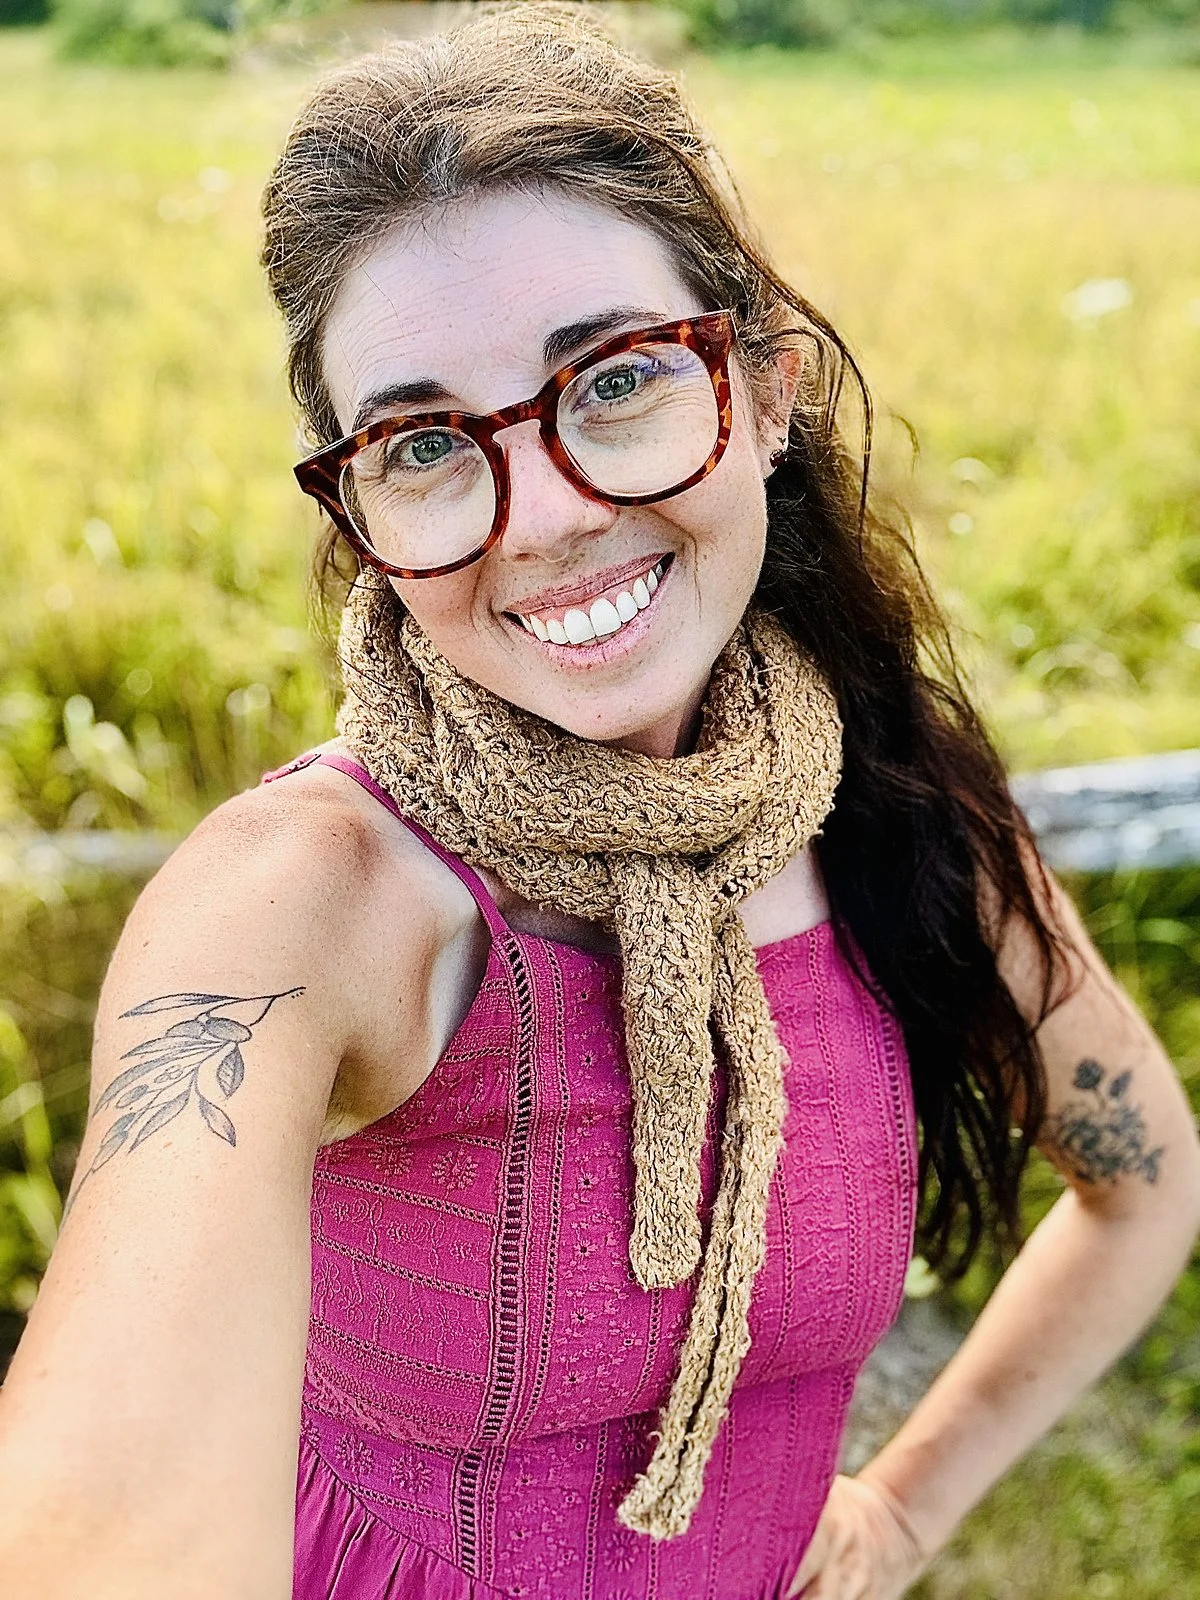
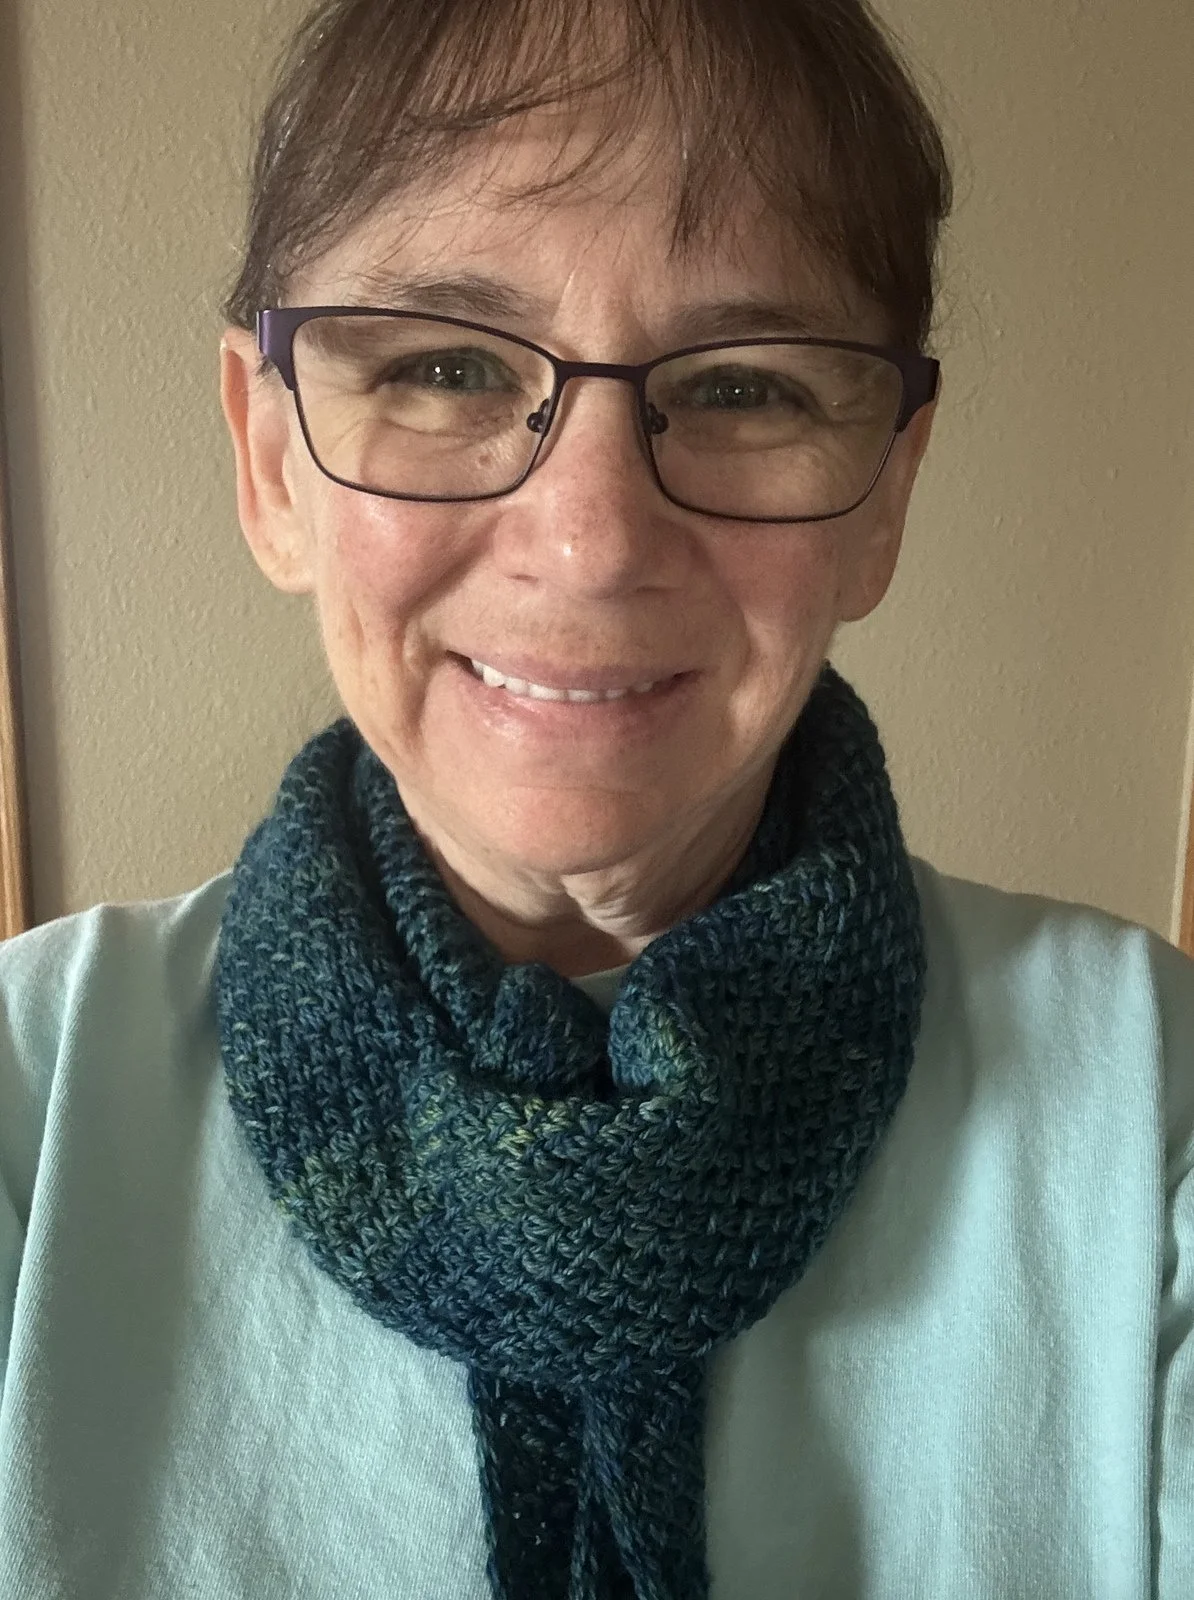
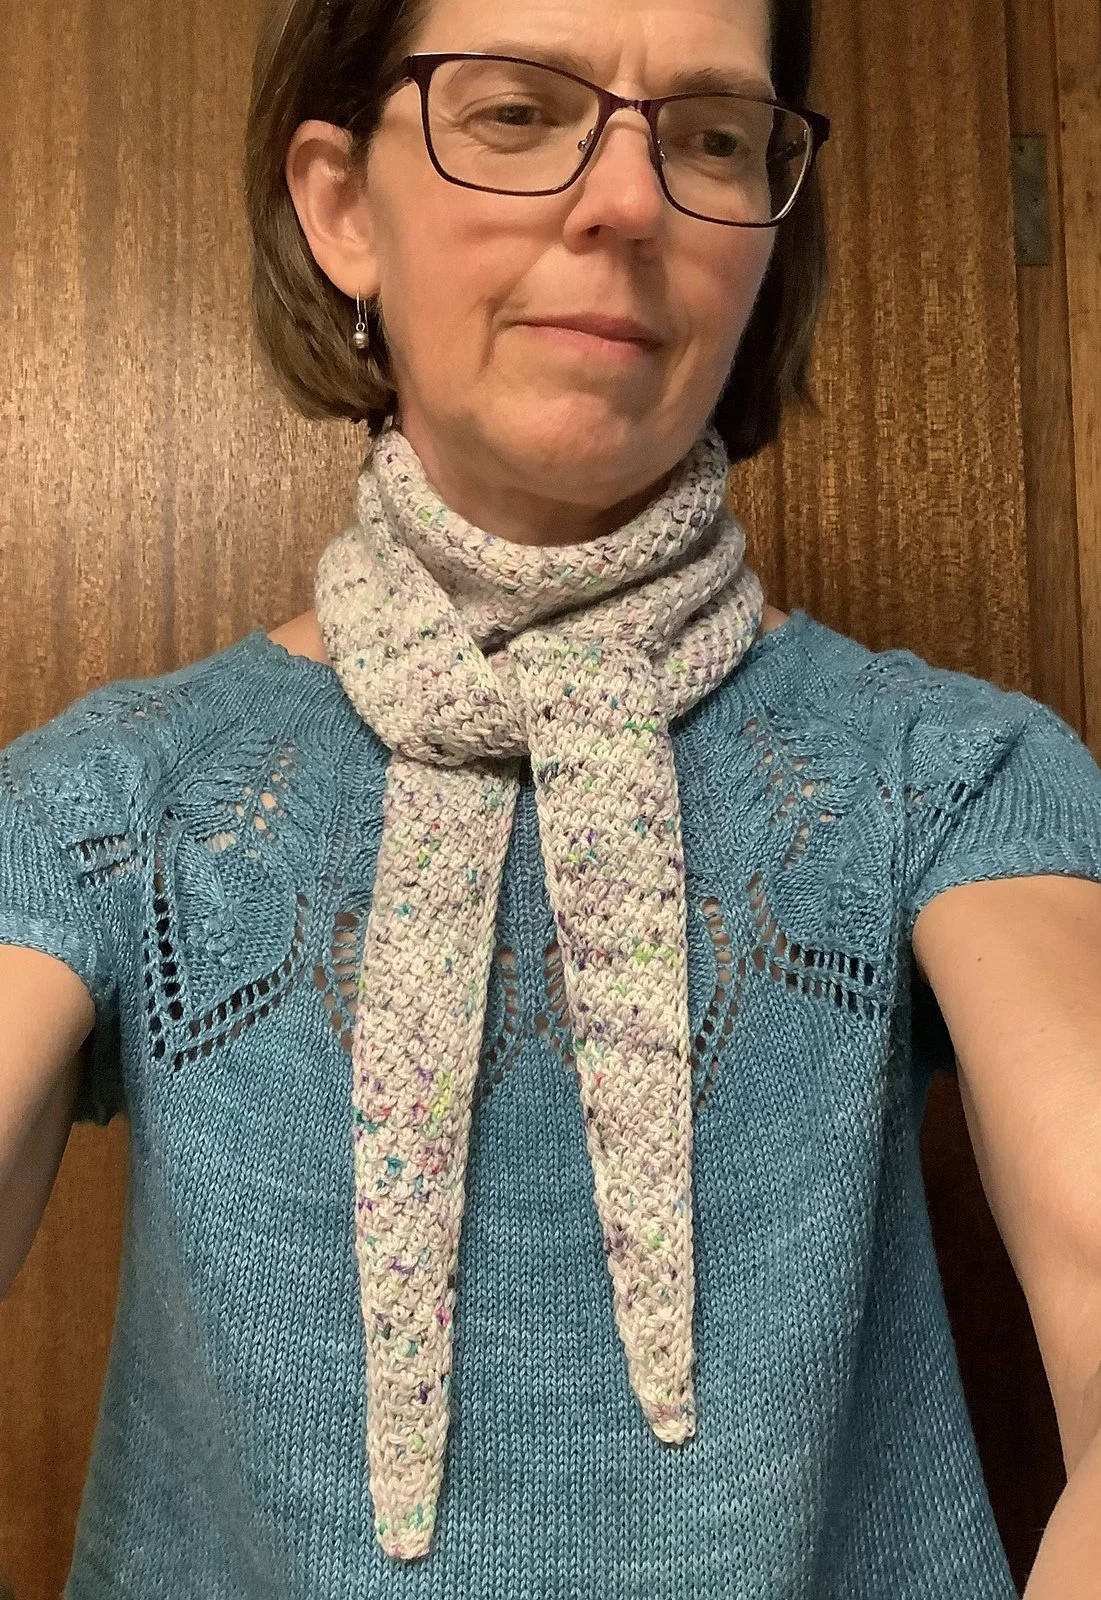
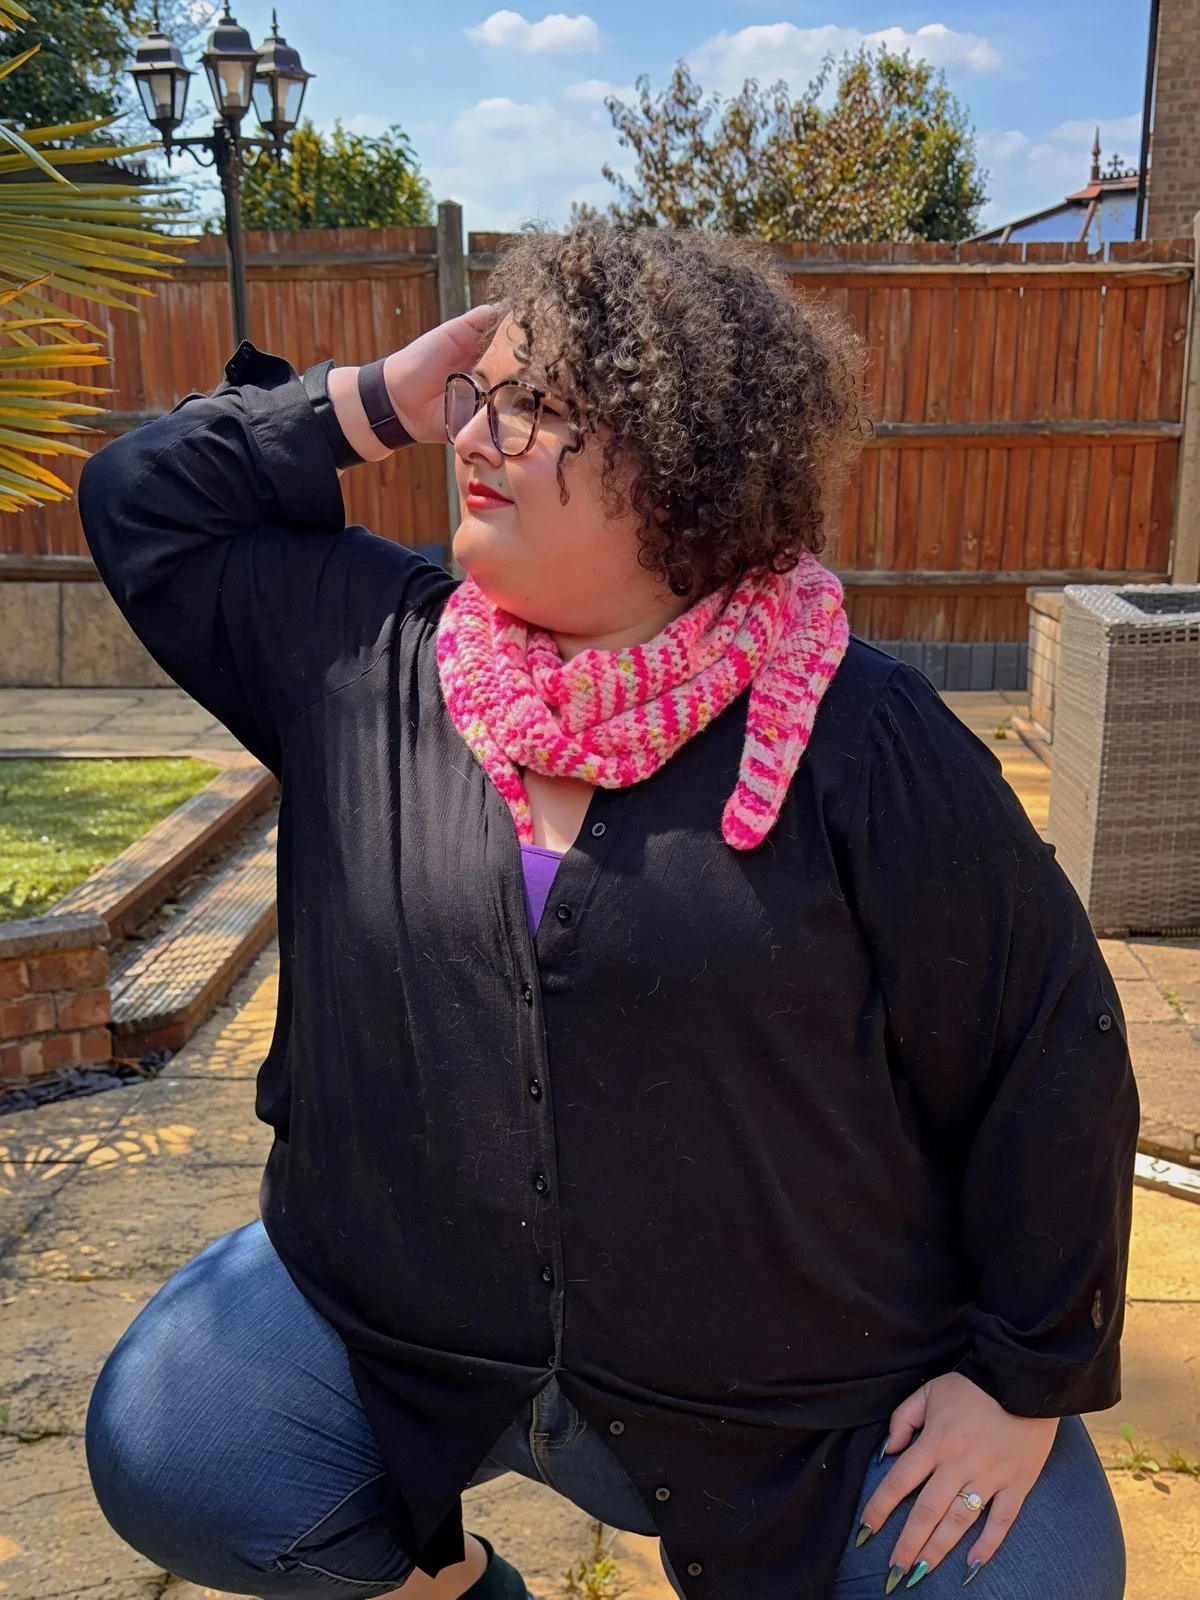
Test Knitter Photo Gallery
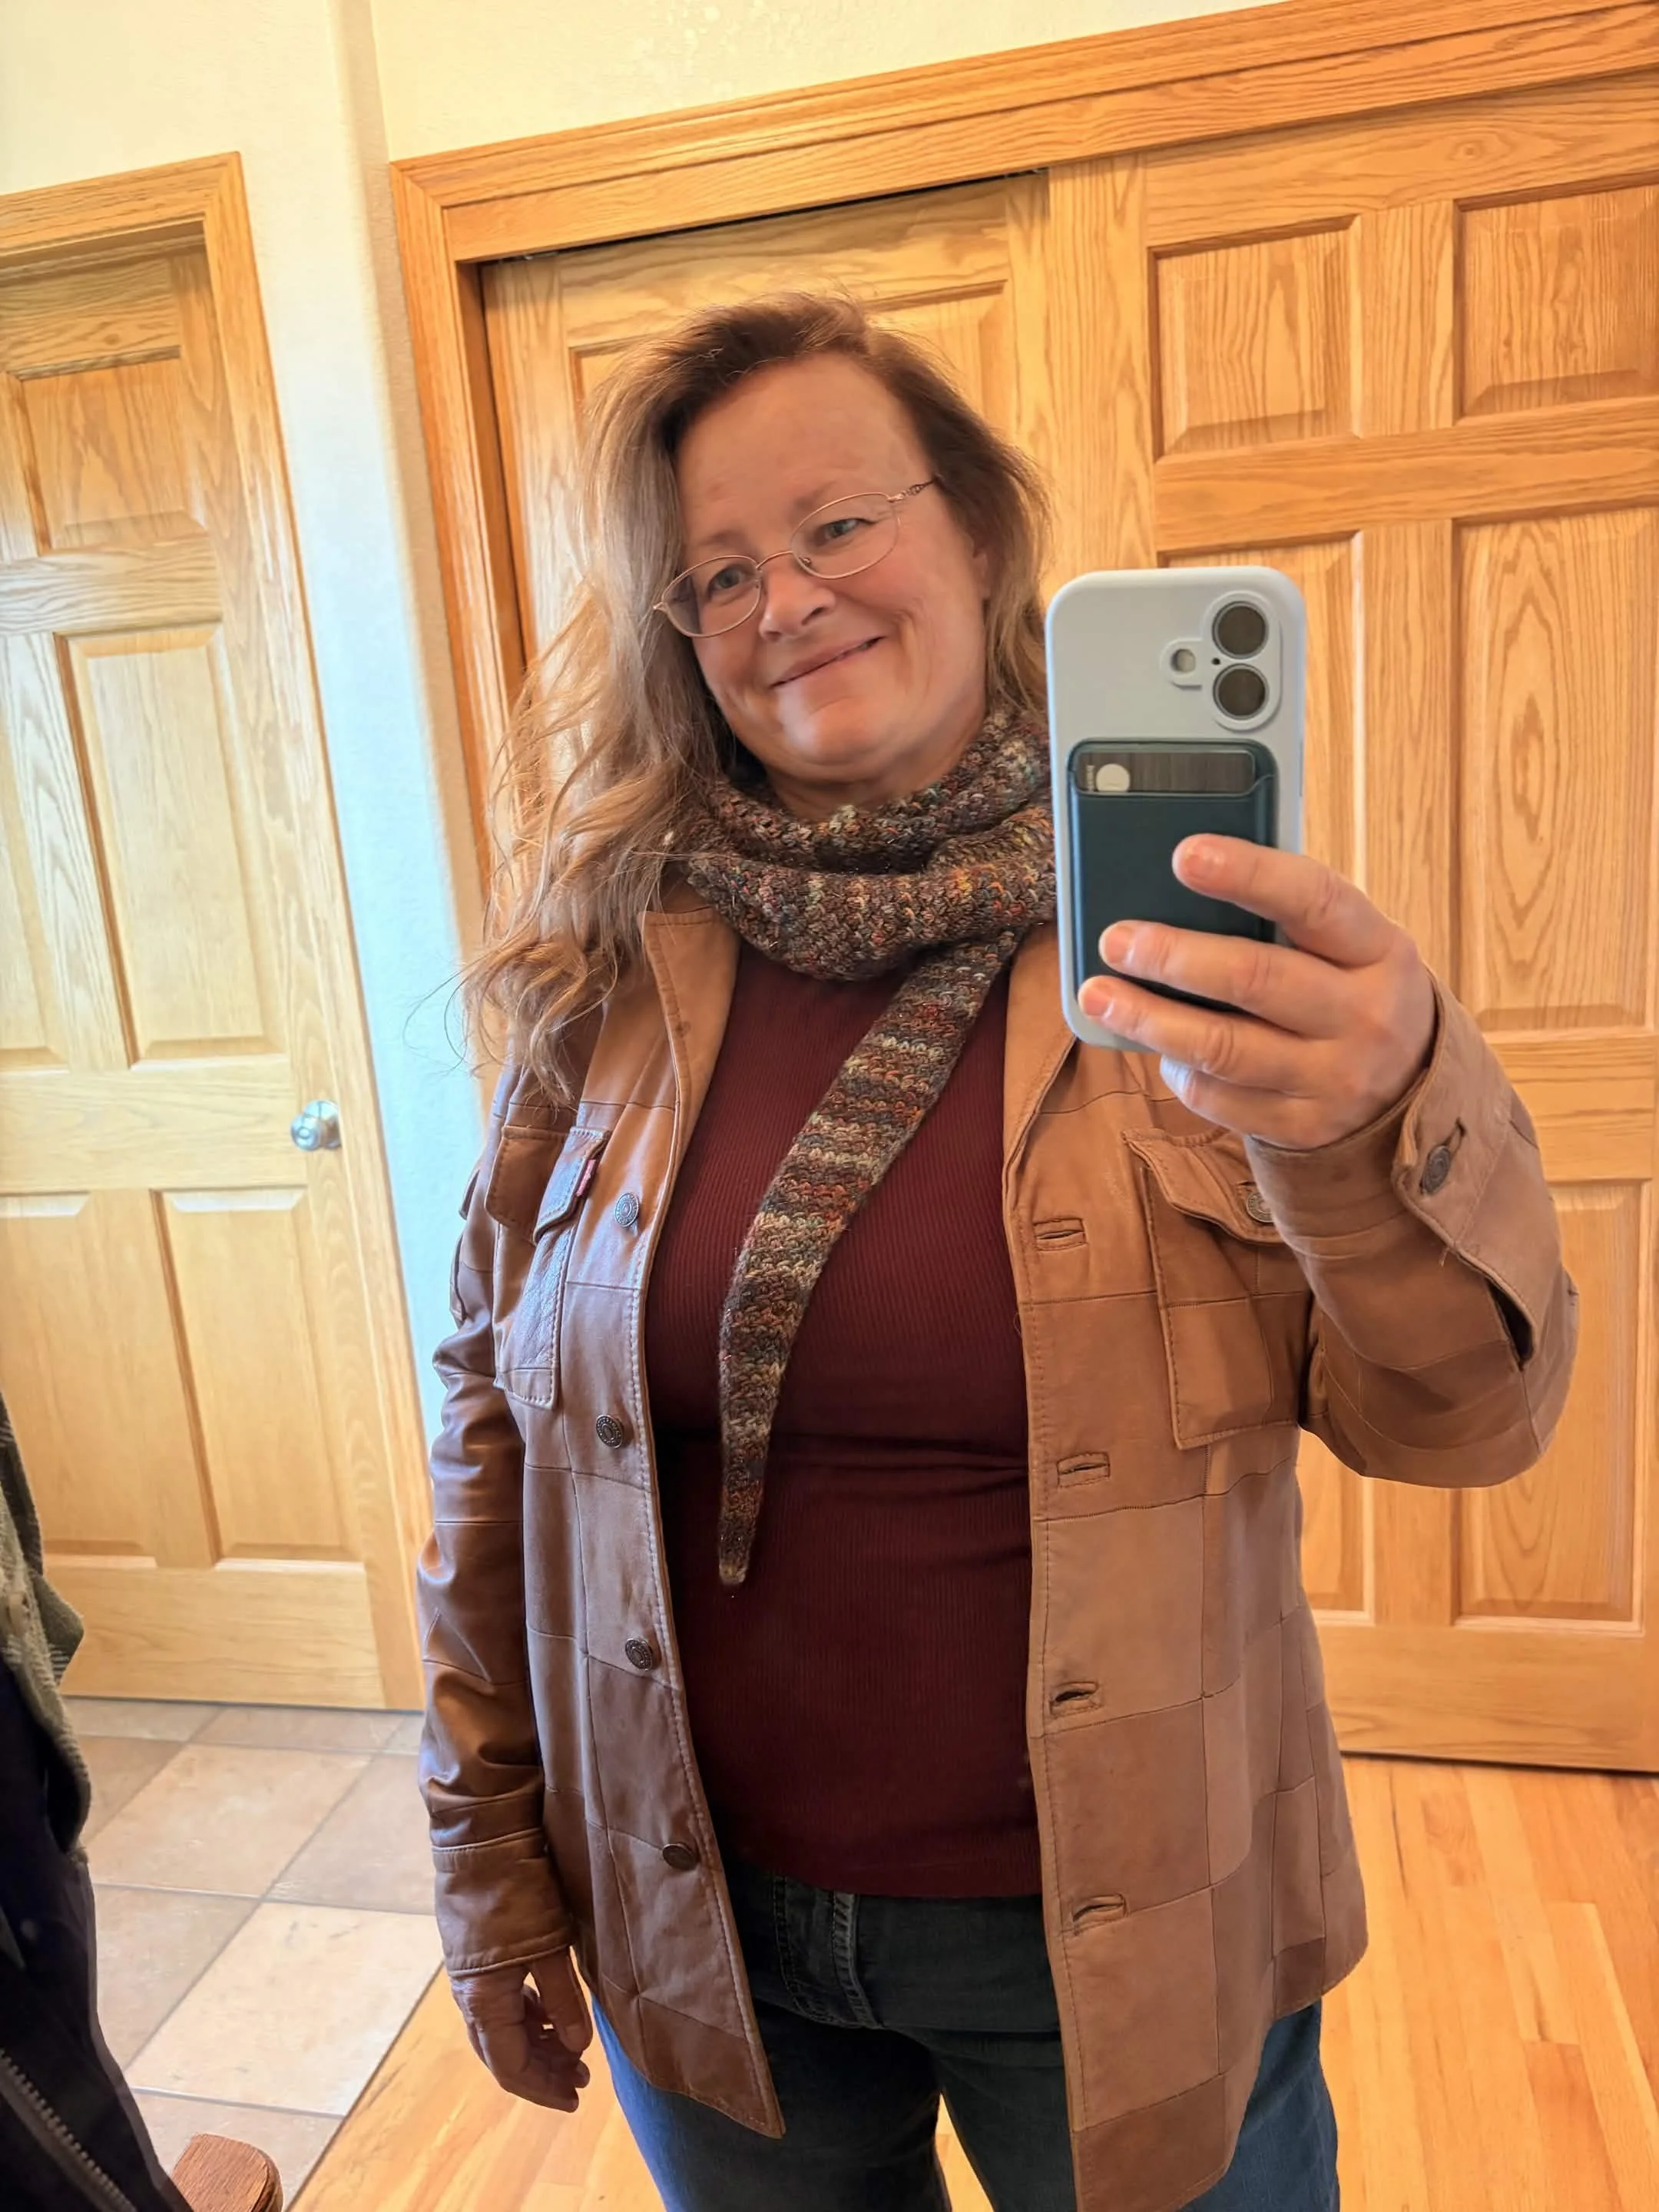
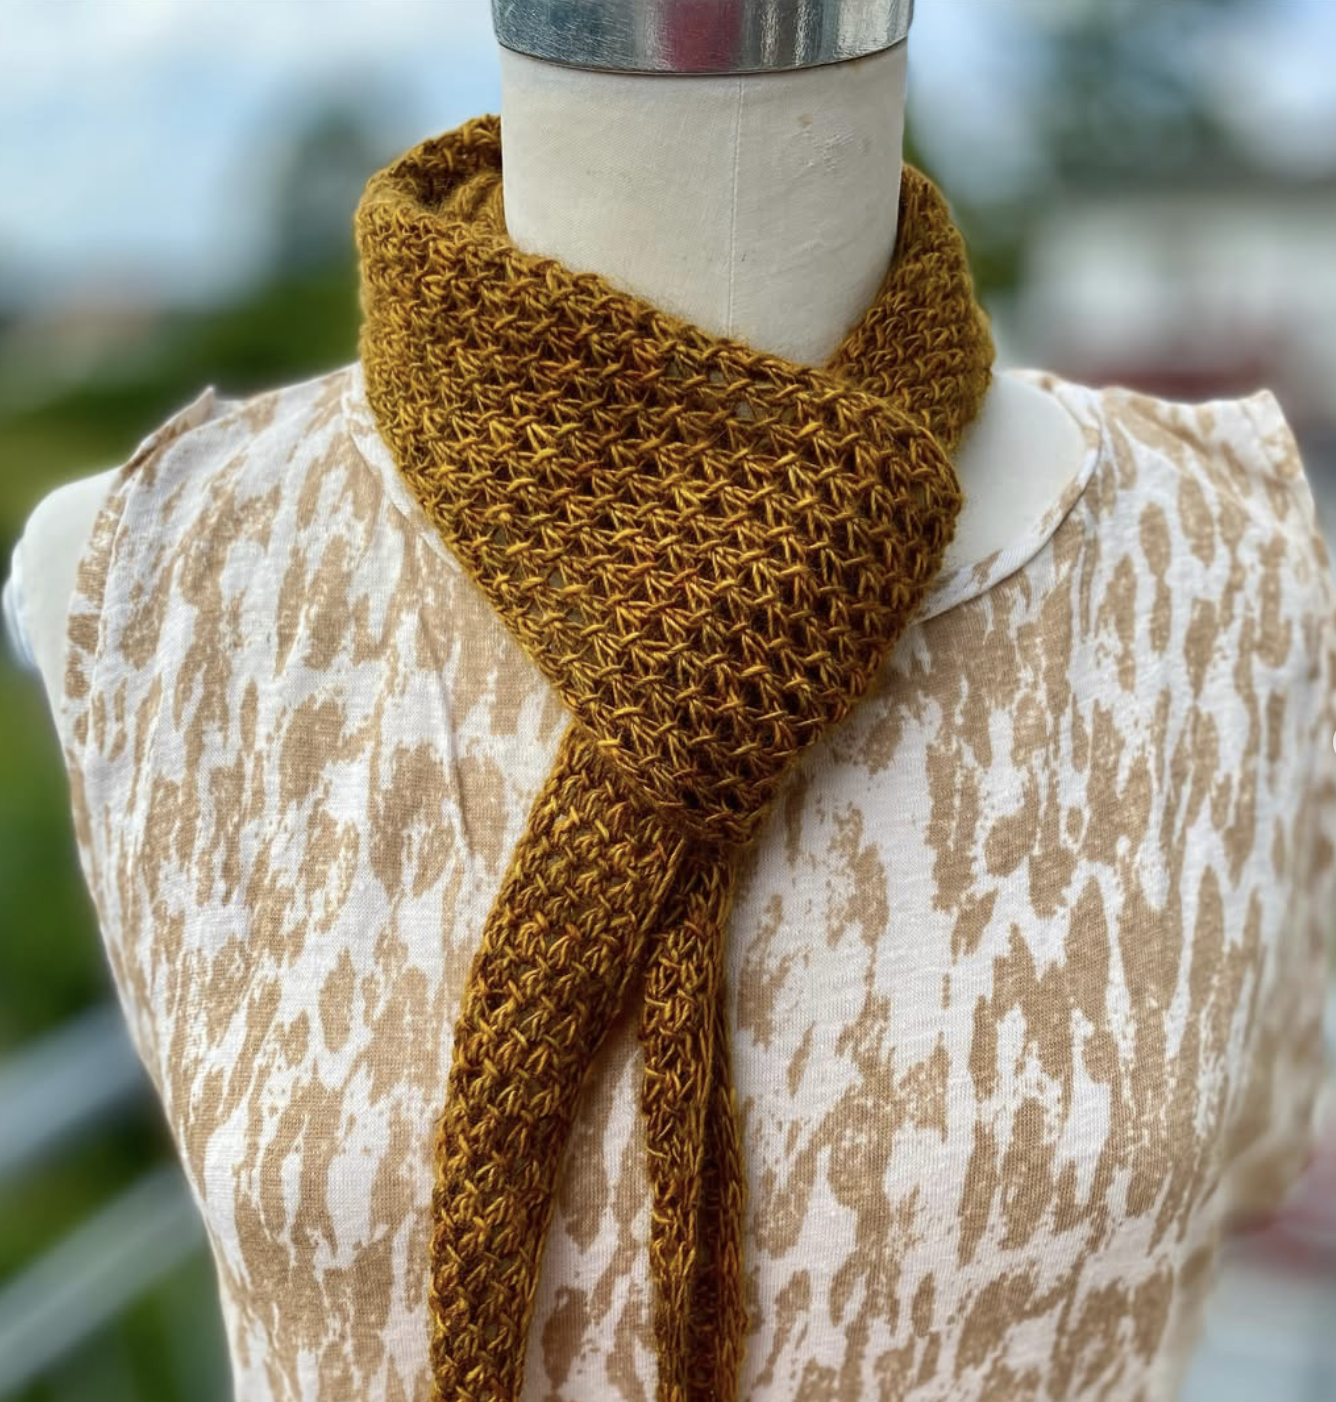
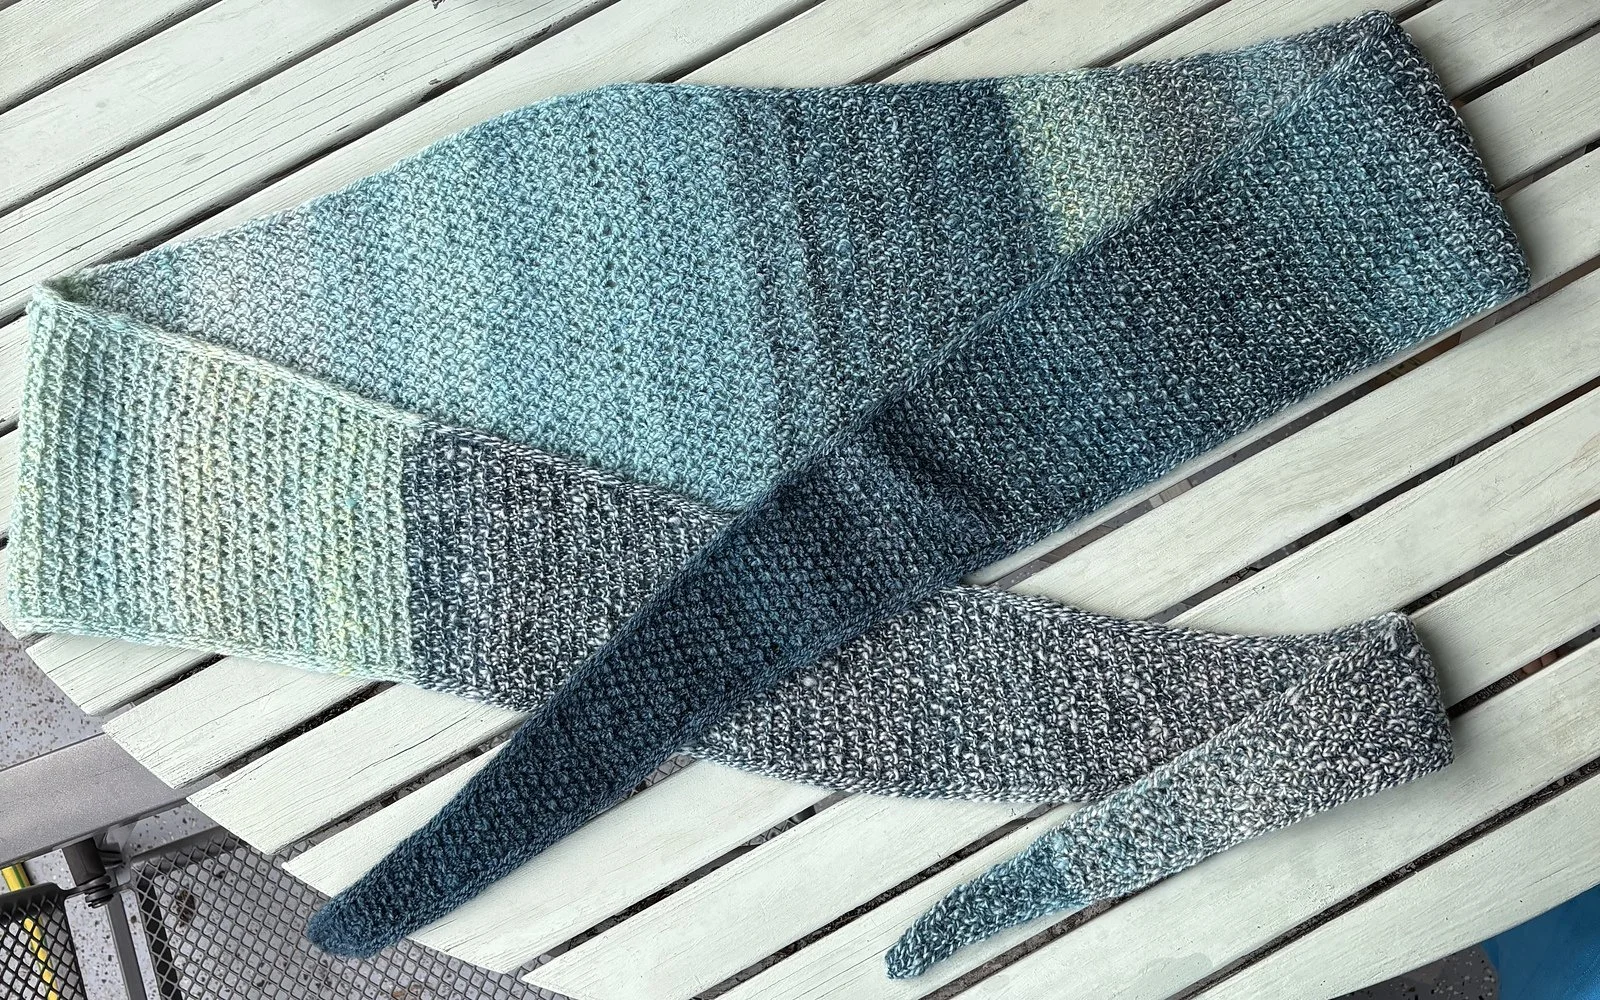
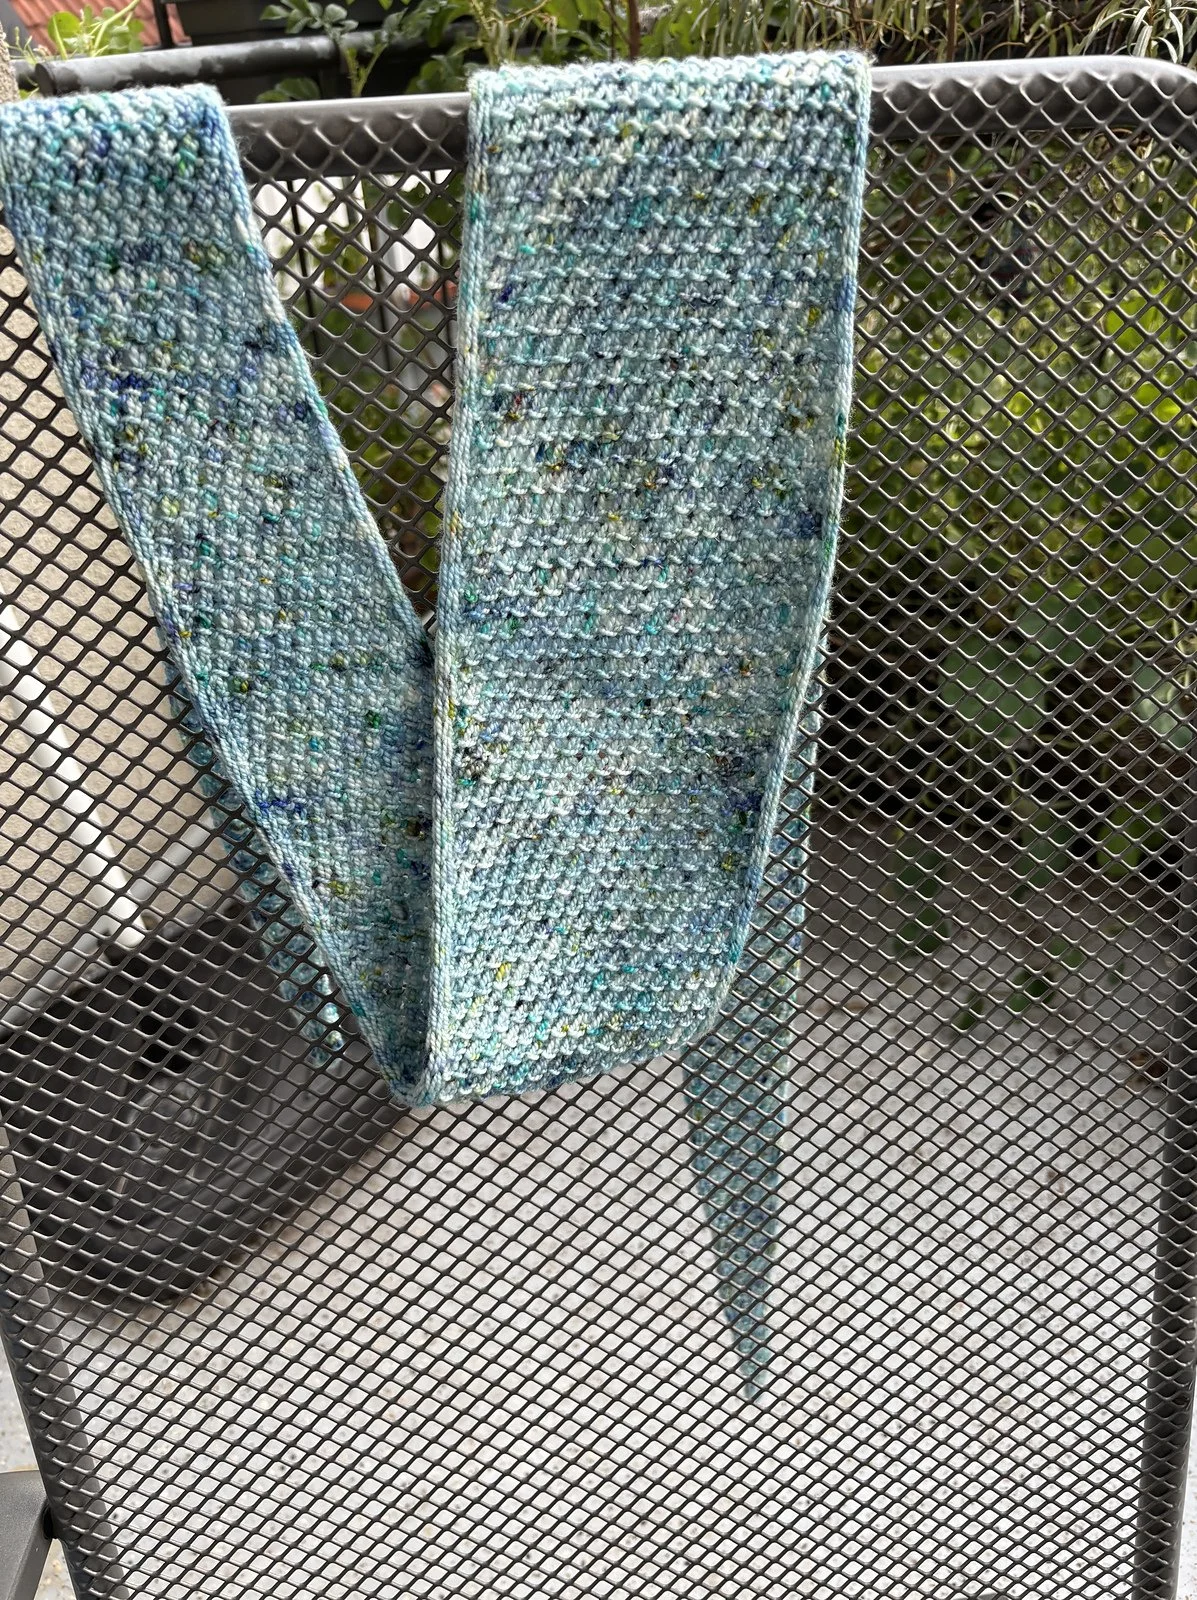
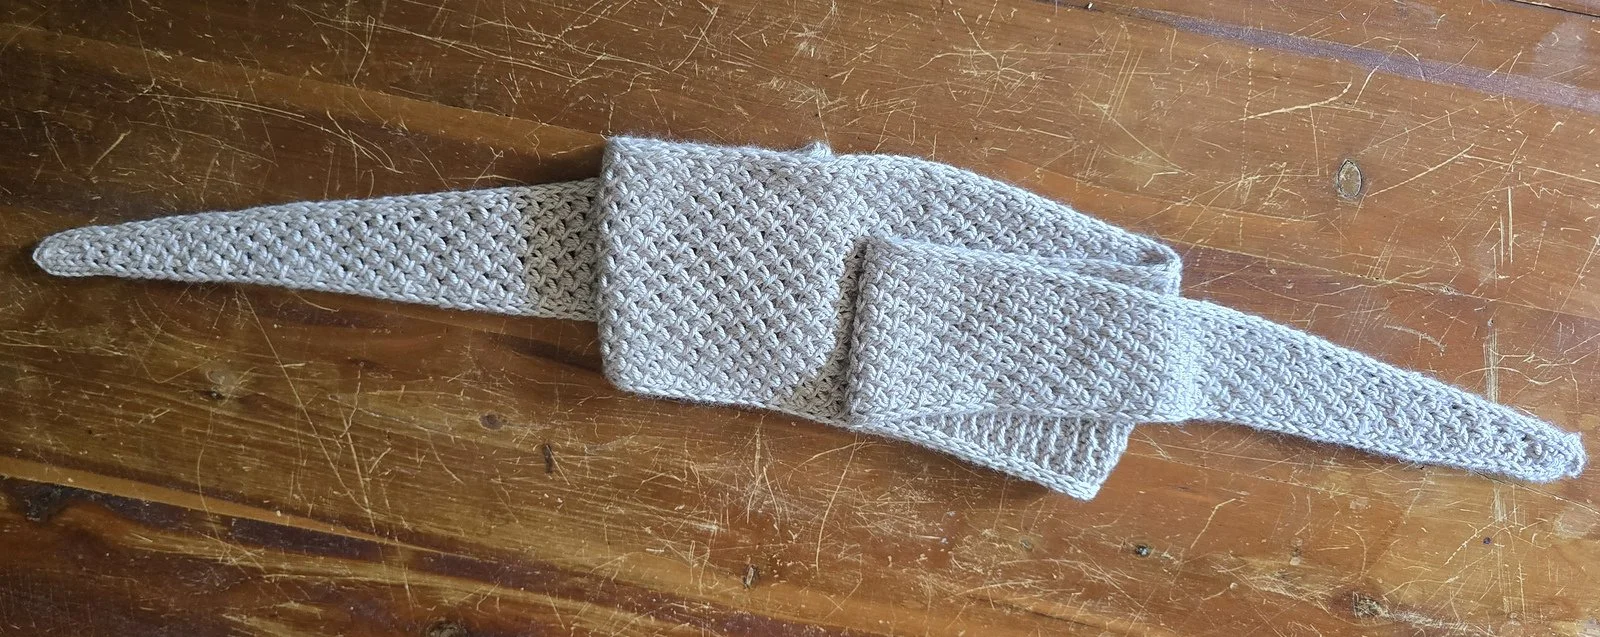
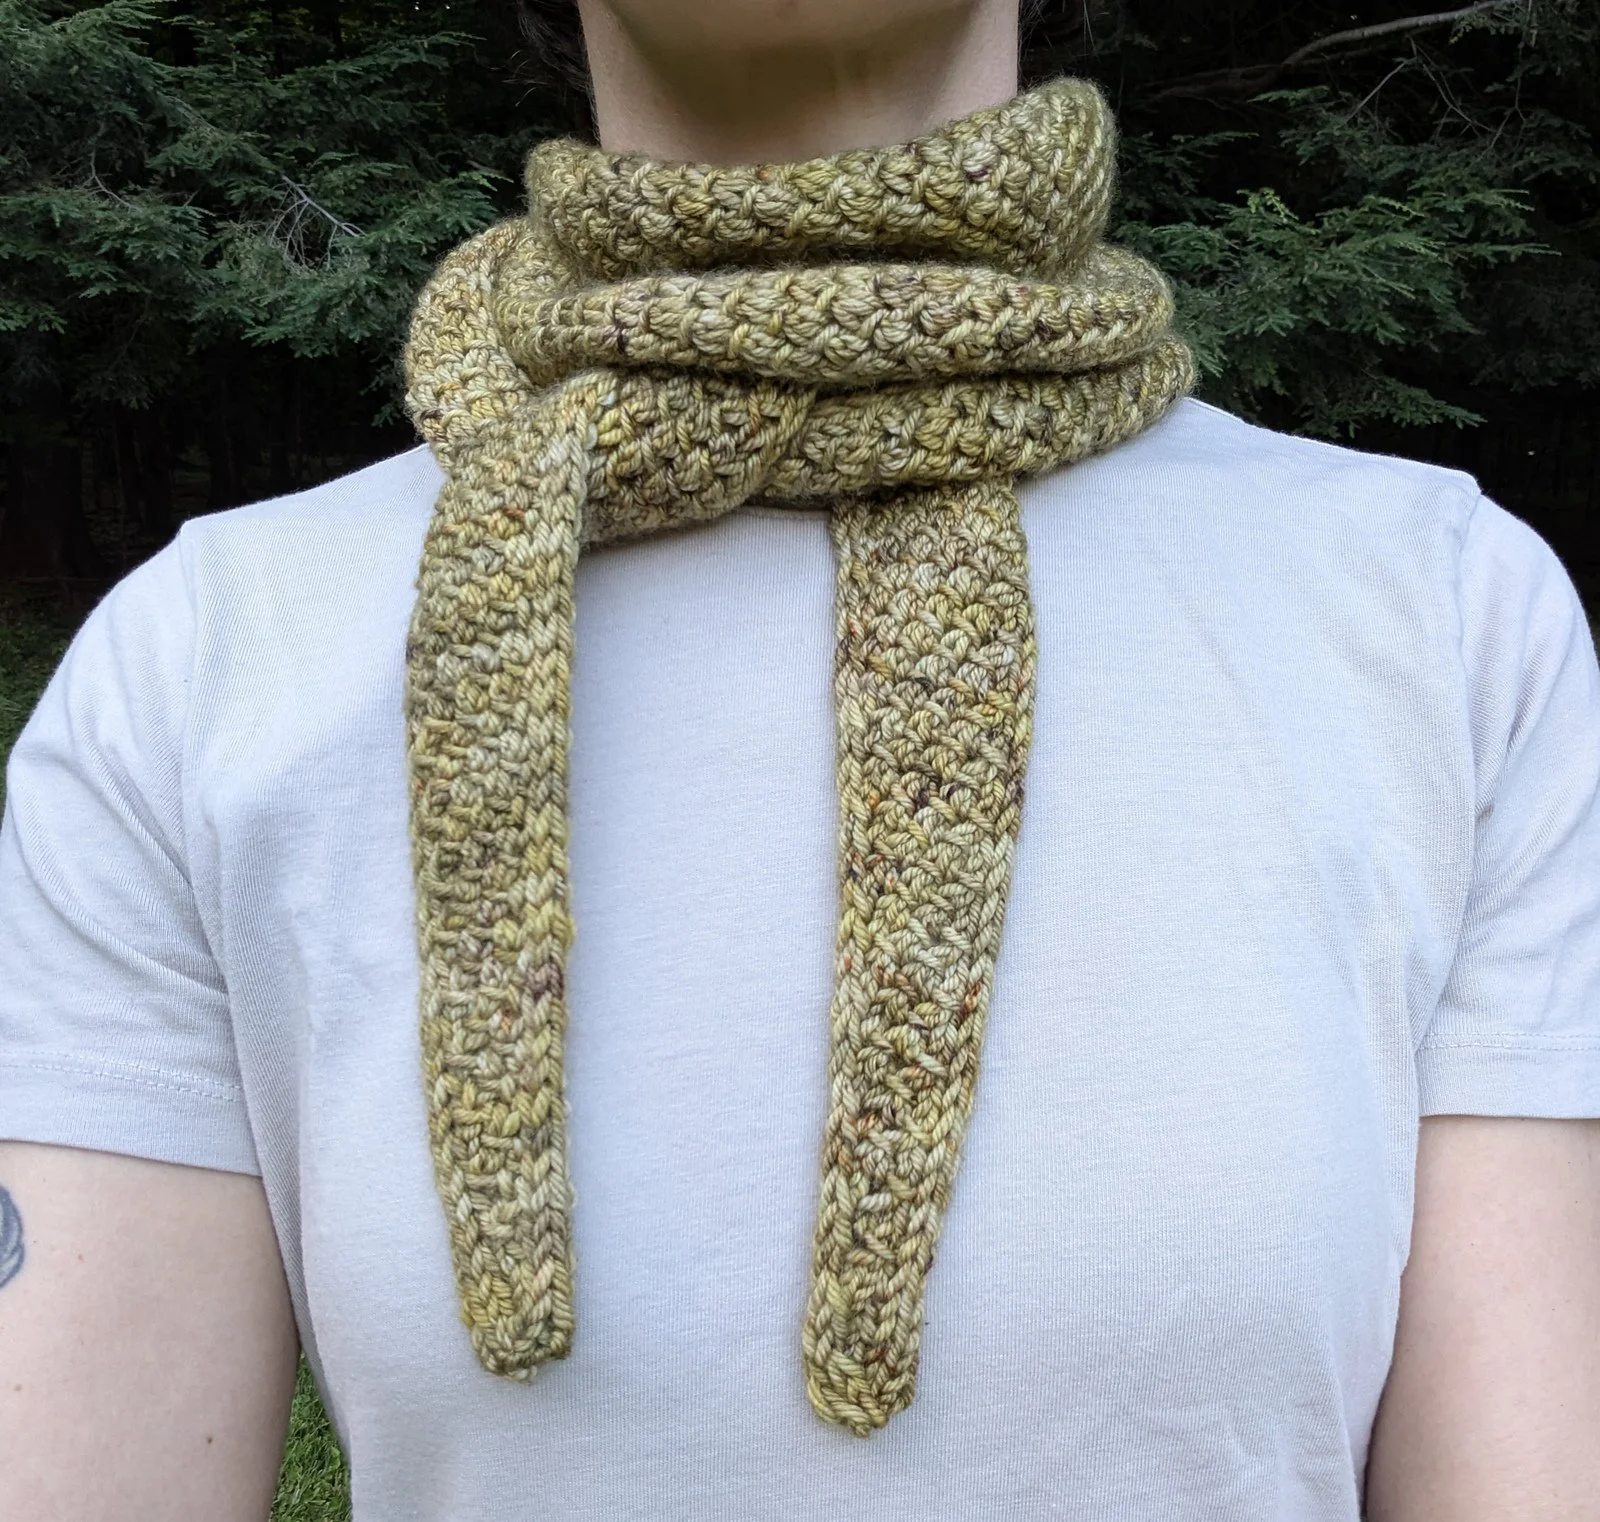
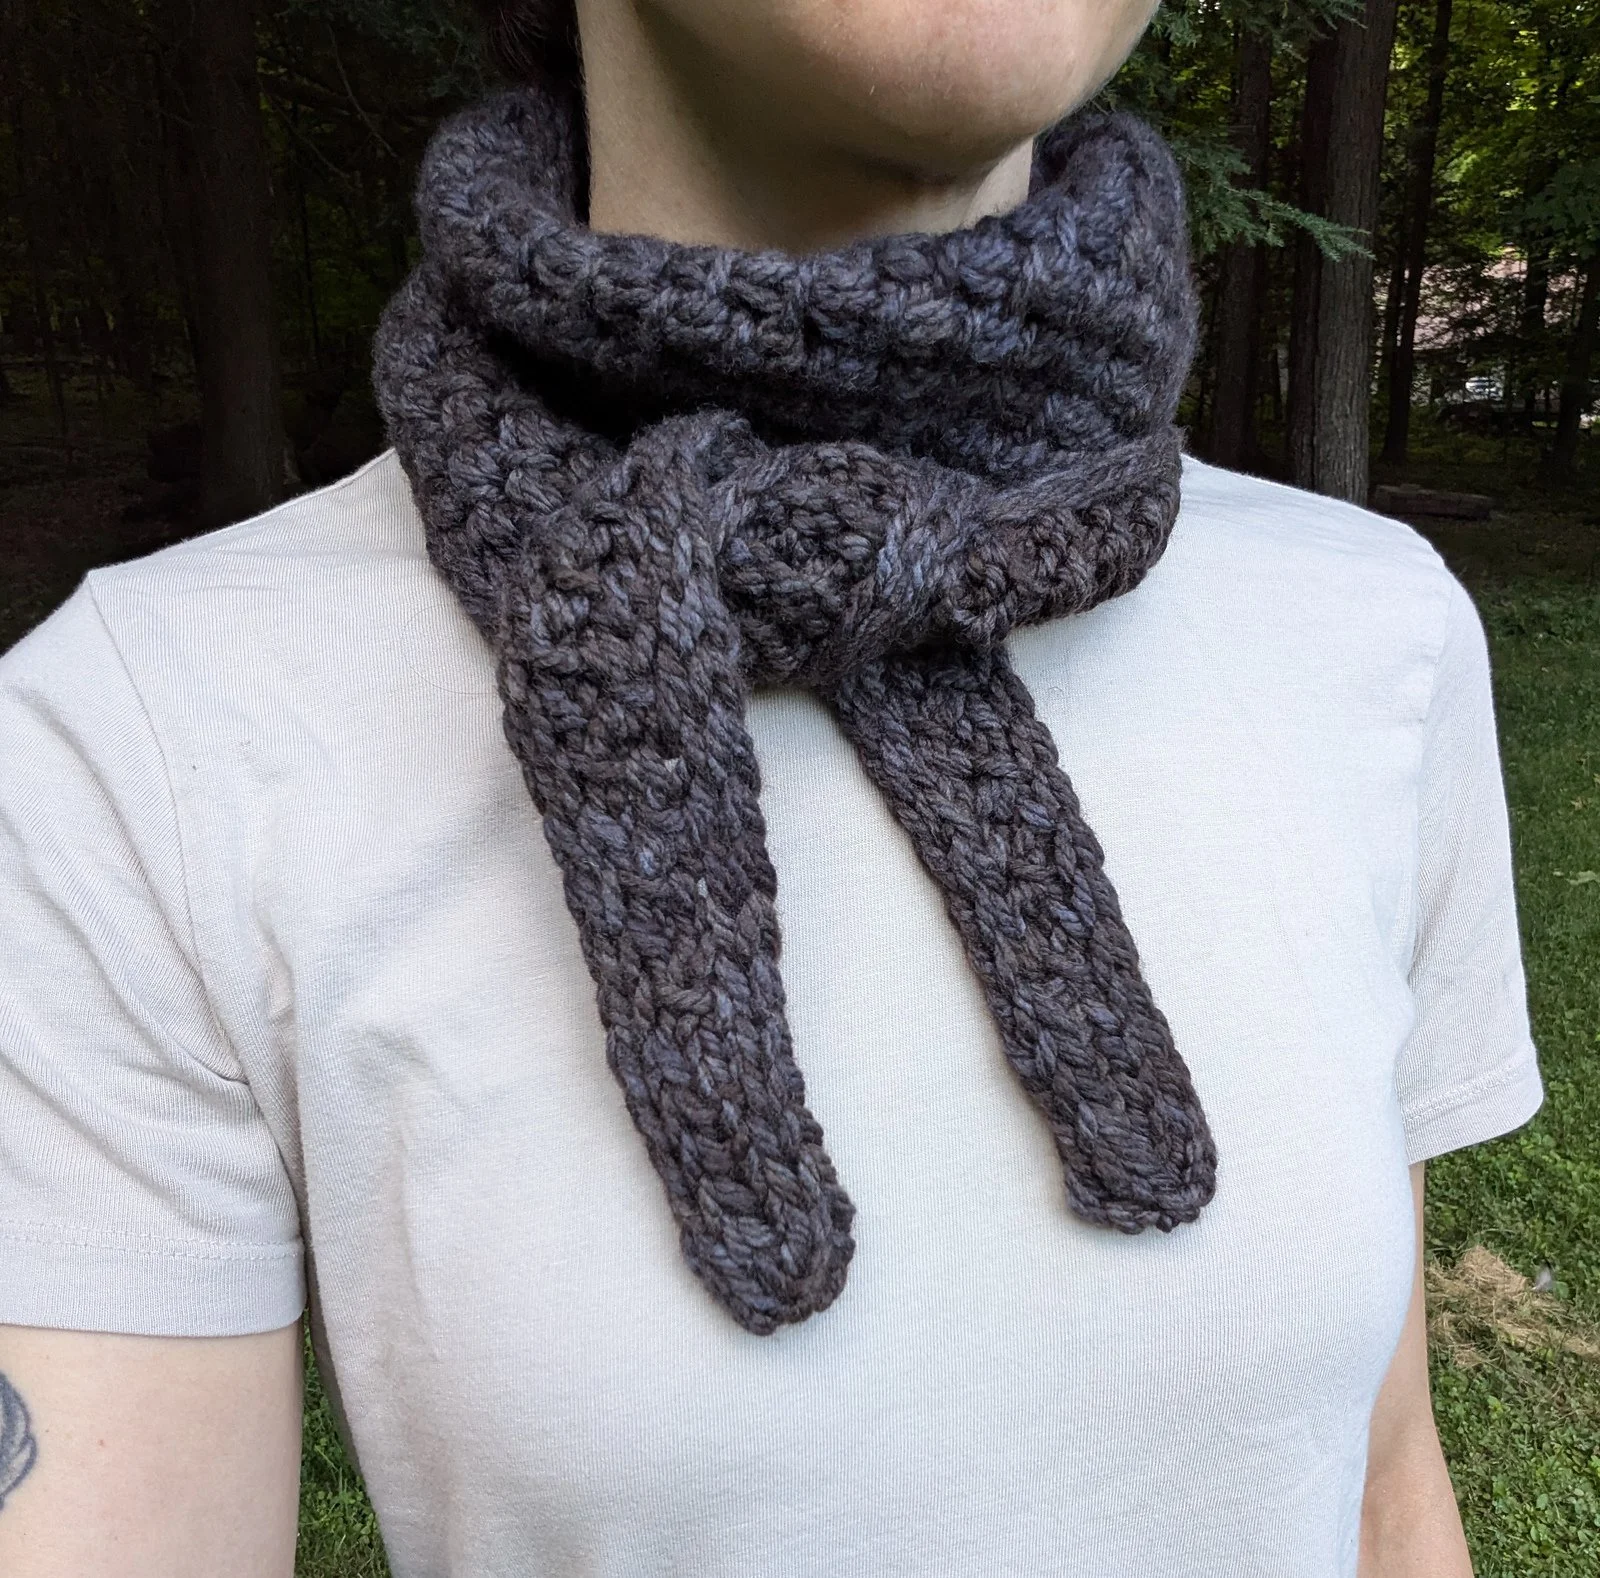
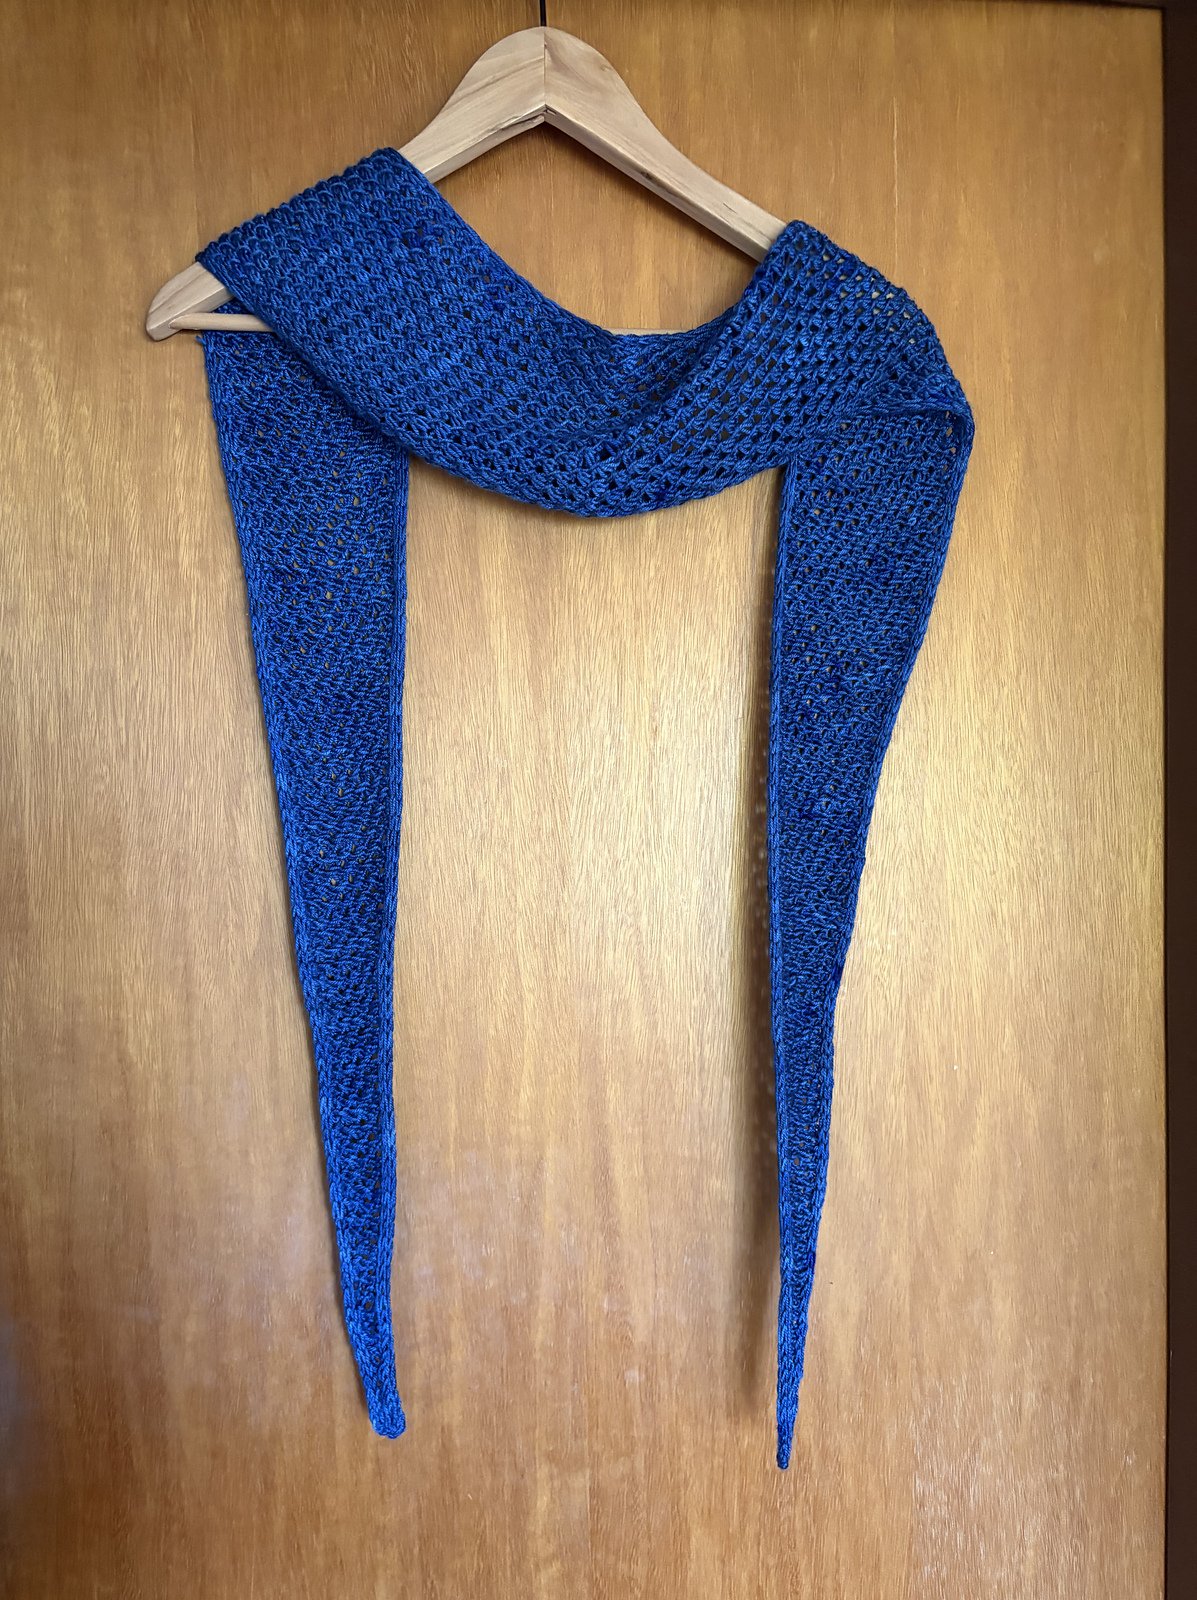
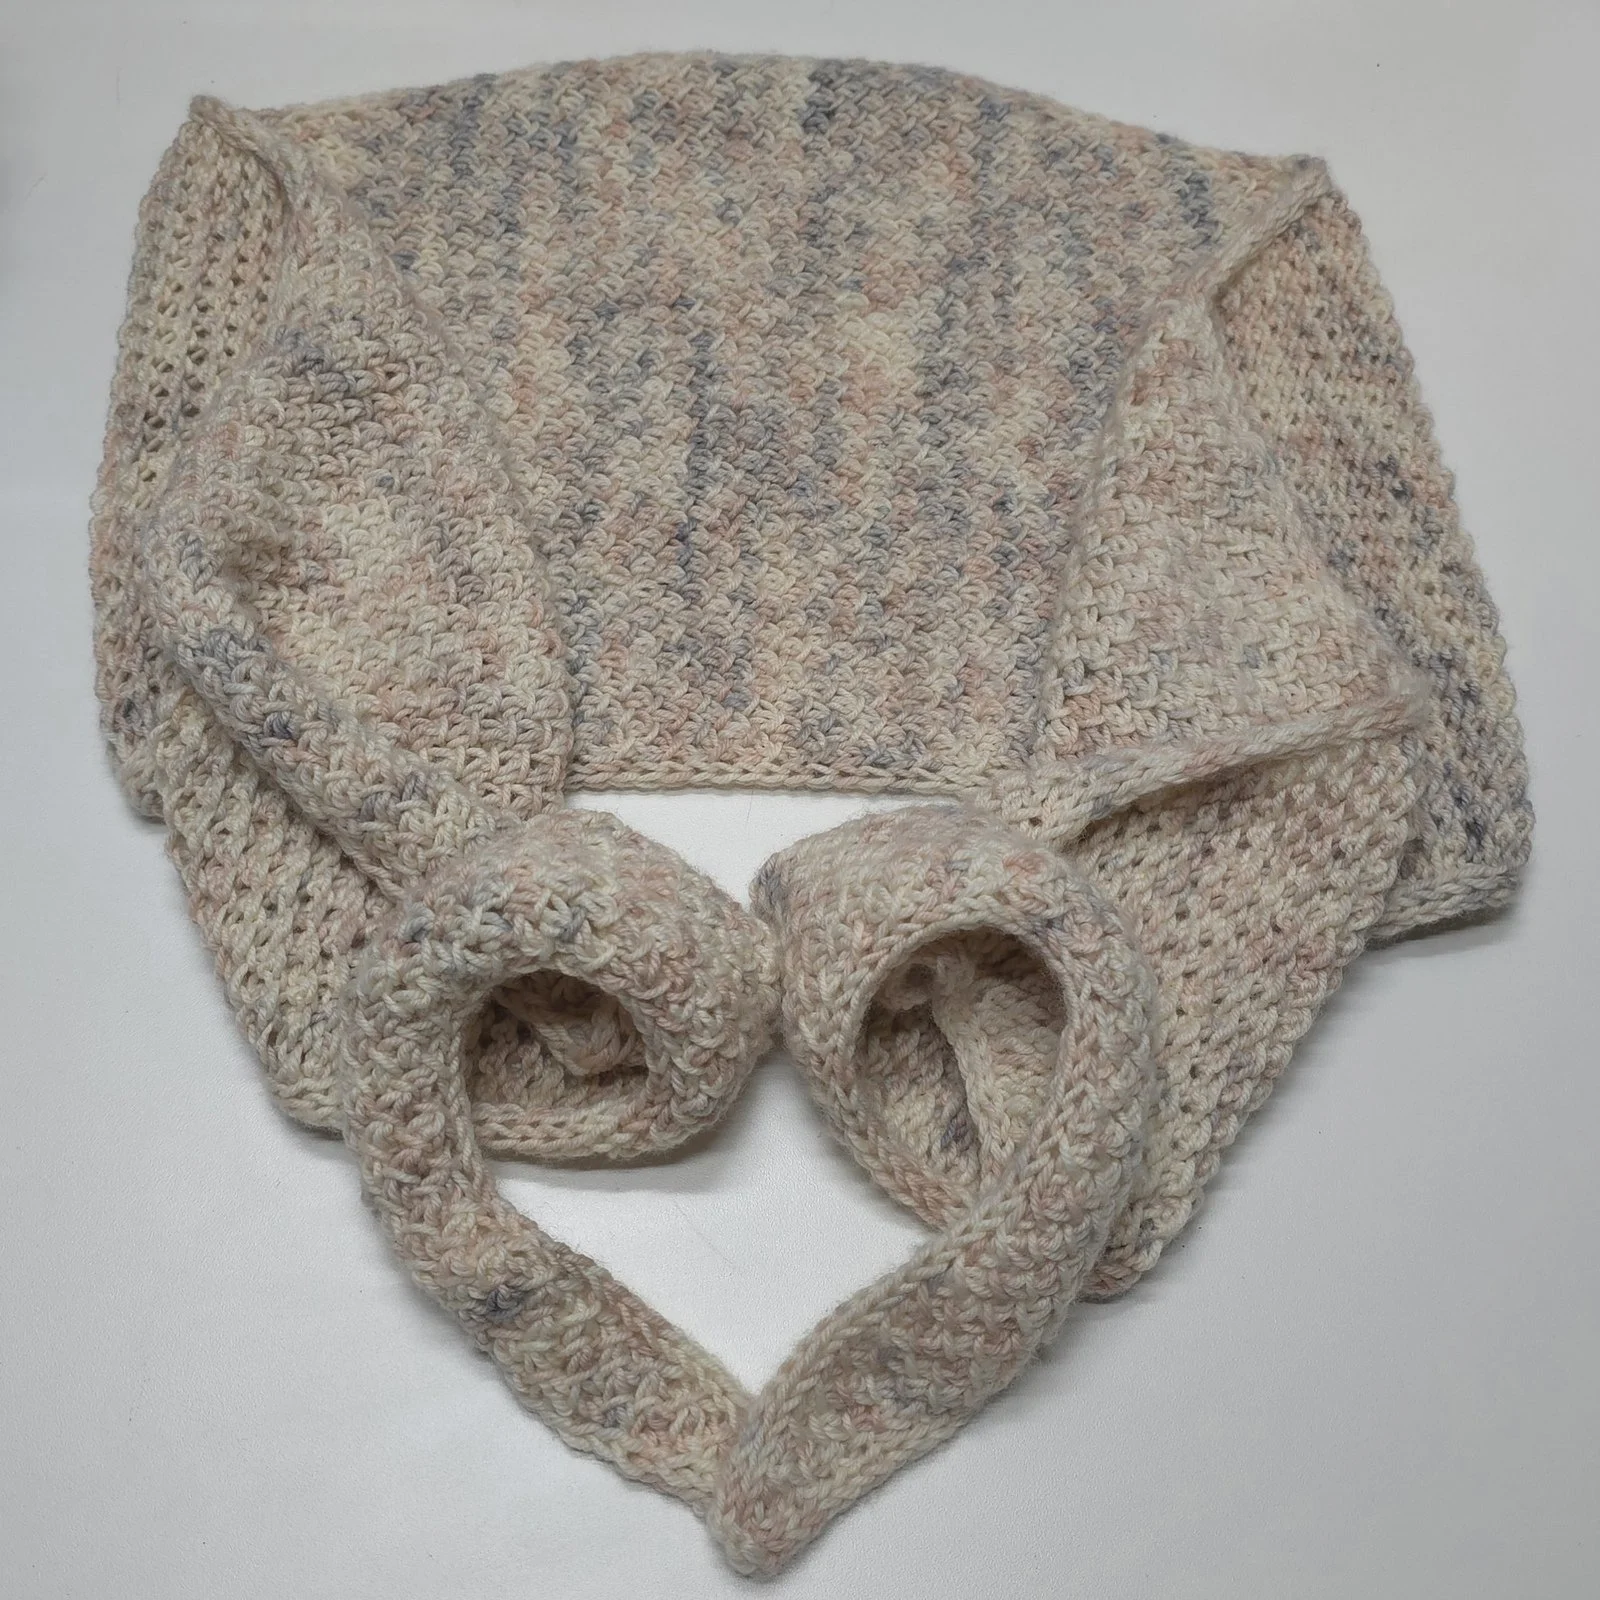
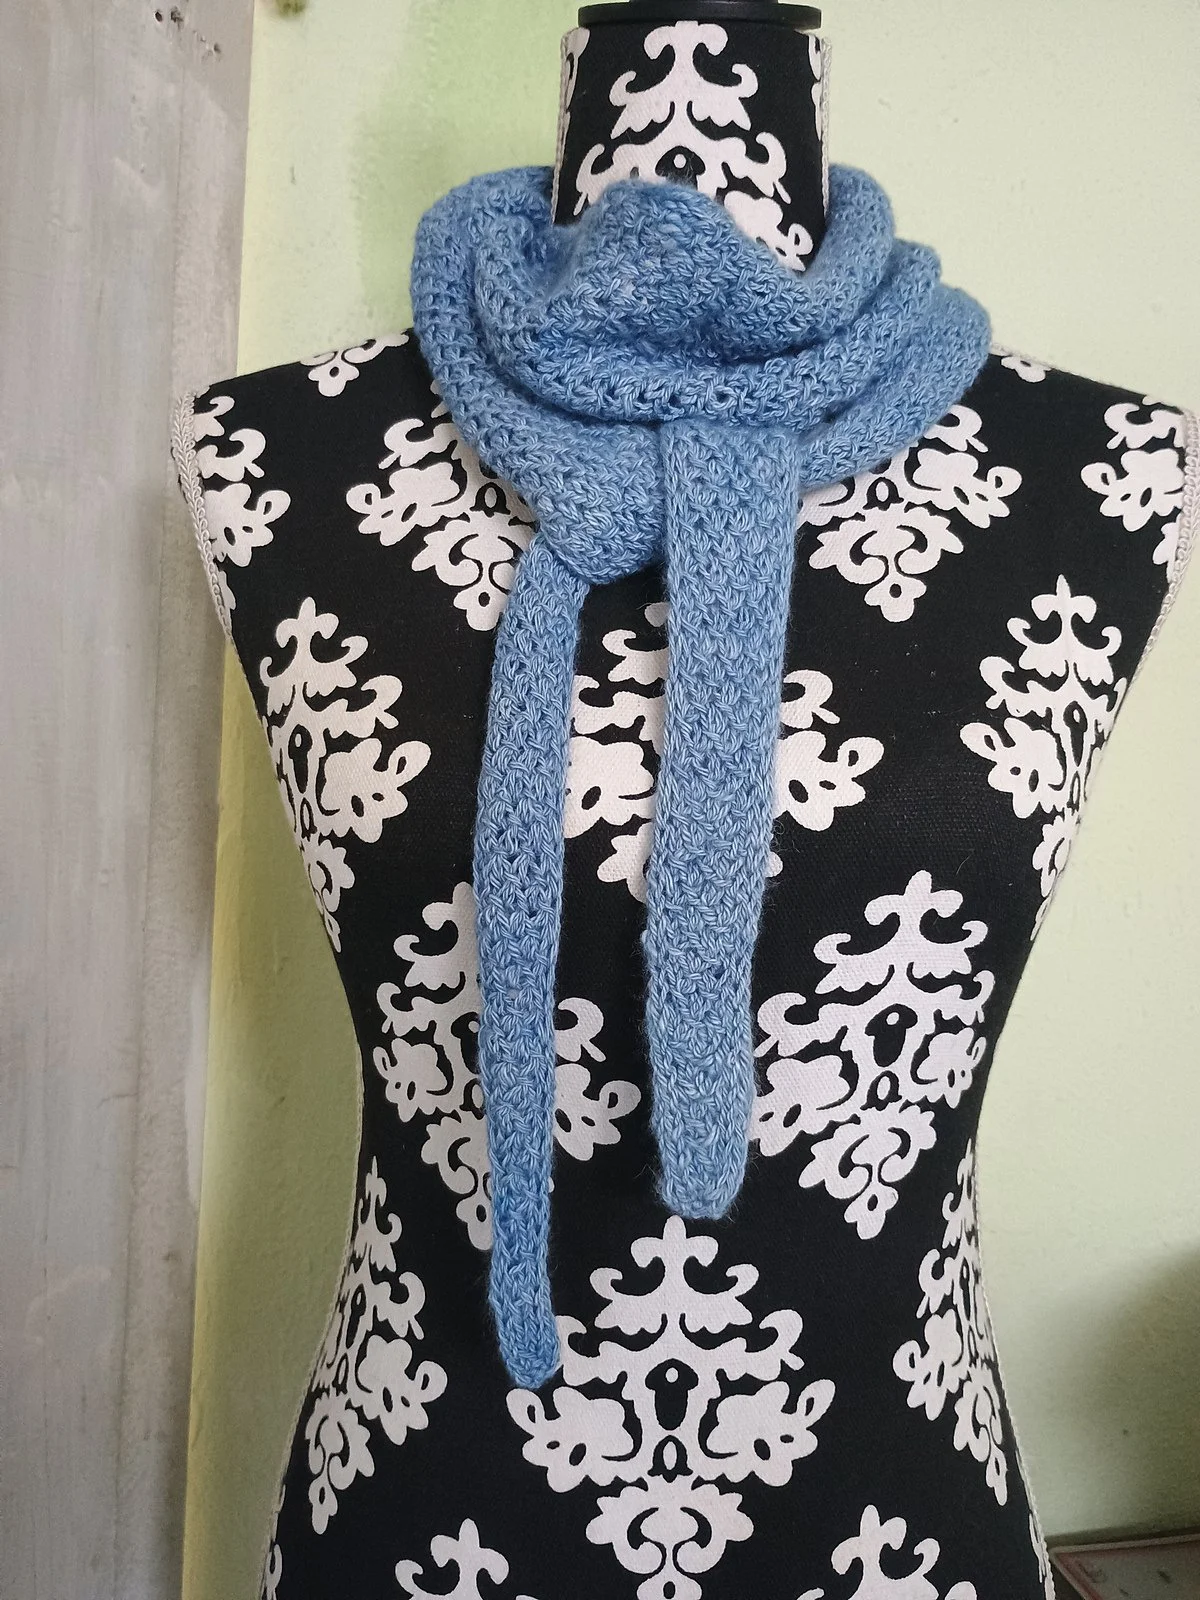
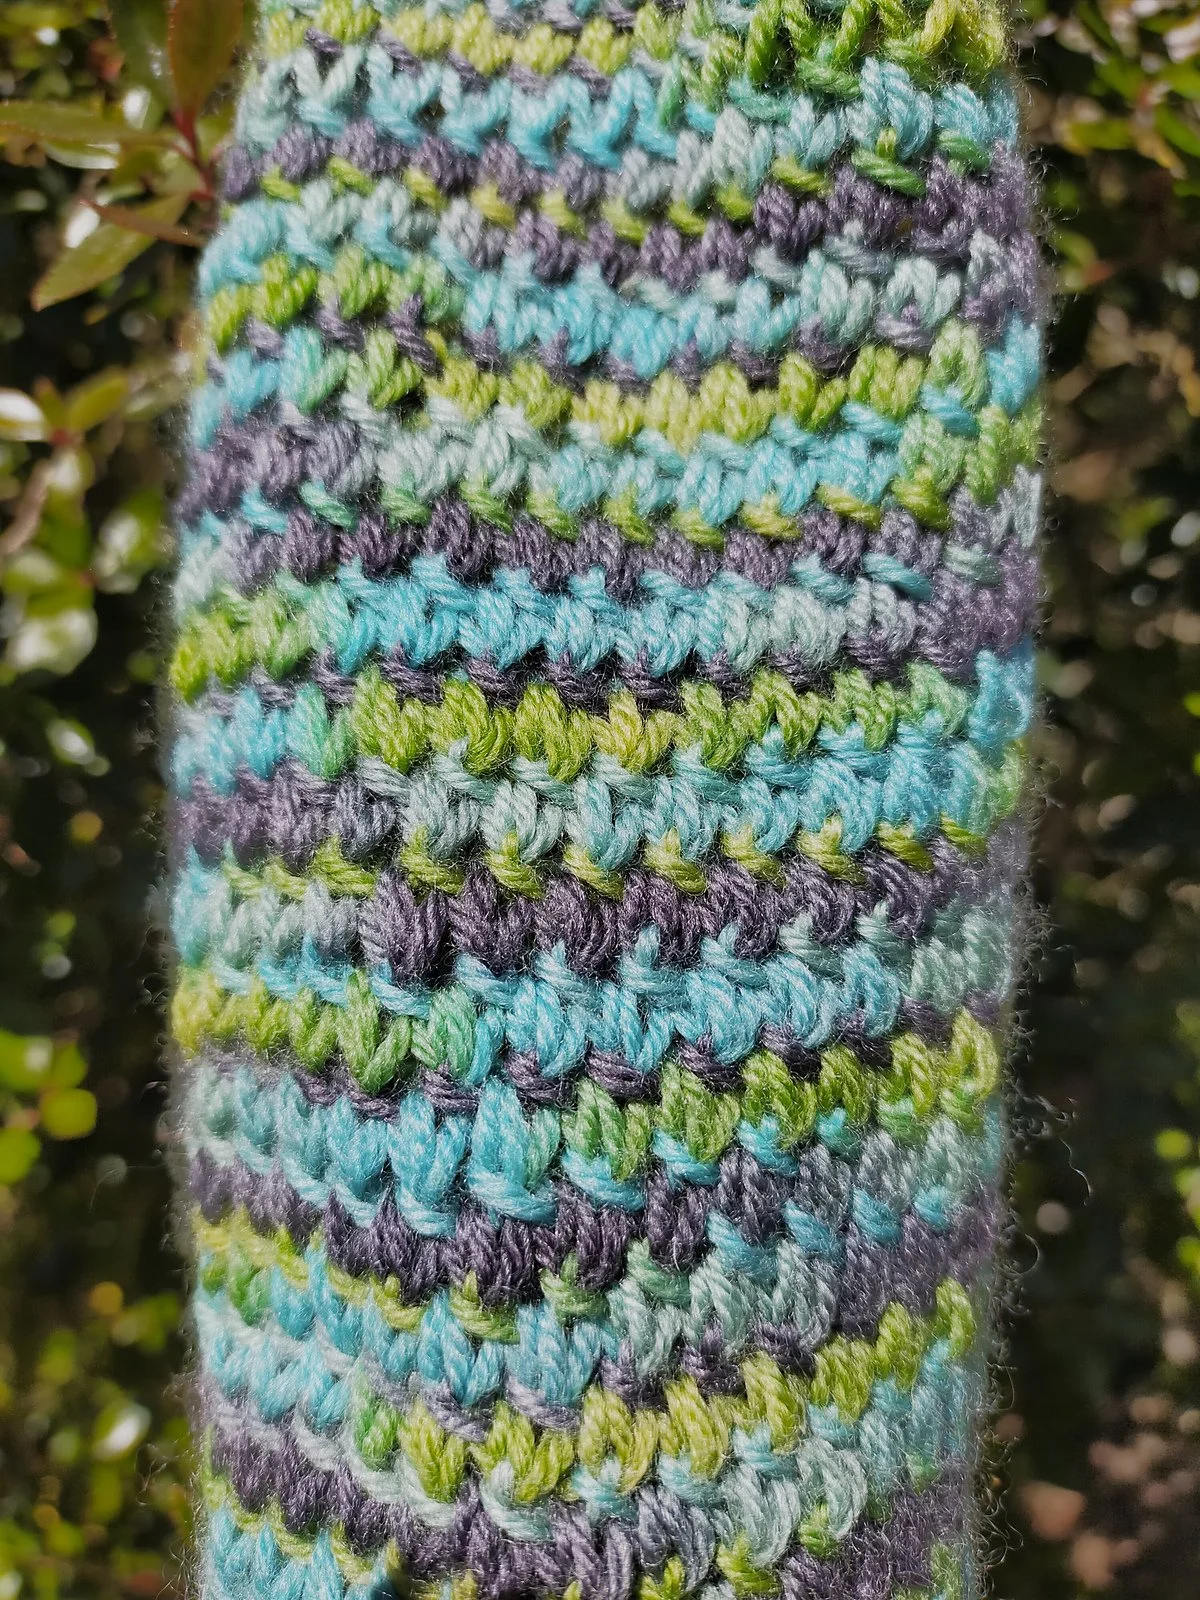
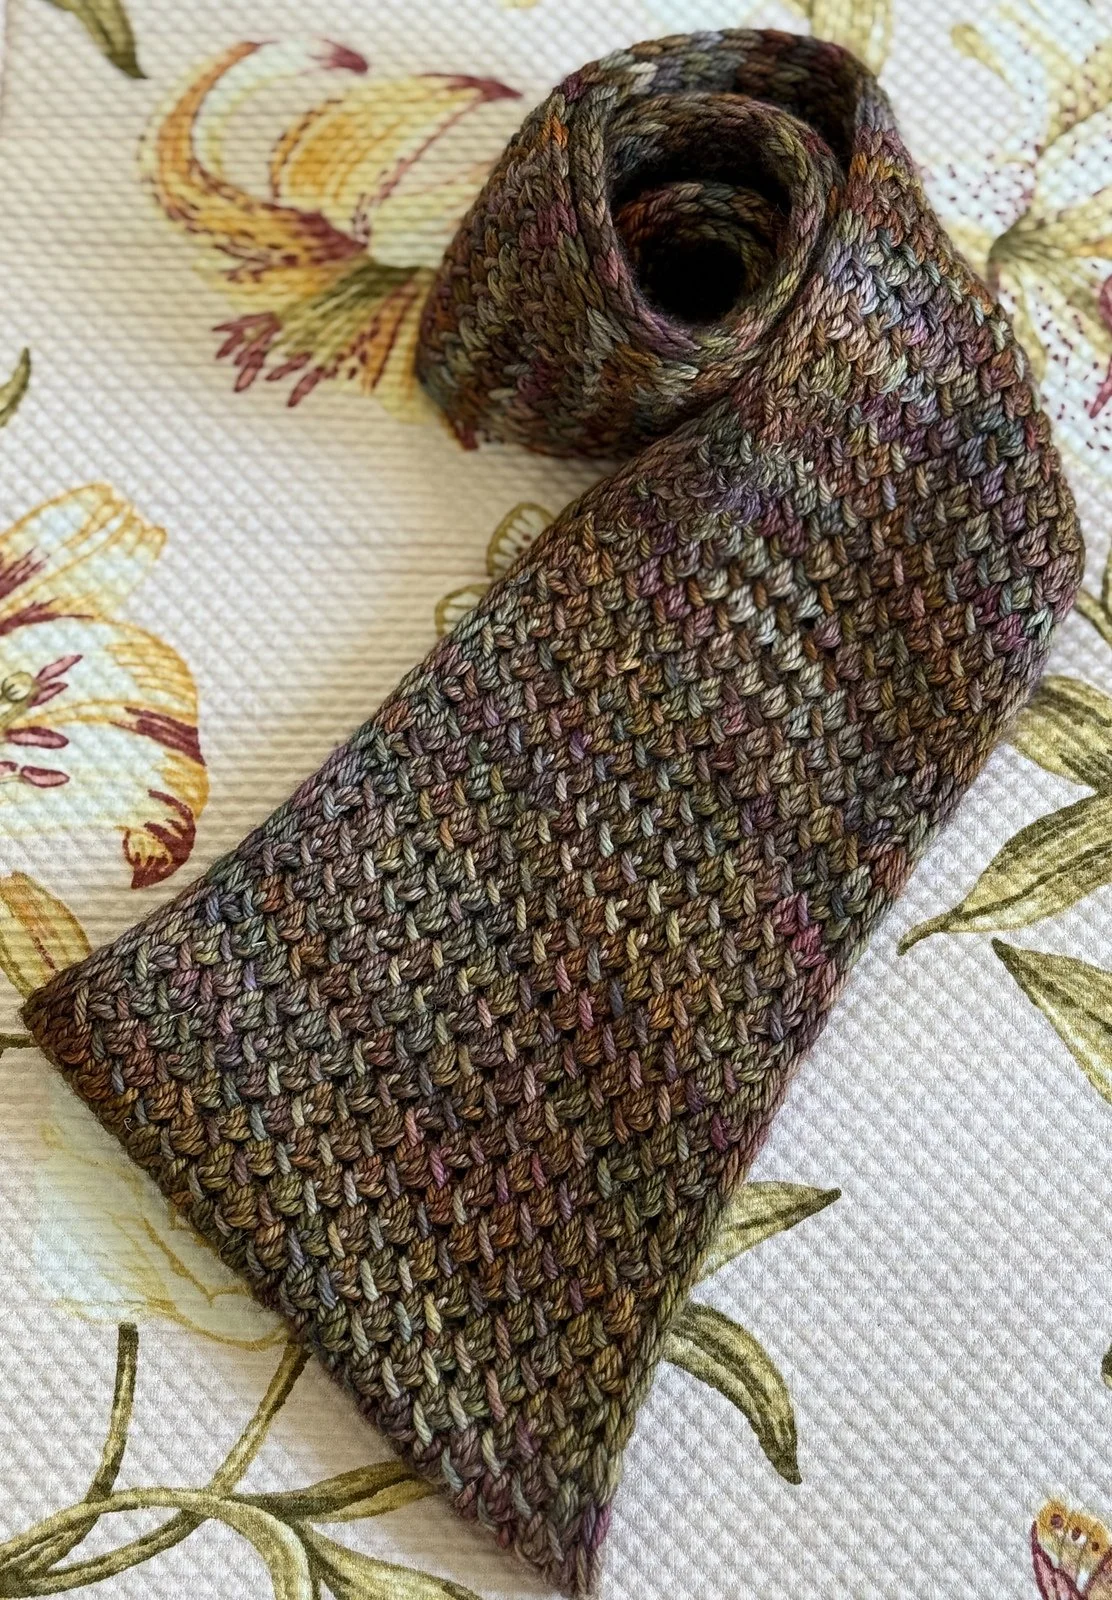
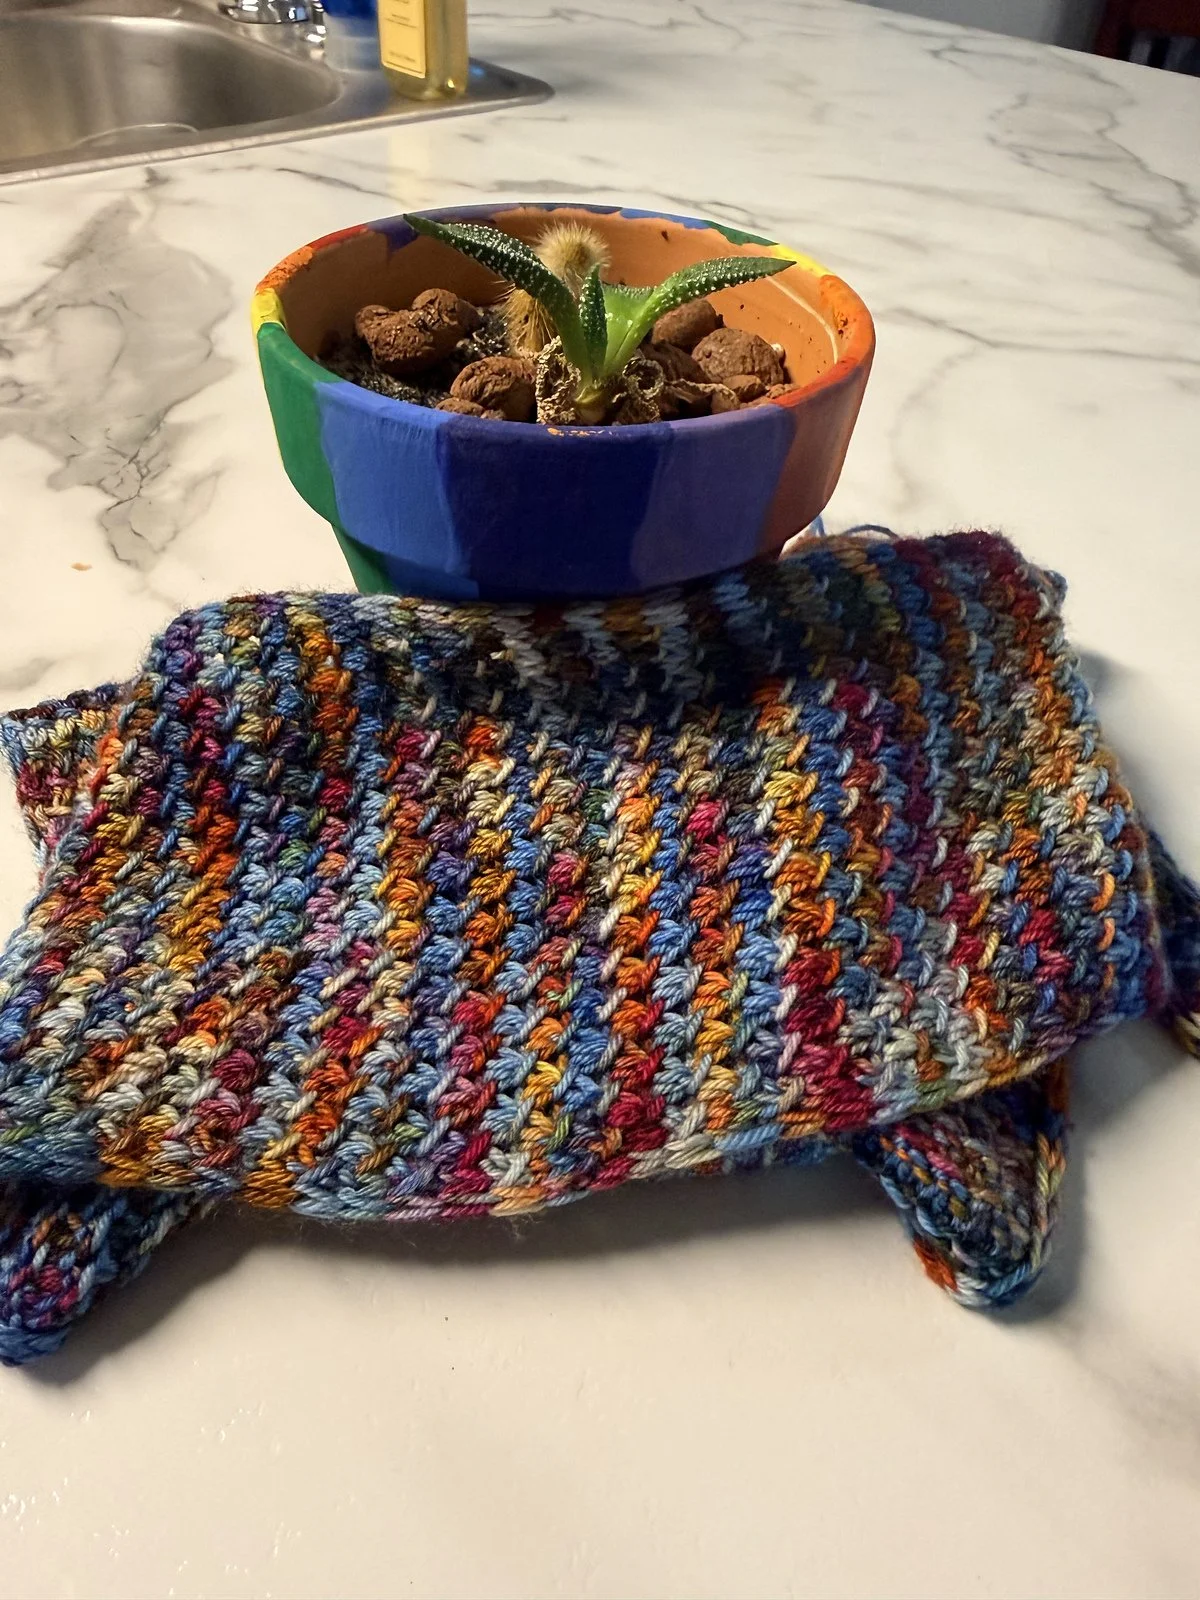
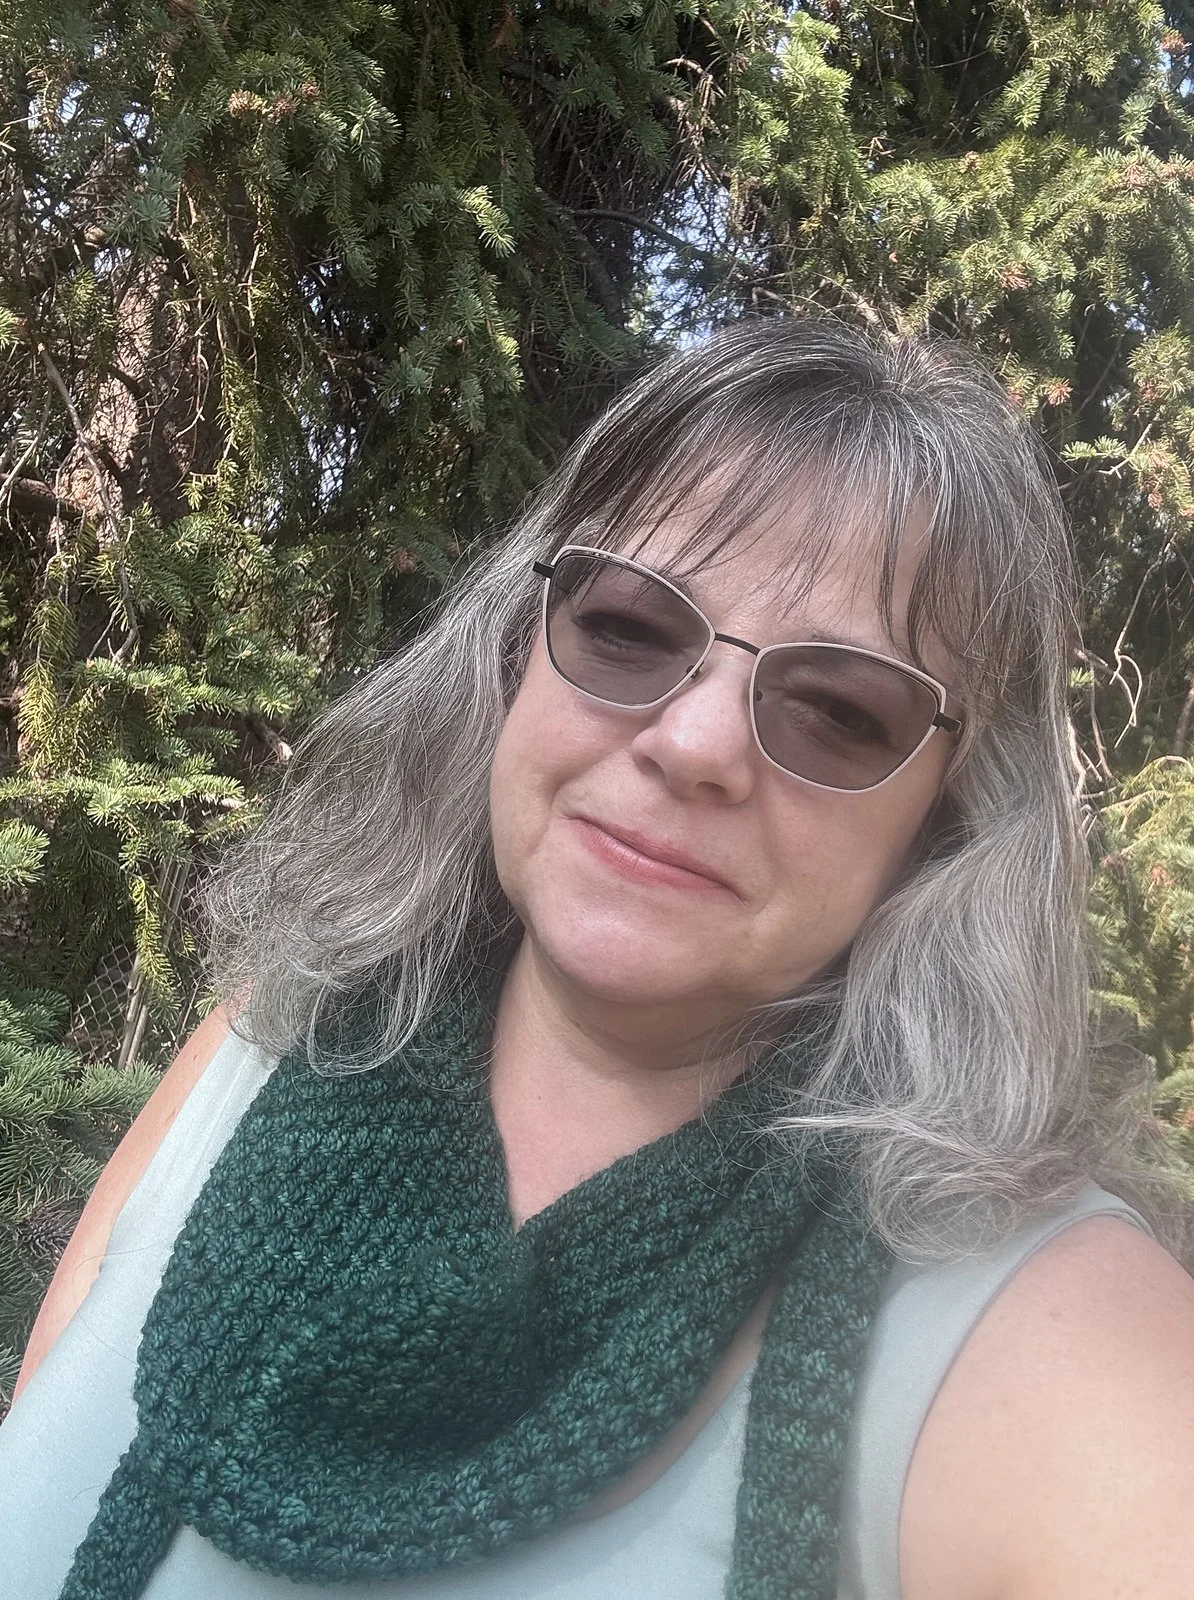
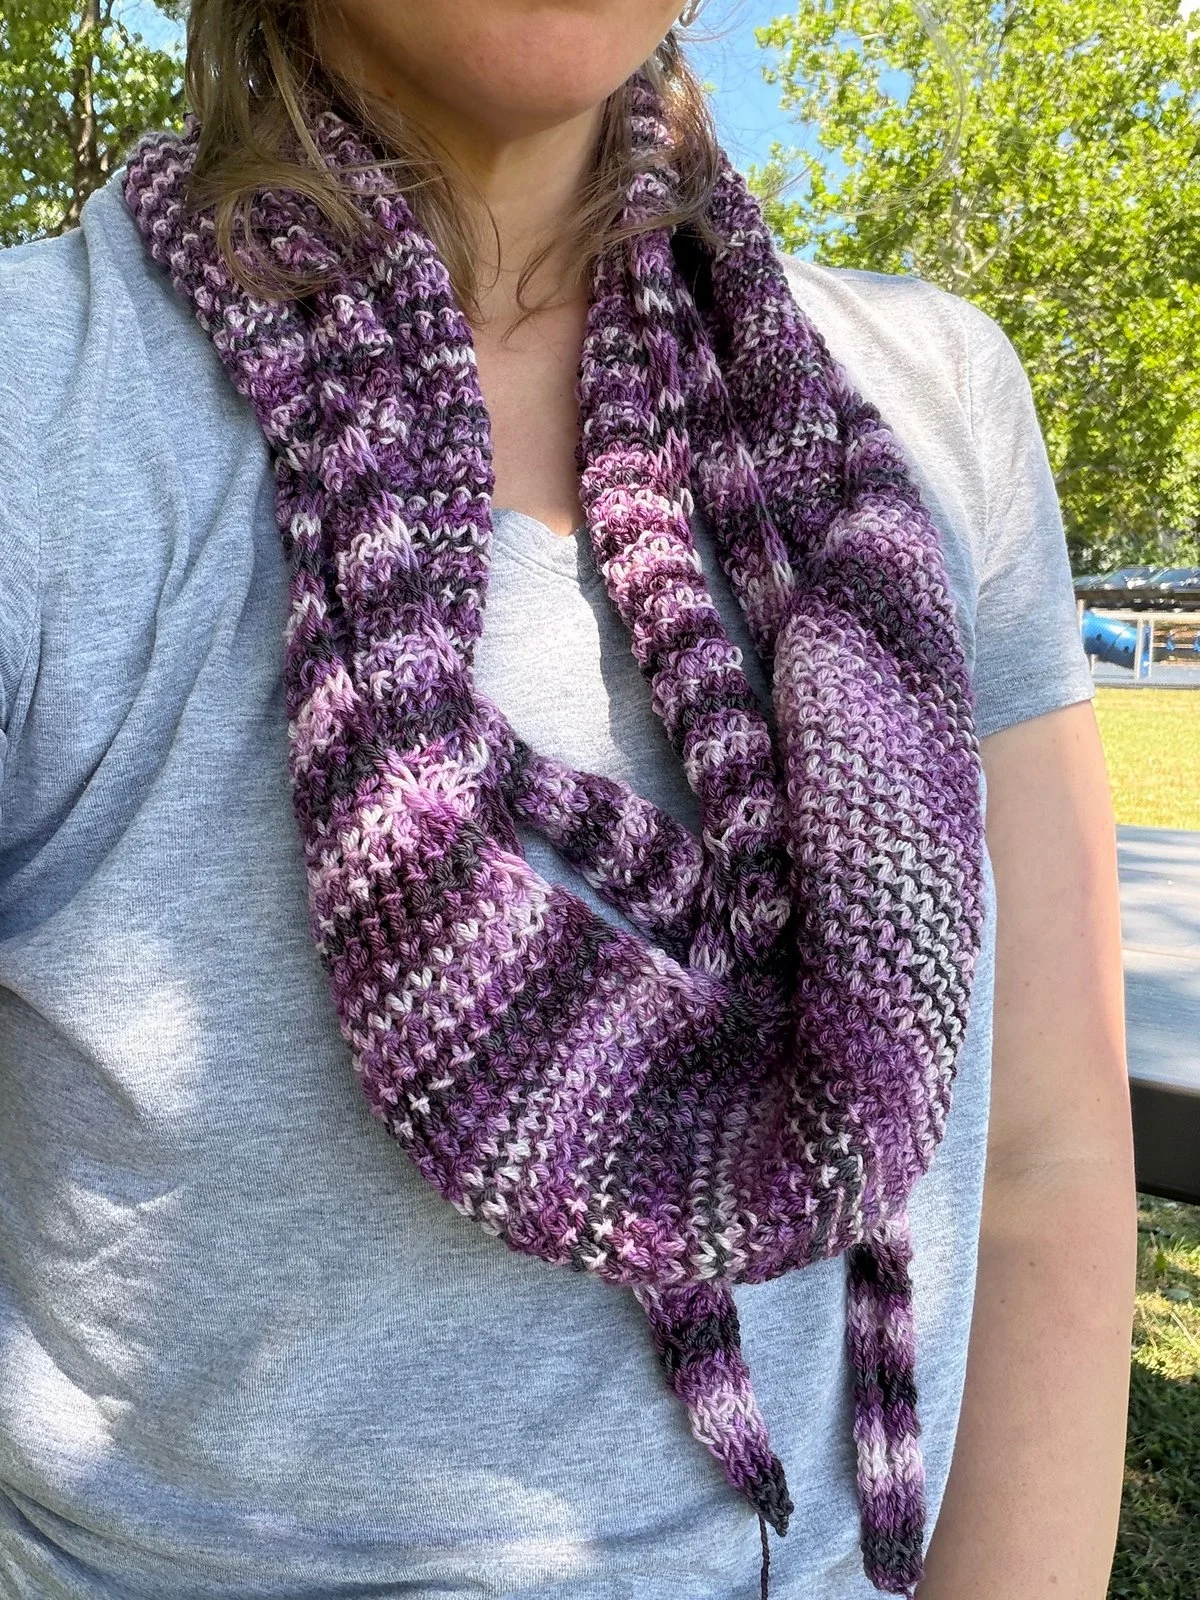
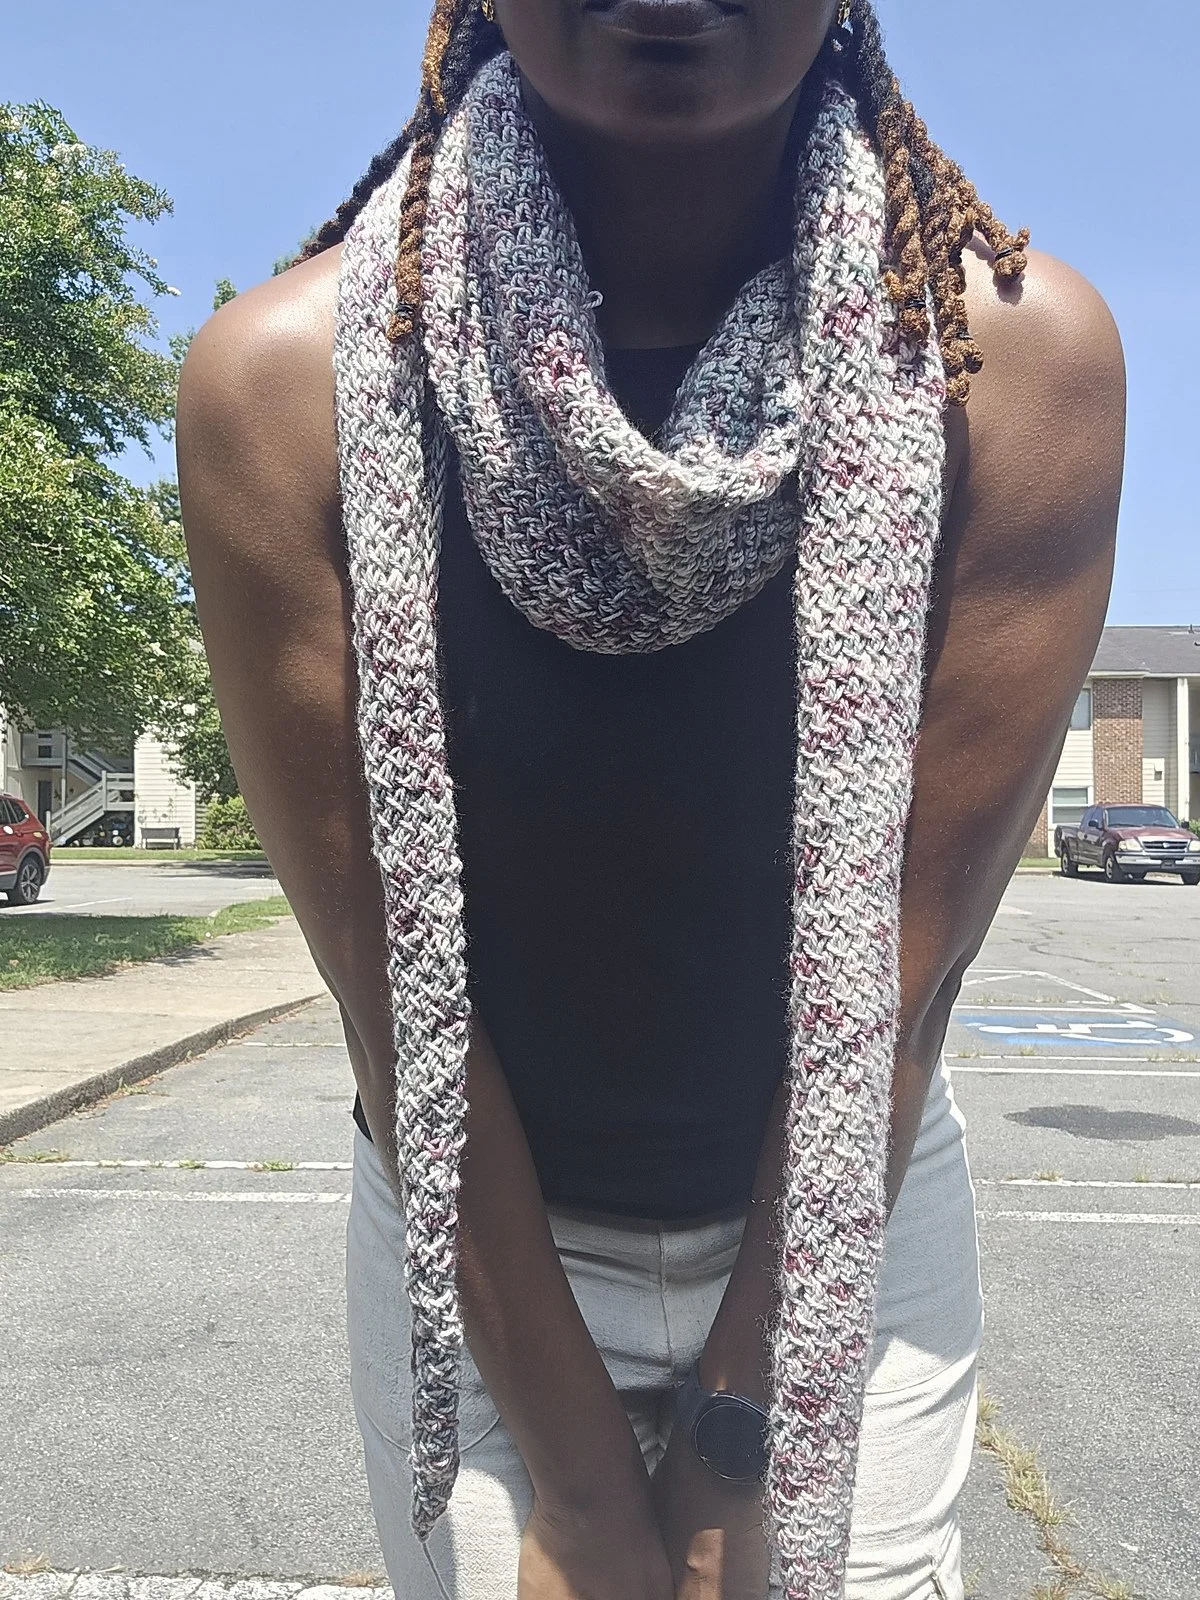
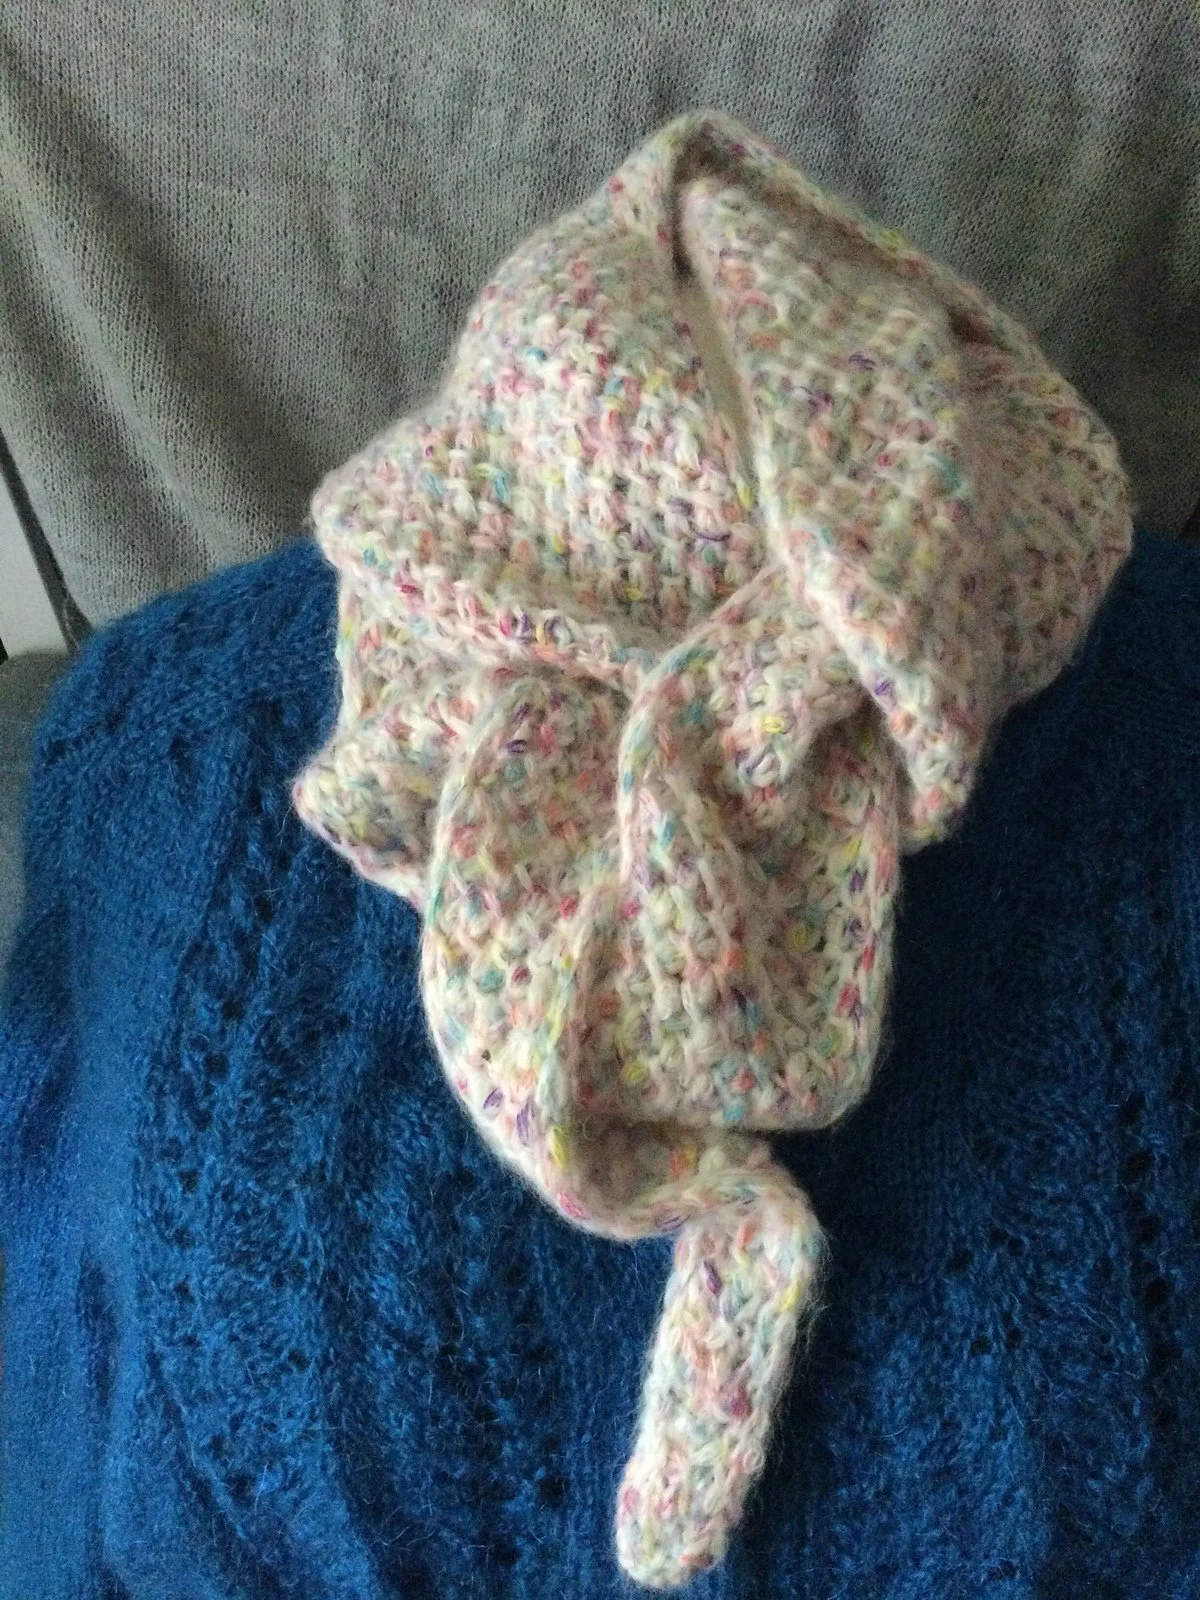
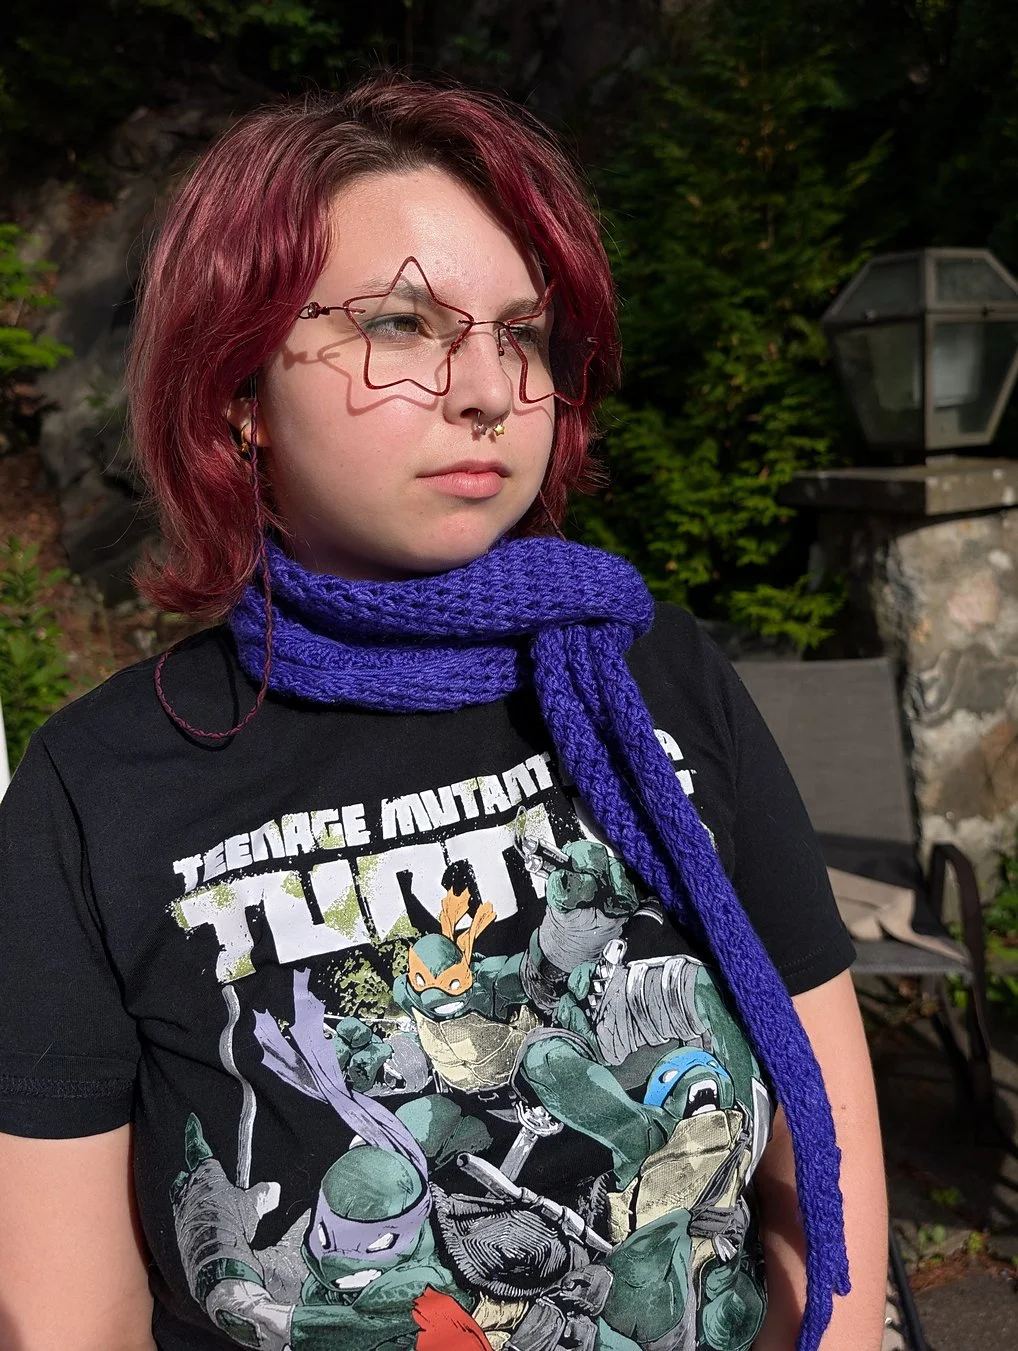
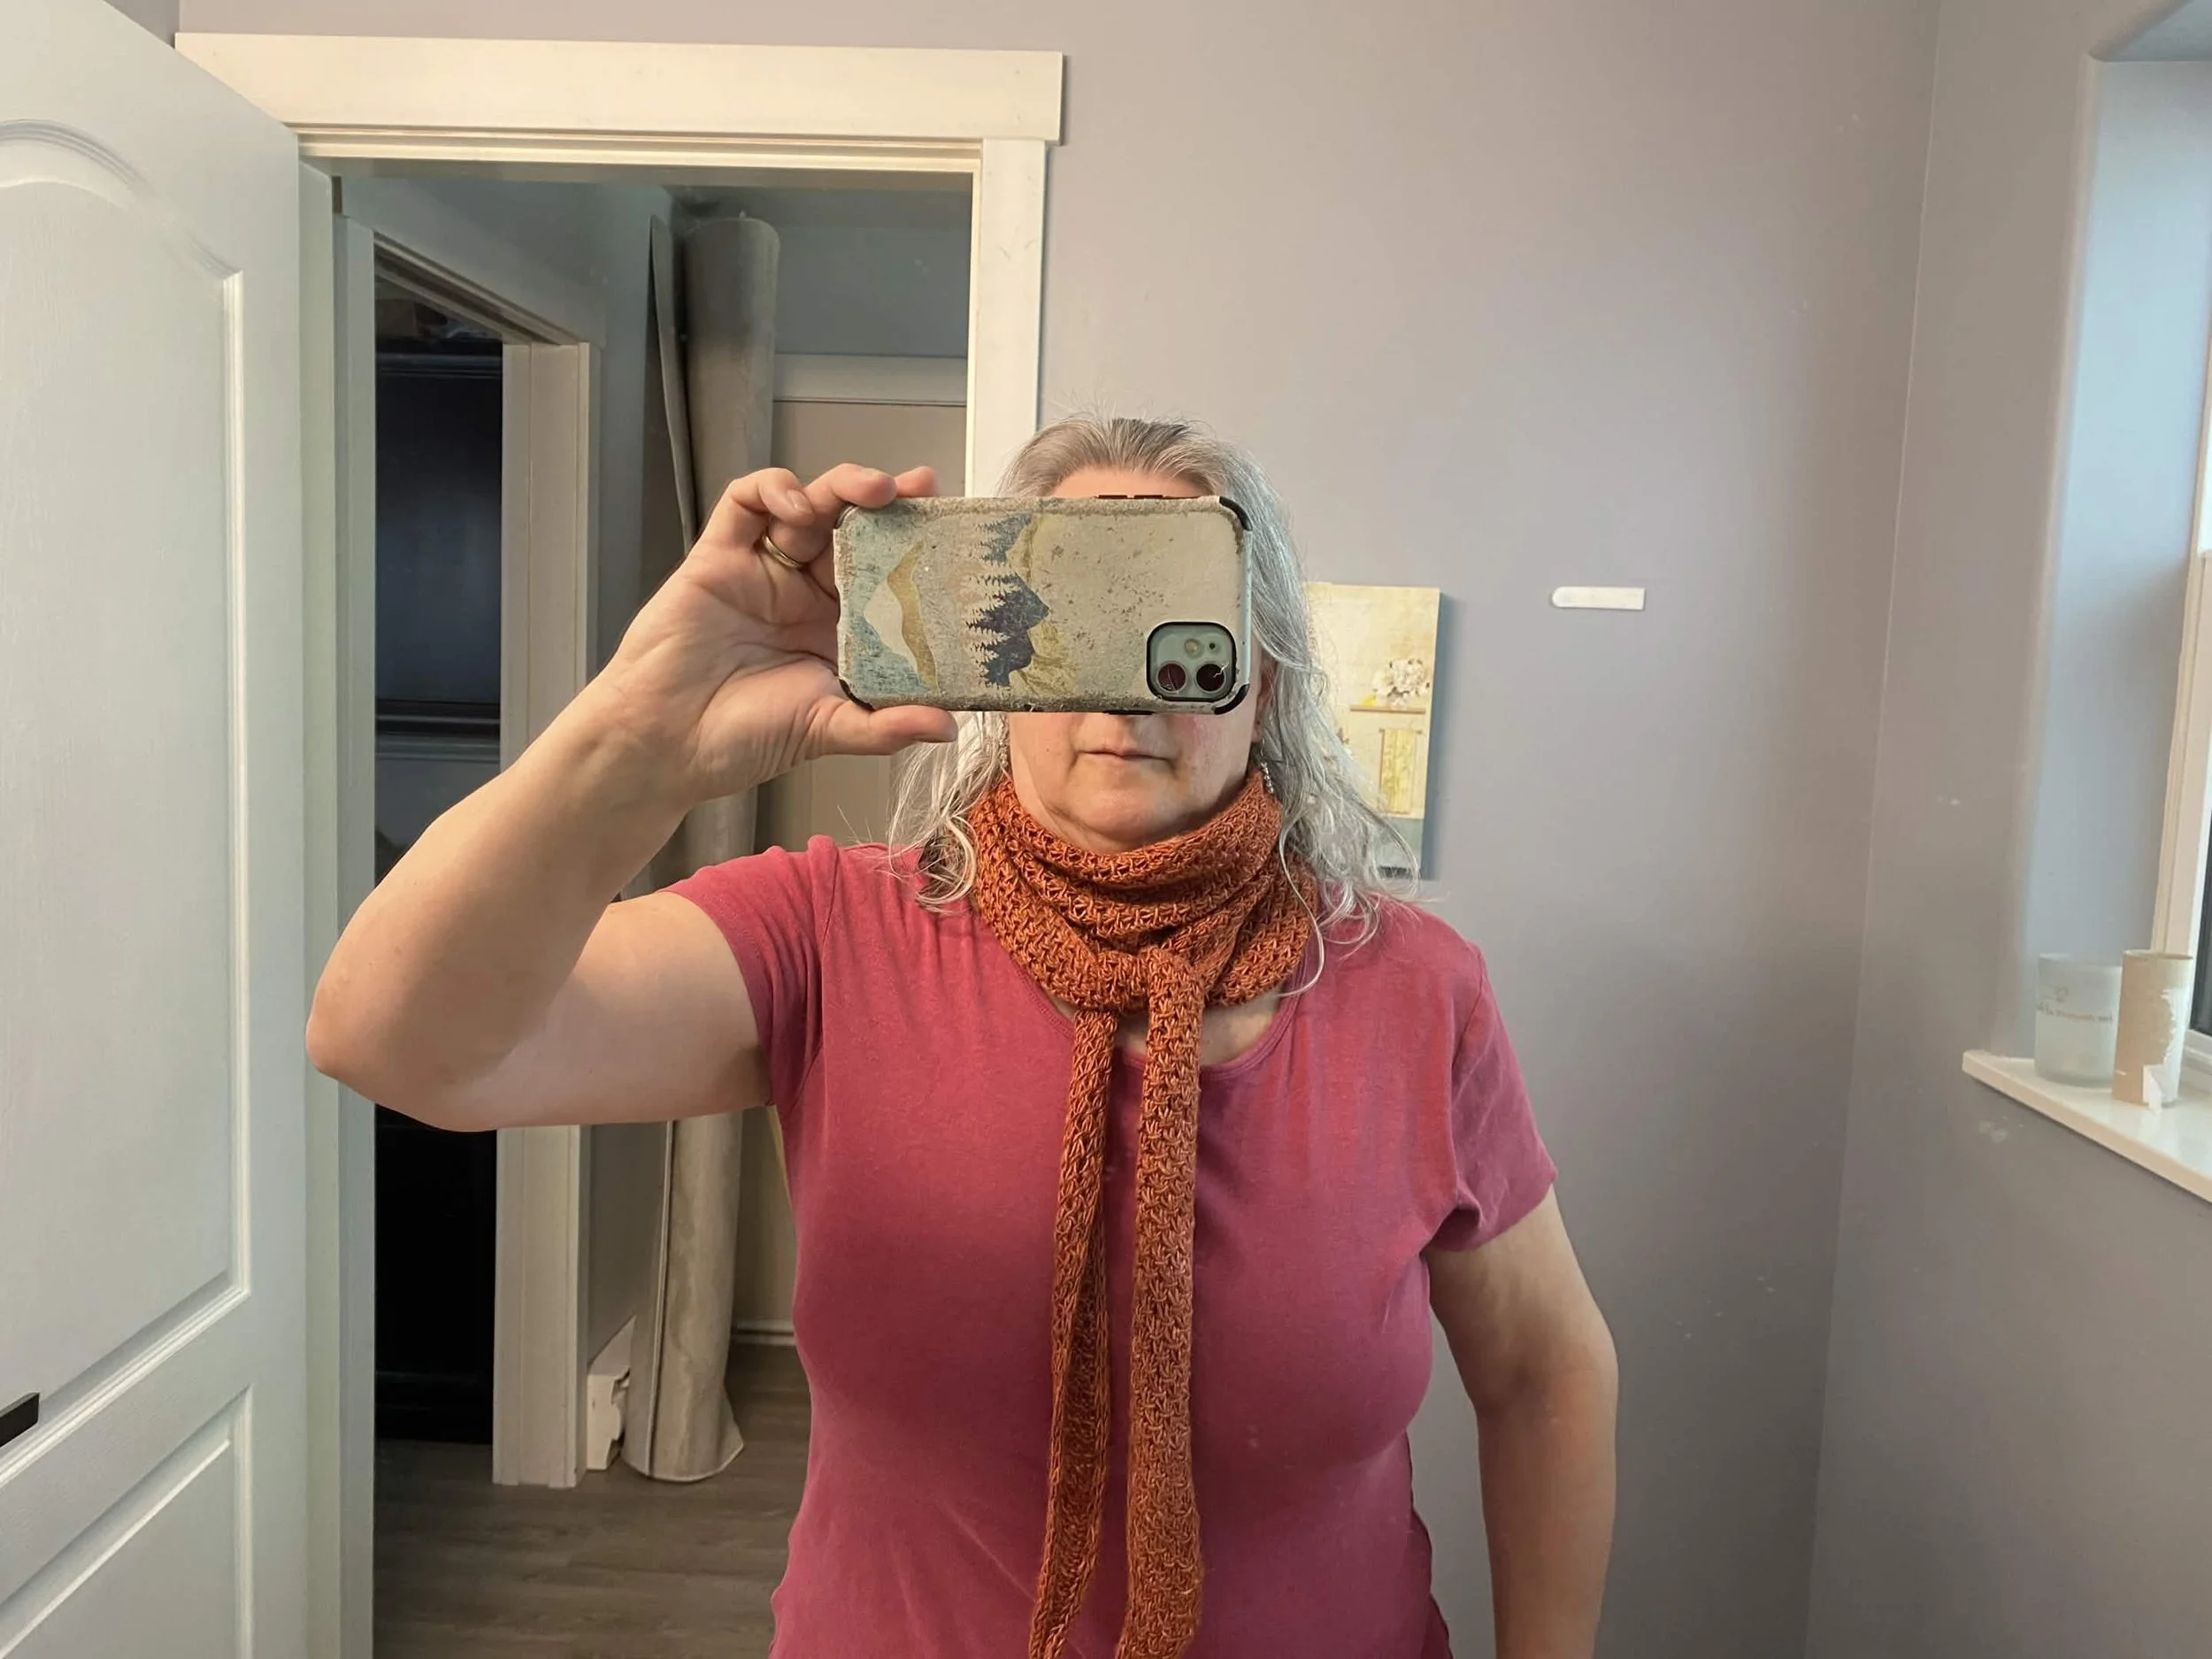
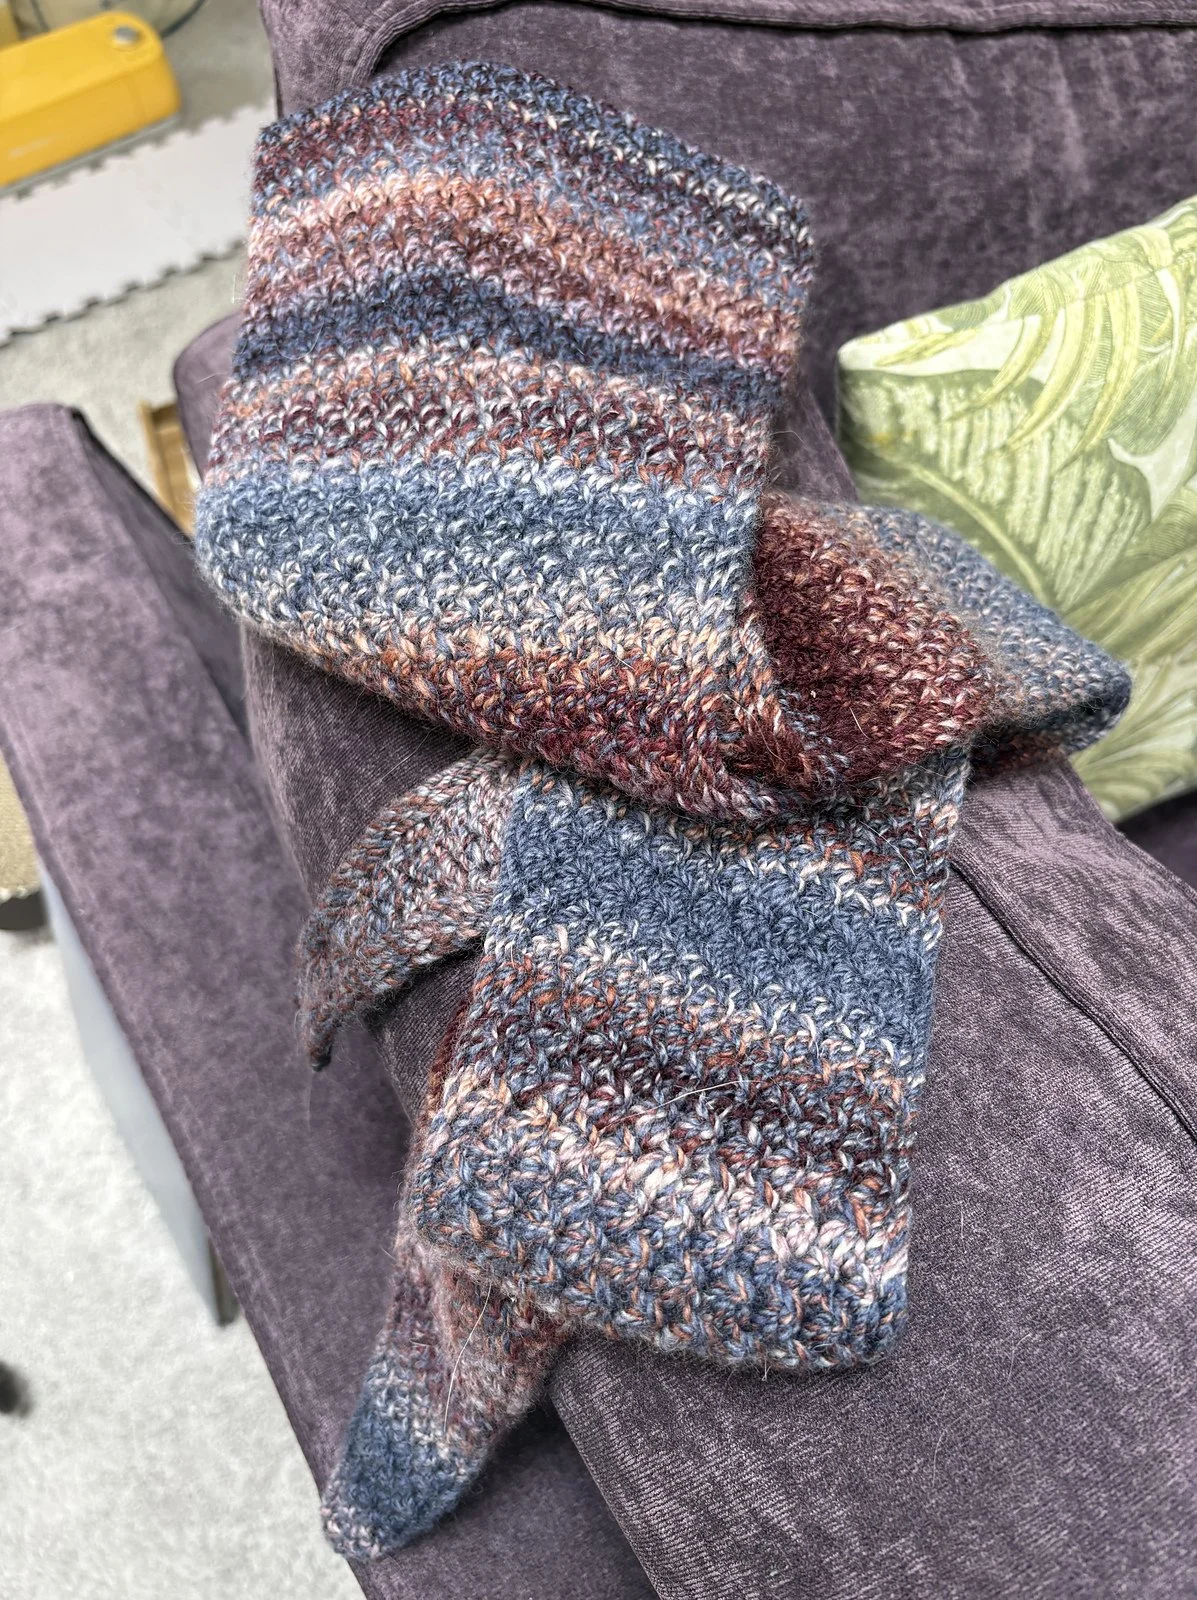
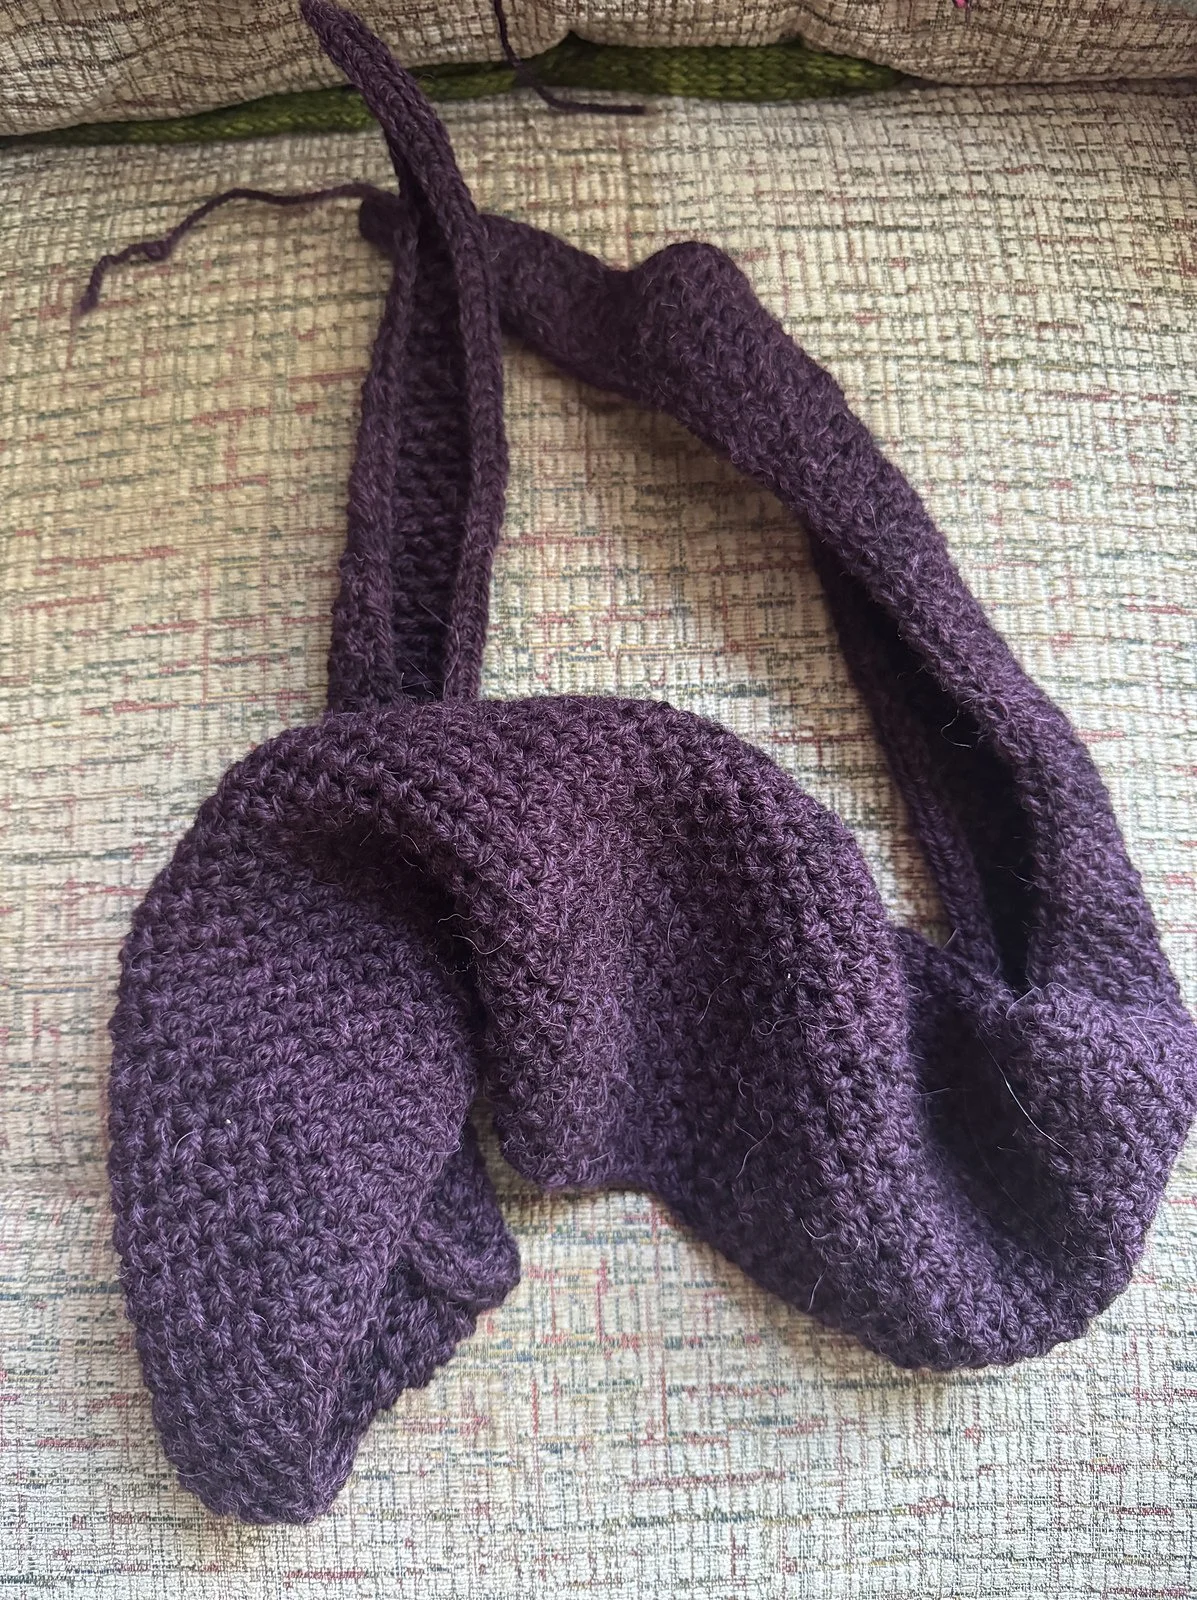
Thank you to all the test knitters who helped bring this pattern to life! Check out their beautiful scarves in the gallery below, shown in alphabetical order by the makers’ Ravelry usernames. Click or tap the photos to enlarge them and scroll through.
The Knitty-Gritty
Description
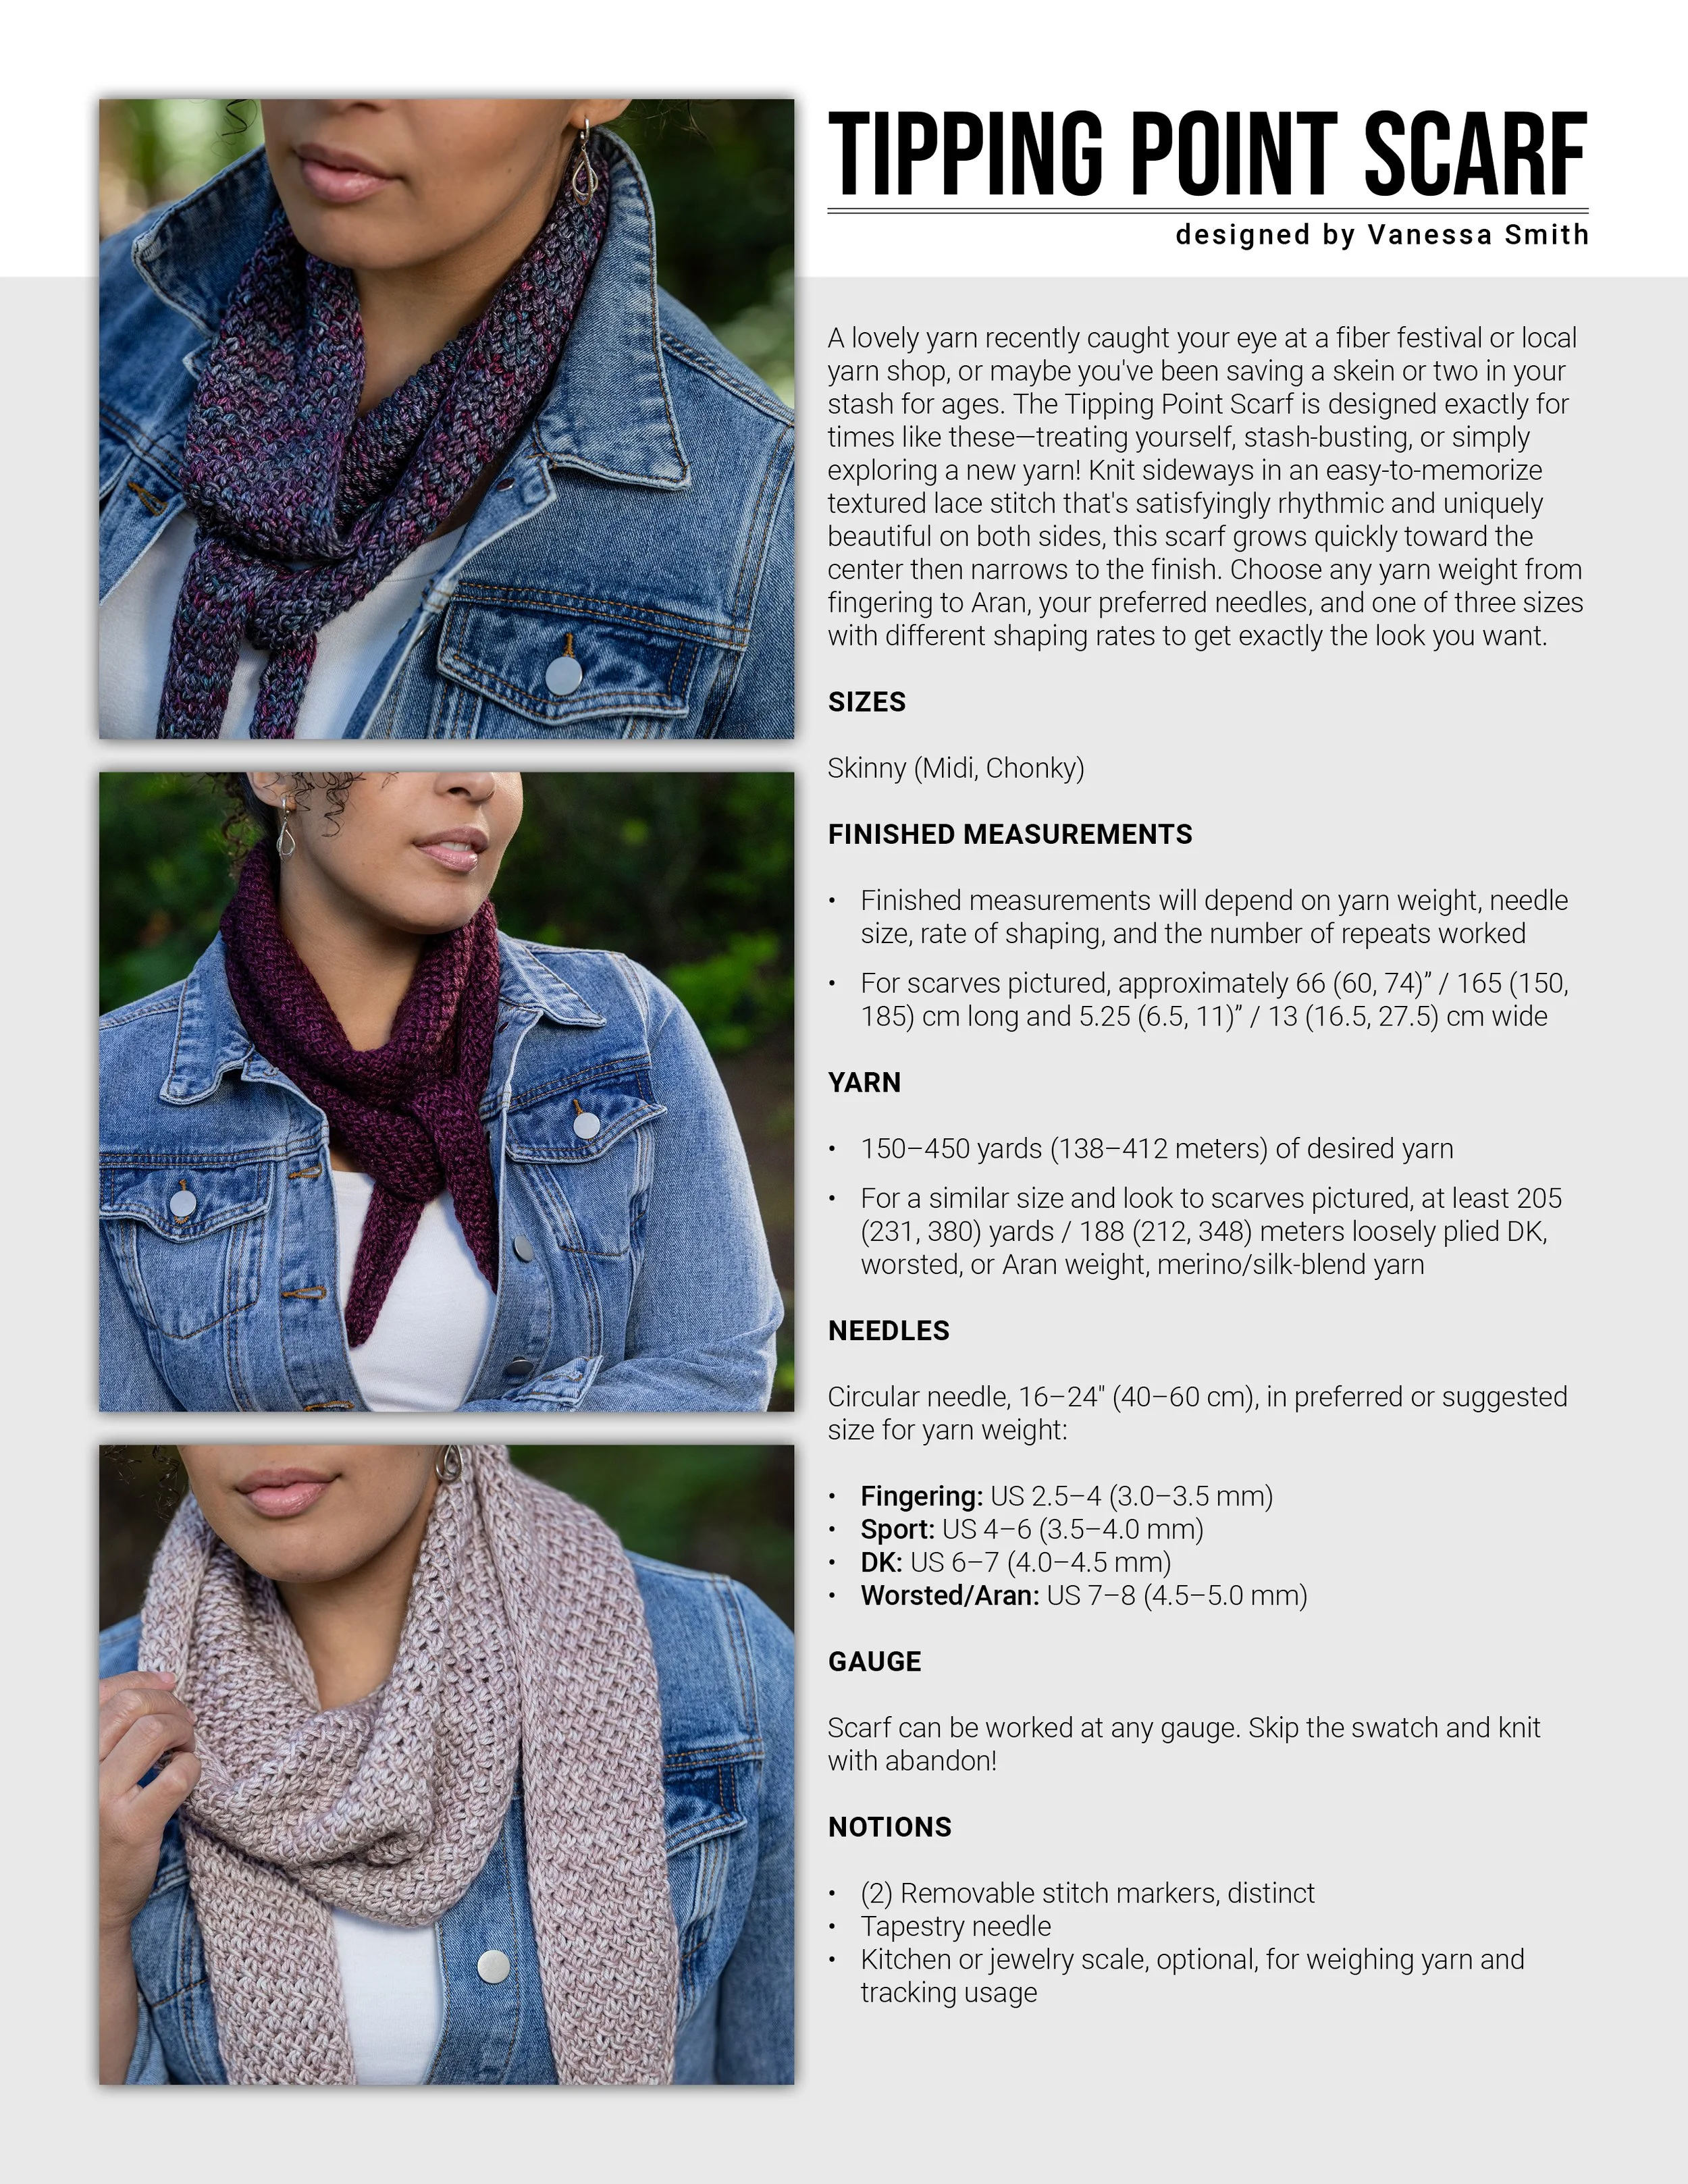
A lovely yarn recently caught your eye at a fiber festival or local yarn shop, or maybe you’ve been saving a skein or two in your stash for ages. The Tipping Point Scarf is designed exactly for times like these—treating yourself, stash-busting, or simply exploring a new yarn! Knit sideways in an easy-to-memorize textured lace stitch that's satisfyingly rhythmic and uniquely beautiful on both sides, this scarf grows quickly toward the center then narrows to the finish. Choose any yarn weight from fingering to Aran, your preferred needles, and one of three sizes with different shaping rates to get exactly the look you want.
ADDITIONAL LANGUAGES
Also available in German.
Sizes
Skinny (Midi, Chonky)
Finished Measurements
Finished measurements will depend on yarn weight, needle size, rate of shaping, and the number of repeats worked
For scarves pictured, approximately 66 (60, 74)” / 165 (150, 185) cm long and 5.25 (6.5, 11)” / 13 (16.5, 27.5) cm wide
Yarn
150–450 yards (138–412 meters) of desired yarn
For a similar size and look to scarves pictured, at least 205 (231, 380) yards / 188 (212, 348) meters loosely plied DK, worsted, or Aran weight, merino/silk-blend yarn
Needles
Circular needle, 16–24" (40–60 cm), in preferred or suggested size for yarn weight:
Fingering: US 2.5–4 (3.0–3.5 mm)
Sport: US 4–6 (3.5–4.0 mm)
DK: US 6–7 (4.0–4.5 mm)
Worsted/Aran: US 7–8 (4.5–5.0 mm)
Gauge
Scarf can be worked at any gauge. Skip the swatch and knit with abandon!
Notions
(2) Removable stitch markers, distinct
Tapestry needle
Kitchen or jewelry scale, optional, for weighing yarn and tracking usage
Give that special yarn the project it deserves.
For many years, my yarn cabinet was home to four skeins—two singles and one pair—that drew my eye every time I perused my stash but that I thought weren’t enough for anything bigger than a hat or a cowl. They were all beautiful but, sadly, discontinued and irreplaceable. Then, during a particularly demanding time at work, I just needed something easy and practical to knit. Some people turn to garter stitch. Others go for brioche. For me, it’s a potato-chippy, rhythmic textured lace stitch—the same squishy fabric that shows up in several of my patterns. I’d also noticed that skinny scarves were having a moment, so I decided to make one myself. And I knew exactly which yarns to reach for.
I started with just a few stitches and played with shaping ratios before casting on in earnest. Once the scarf was on my needles, I enjoyed the pattern and the colorplay of the variegated, silk/merino I was using so much that I finished in just a week. After blocking, I excitedly tried it on and thought it might be the cutest accessory I’d ever made. I immediately wanted to make another, so I cast on again using slightly faster shaping and a leftover skein from my second, burgundy Nydia pullover. I loved this one just as much as the first. Making a third was only natural. But this time, I wanted to use up two skeins of a creamy Aran weight I’d been saving for some sort of neckwear, so I used an even faster shaping ratio. In the end, all three scarves were different and wearable in their own right.
I called this pattern the Tipping Point Scarf not only for the obvious reasons—that it’s knit from tip to tip and reaches a point in the center—but also because it’s the result of pushing the shaping just far enough with what you’ve got until what feels like barely enough yarn becomes a full scarf.
That special skein at the back of your stash or the lovely yarn you bought on a whim? Cast on and find its tipping point.
Buy it on Ravelry.
You may also like . . .
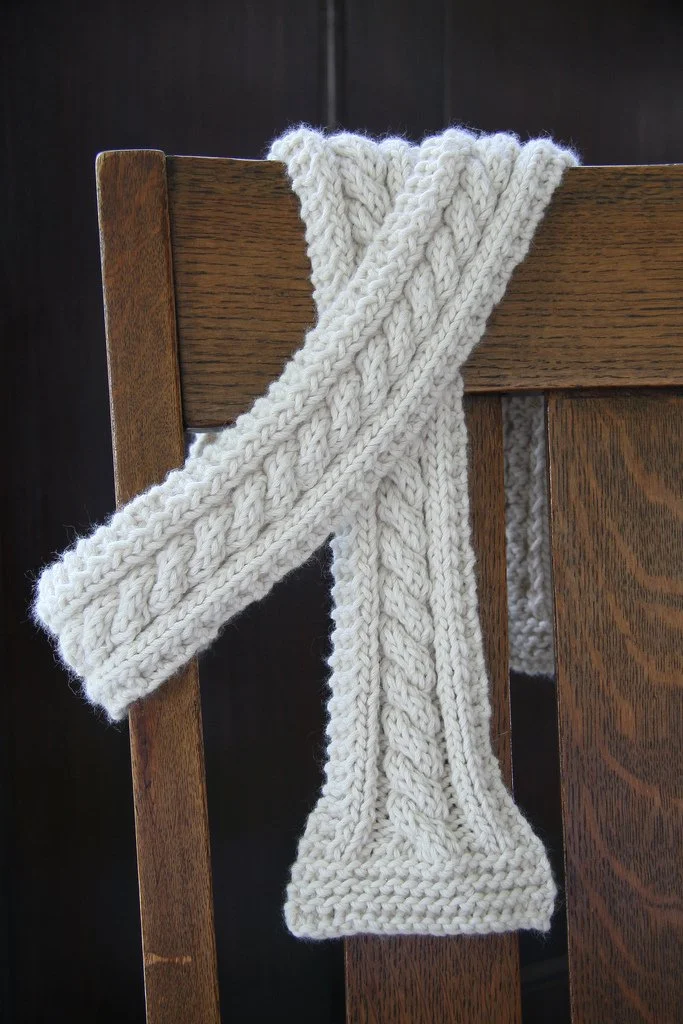
It was September 2006, exactly one year after I had learned to knit. My husband Cody and I had been dating for six months, and he’d been watching my love of knitting grow. He also knew I’d never been to our local yarn store, so he took me there one afternoon for my very first visit. He patiently waited while I browsed and squished all the luxury and natural fiber yarns. I’d never worked with anything but acrylic before.
A cashmere blend yarn in a lovely cream stood out, but I only had the budget for two 98-yard skeins. I could make a scarf, I thought, but not another garter stitch scarf. I was ready to graduate from those. Cables had always mesmerized me—I’d worn and loved them in store-bought sweaters for years—so they were the next thing I wanted to learn. With the yarn in hand as I continued to look around the shop, I found a knitting booklet that covered basic cable techniques and a large metal cable needle (the very same one I still use). I was ready to start that evening.
I had to maximize the yardage I had, so I cast on just a few stitches more than what I needed for the cable. When it came time to actually make my first cable, it didn’t work. The instructions didn’t make sense. Cody actually fell asleep while I struggled, trying to figure out what the booklet wasn’t saying clearly until it finally clicked. What emerged was this simple scarf—a design I didn’t know would become a pattern a couple years later or that would set the stage for cables becoming central to my design portfolio.
This scarf is perfect for learning cables because it builds on techniques you already know. A few rows of garter stitch, simple knits and purls, and one straightforward cable repeat. The narrow width means you reach the next cable row quickly and see progress fast. It’s the kind of project where every stitch feels like a small victory.

A yarn crawl. A dyer’s trunk show. A generous hand reaching back to pull out a second skein just for me. That’s how Indira began.
I walked into the first yarn shop of my day looking for something I wasn't even sure existed yet—the perfect yarn for a cable and lace shawl pattern I’d been sketching and swatching in other yarns that weren’t quite right. I grabbed what I thought was the last skein of a striking, plum-colored fingering weight yarn and two coordinating skeins of mohair/silk lace, and I started talking to an indie dyer who was having a trunk show there. She looked at the yarns in my hands and said, “Those are perfect together.”
I told her I thought so too but, sadly, the shop only had one skein of the fingering weight.
She reached back behind her table, pulled out a second skein of the same yarn that she’d set aside for herself, and handed it to me. “You clearly love the color and have a project in mind. Take it.”
That moment made my entire day. I left that shop knowing I’d found the right combination, and I knew exactly what it was for. My dream shawl.
It became my travel project. I worked on it during lunch breaks at work, at my first trunk show as a designer, throughout that memorable trip to Victoria that sparked the Aslyn hat pattern, even by flashlight during a power outage that lasted a few days. It was the project I was making when I hit 1,000 Instagram followers. And it was the pattern I was working on publishing when a season of unexpected grief and loss met my family.
All those moments—the in-between times, the pockets of creativity, the milestones, the memories—shaped the shawl you see here. Now the pattern is ready for whatever life looks like while you make it.

It all started in spring 2021, just days after I finished knitting the Nydia pullover. With one skein of that beautiful yarn left, I imagined a matching hat with the same textured stitch and lateral braid detail. I excitedly cast on, expecting to finish it by the end of the weekend.
It didn’t work out that way. Another project called—a sweater!—and the hat got set aside. Weeks became months, and when I rediscovered the nearly finished hat in early 2022, I picked it up to work on the crown shaping, but it didn’t come together the way I wanted. Back into the project bag it went.
Then, at the beginning of 2023, after test knitting the Nydia Cardigan, a few testers asked if there’d be a matching hat. That question sparked something, and my initial excitement came rushing back. Unable to find my original project, I cast on again with the details still alive in my mind. And this time? Everything clicked. The crown shaping came together in a single day.
I cast on another, then another, and just kept going—working with different DK weight yarns, adjusting stitch placements, and fine-tuning every detail. Each hat flew off the needles. Before I knew it, the Nydia Hat had evolved into not just one but two variations in sizes graded to fit the whole family.
A generous group of test knitters helped me confirm the pattern worked, and several made multiple hats for themselves and loved ones too. And just like that, after all those years, the Nydia Hat was finally ready for the world.
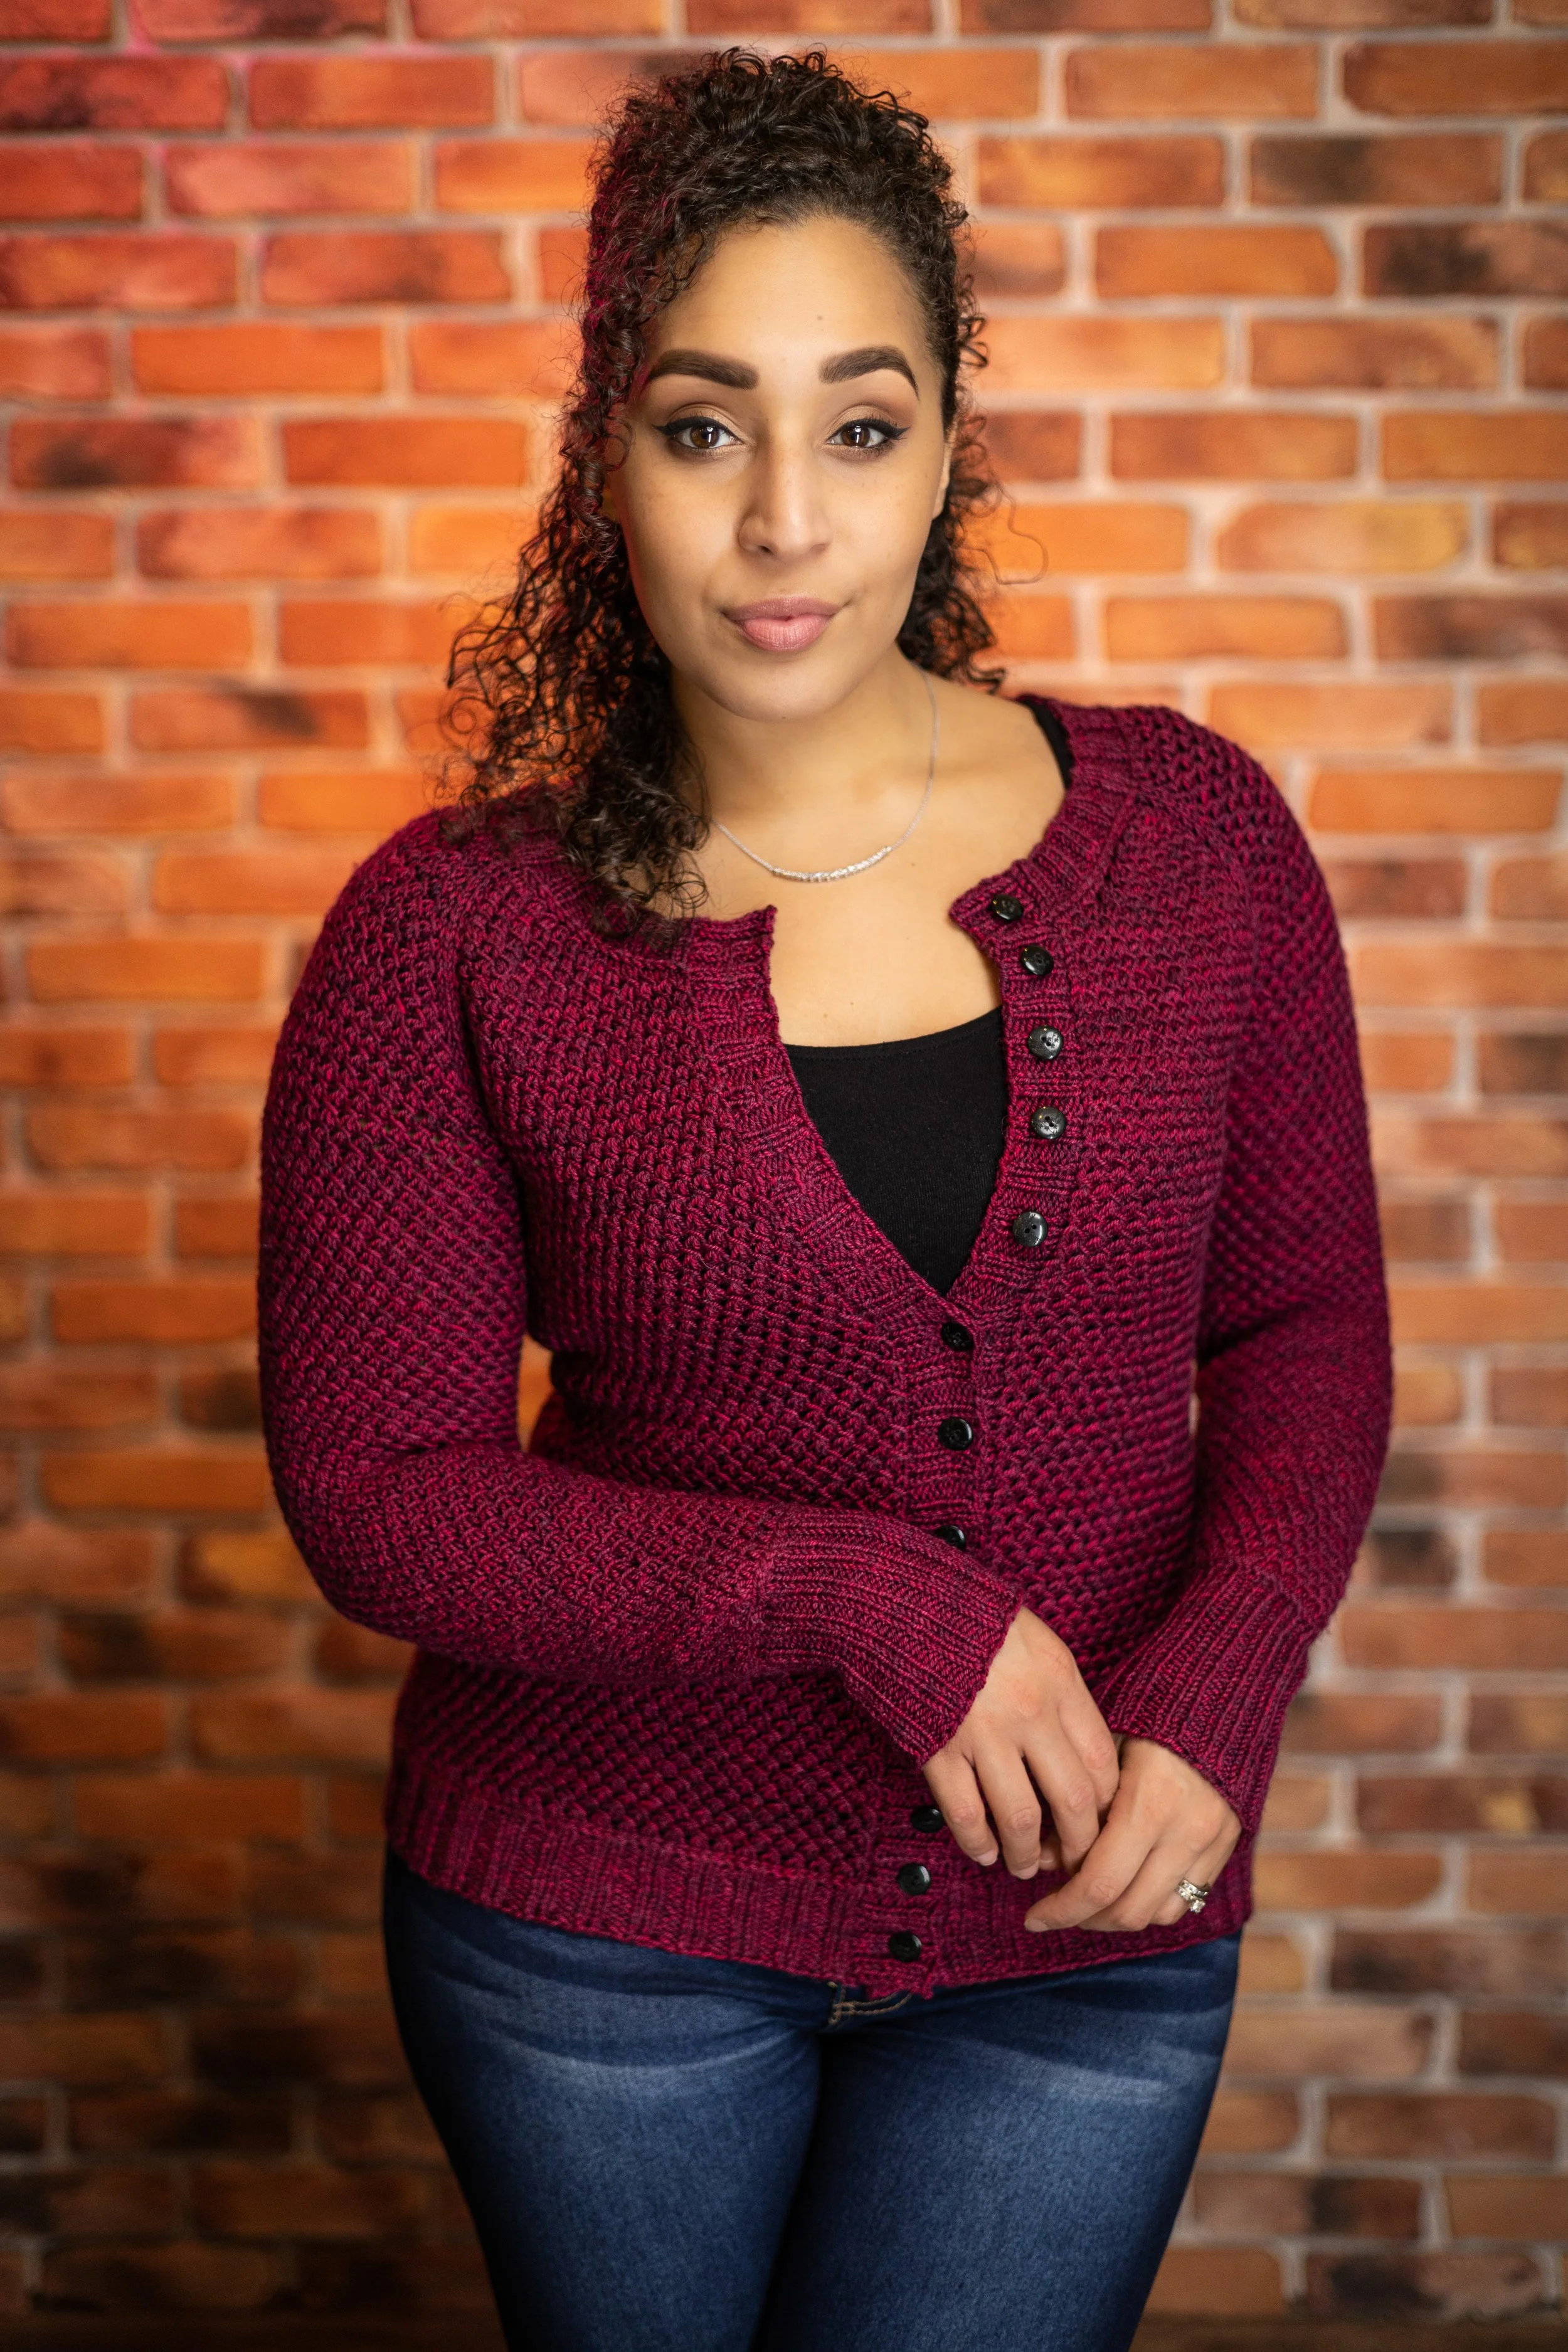
I was knitting a second Nydia pullover when I turned to Instagram to ask my followers a few this-or-that questions that would help me decide what to design next. One question was, Cardigan or pullover? In response, a test knitter I’d worked with several times asked me a question of her own: What about a cropped Nydia cardigan?
I became obsessed with the idea immediately. Completely. I couldn’t think about anything else. Within days I’d bought yarn—a warm golden yellow—and cast on a swatch. But just to make sure I wasn’t being biased, I asked my Instagram followers what they thought about a cardigan version. They responded with a resounding yes. They wanted it too.
I cast on the cropped yellow version with 3/4 length sleeves first. As I was working on it, I realized I also wanted to make a full-length version—in a deep red, with long sleeves. Two completely different cardigans, using the same top-down pattern as the foundation. But the moment I slipped them both on, I understood why I’d felt the need to make two versions. They felt completely different to wear.
The full-length one is classic, office-ready, the kind you throw on when you want to feel polished. The cropped one is a party cardi—fun and energetic, the kind you reach for when you want to feel like yourself. Even during the photoshoot, I felt the shift when I changed between them. The energy was different. How I moved, how I stood—it all changed with the color, the length, and the sleeves.
That’s what this pattern offers you: the chance to make the version that matches your life. Cropped or full-length; 3/4 sleeves or long. Mix and match however you want. Because a cardigan should work for you, not the other way around.